|
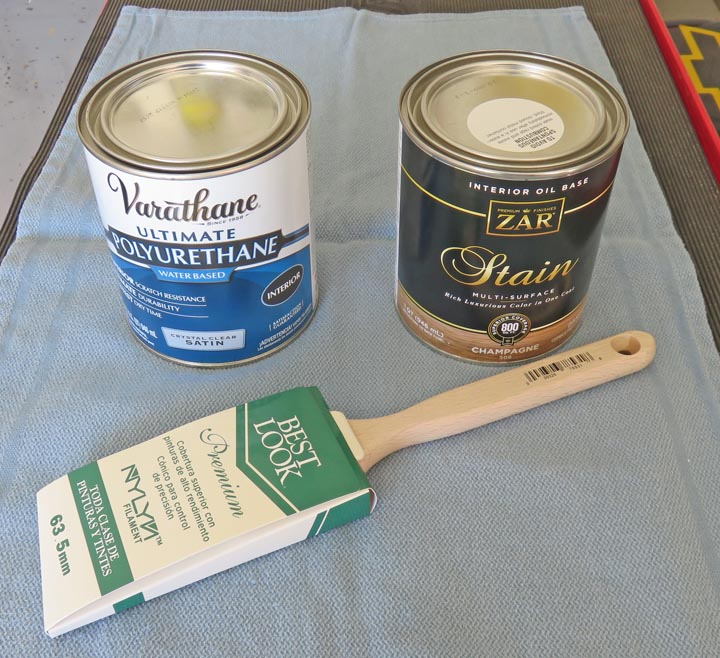
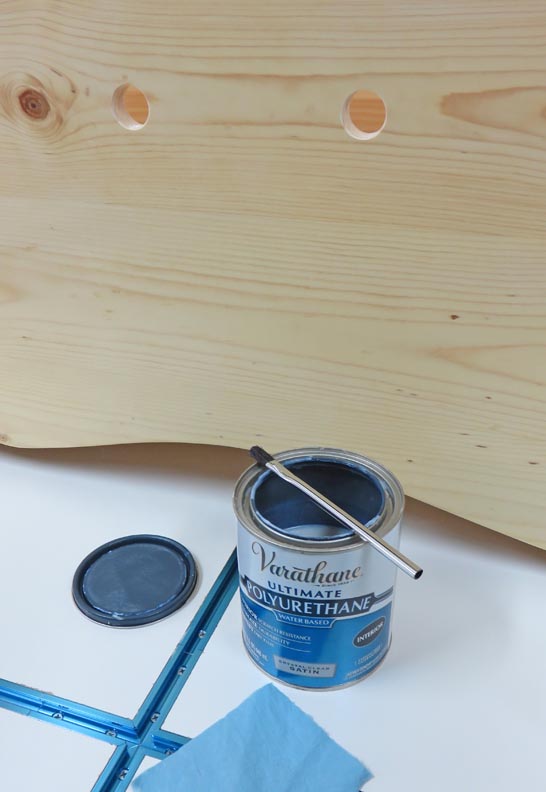
Stain and Clear Finish I'm going to use some stain and follow that up with
three coats of clear. The color of the stain is called Champagne and
should give my project a slightly darker color. And the clear is Satin so
it's subtle but will protect the box against toys and who knows what
else. I also bought a new brush to apply the clear with.
|
|
 |
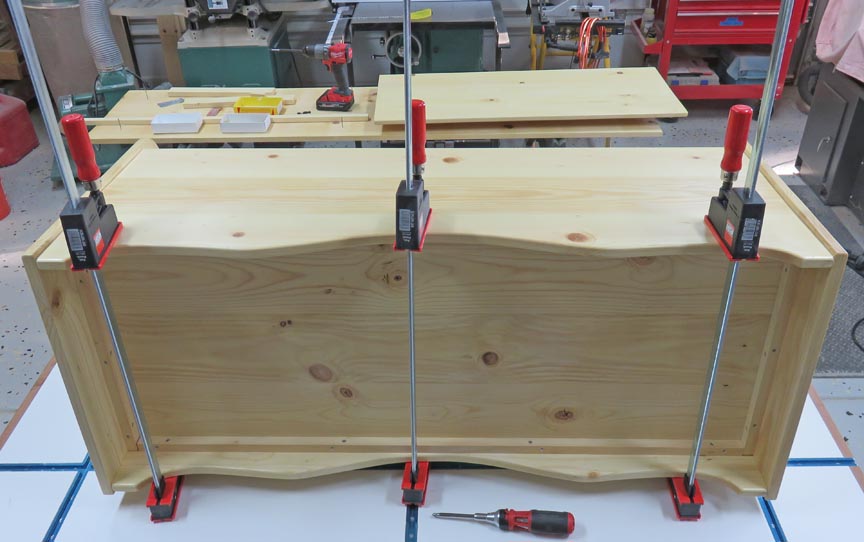
Five days later I started assembling things again, and to me this is a
fun time. I'm using some clamps to make sure there are no gaps around
the shelf, which worked out well.
|
|
 |
|
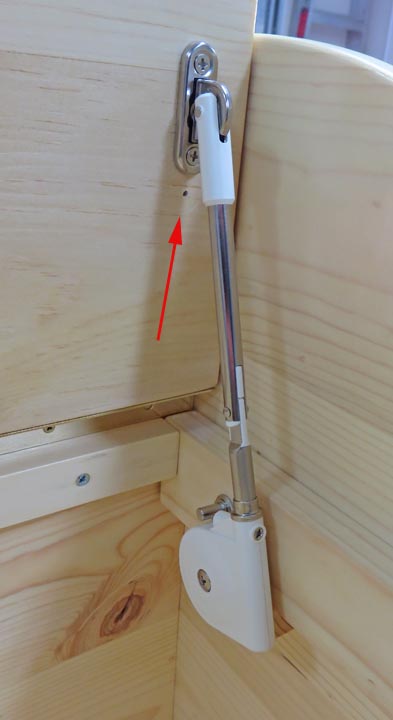
Some Changes I decided to make a couple of changes:
The first is
relocating the lid support so it keeps the lid open. By moving the bracket
upward
so the arm is straight should keep the lid from moving, despite it only
opening 90 degrees. The good news is that it worked, but now I have a
screw hole that is visible (arrow). The other hole is under the bracket so no
big deal. I'll address this issue later
|
|
 |
|
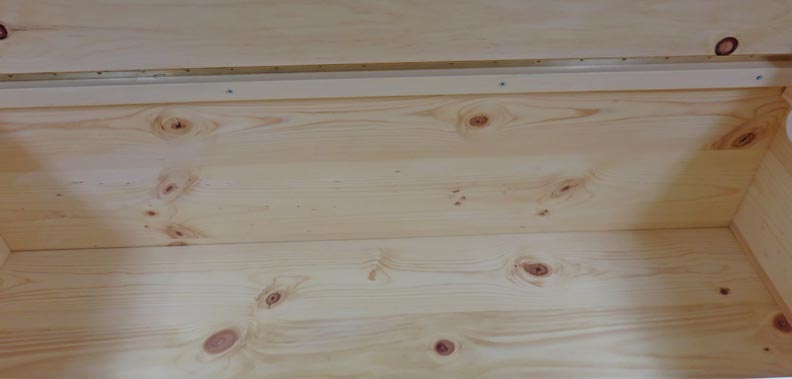
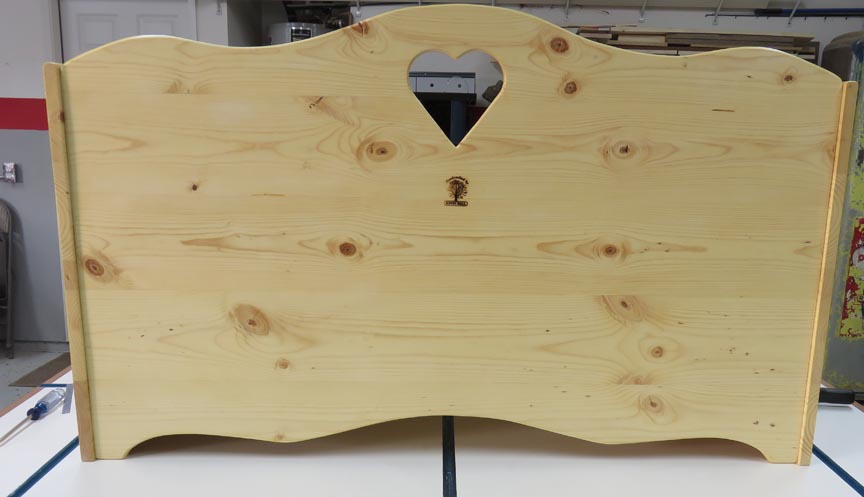
I was talking to a friend at work the other day telling
him how I just finished this toy box. After telling him how
large it was he told me that he had one when he was a kid. And then he
told me that he use to get inside it, just because he could. I asked him
how old he was at that time and his answer was around five years old.
Well that's all I needed to here because I could just
see my granddaughter doing the same thing, so now it's time to put two vent holes in the back panel just in case
she or someone decides to climb
inside and hangout.
This is looking inside the box. I plan on putting two
one inch holes back there.
|
|
 |
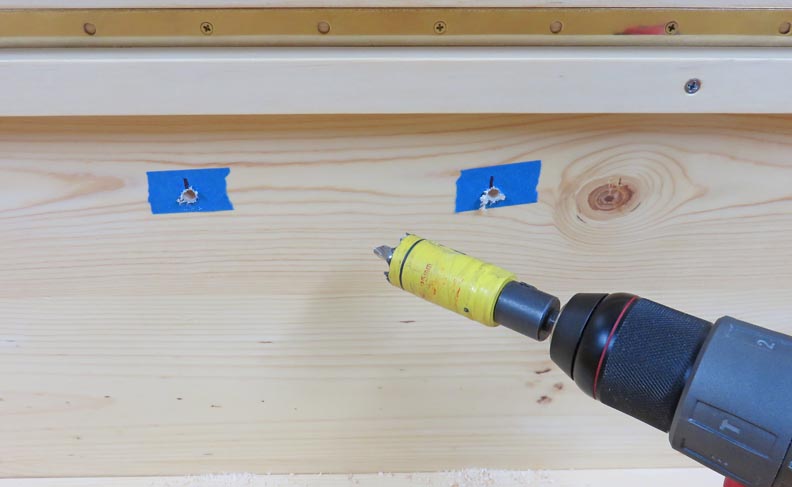
Take a good look because I plan on drilling some holes.
|
|
 |
|
I did some testing on a scrap piece first just to make
sure I don't get any tear-out. What I plan on doing is using a one inch
hole-saw but I've had times in the past when the saw breaks
through it tears up the surface on exit. What I came up with is to
drill a 1/4" pilot hole through first. Now most hole-saws use a 1/4"
drill that helps guide you as you cut. And knowing
this is the reason I drilled my holes first. Then I'll go half way
through from both sides (line on the hole saw), virtually eliminating
the tear-out problem.
|
|
 |
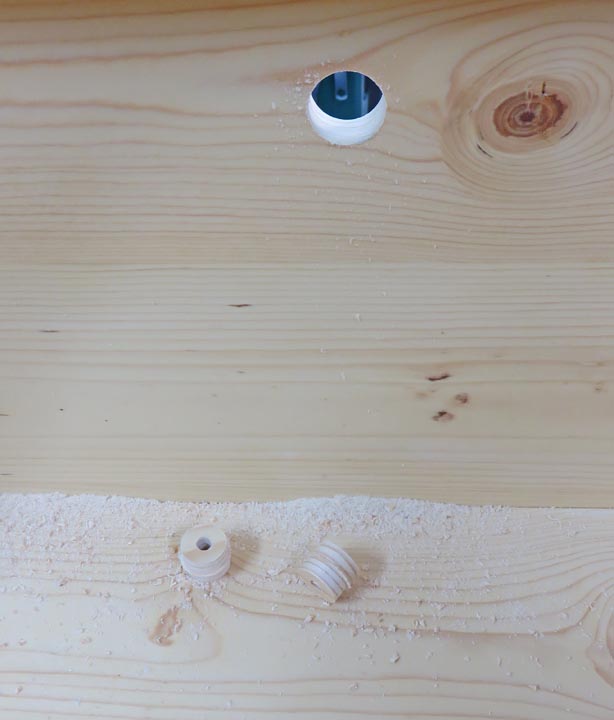
I took my time and this method worked out great. I then used some
sandpaper to clean up the holes and now it's ready for some clear finish.
|
|
 |
|
I used an acid brush to apply my first coat of clear but
I didn't like the results. The next day I used a small paint brush that
worked much better for a total of three coats, with light sanding
between each coat. This was something I should have done earlier, but
better late than never.
|
|
 |
|
1
2
3
4
5
6
7 |