|
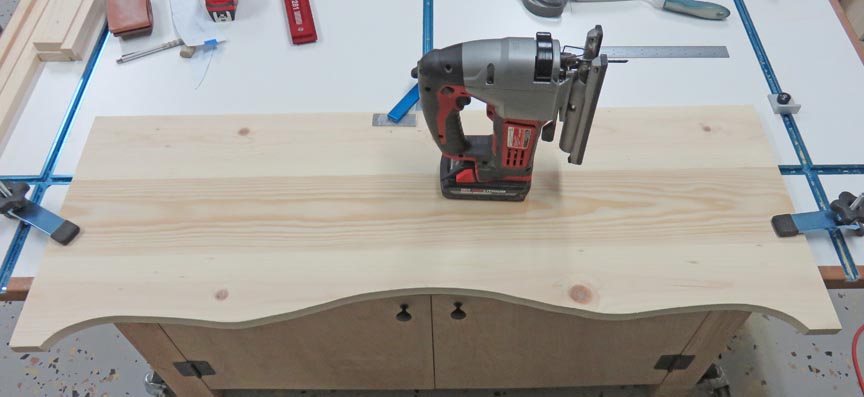
Getting Fancy Continued This is the front panel and it has the same pattern at
the bottom as the back panel, which makes this one easy. I used my
Milwaukee jig saw for all the cuts but I wasn't happy with it. For some
reason it will cut straight for a short distance and then the cut will
have a slight angle. I messed with my saw but couldn't get it just right
so it's time to look for a different saw. That's to bad because I have a
bunch of Milwaukee M18 cordless tools but this one isn't all that.
|
|
 |
|
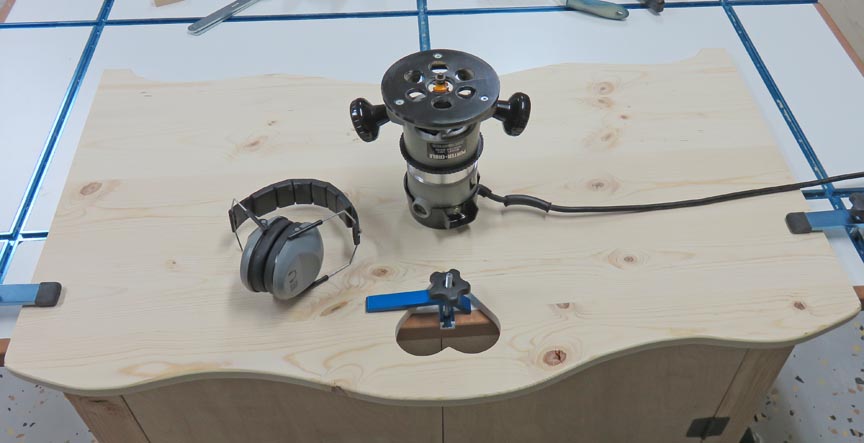
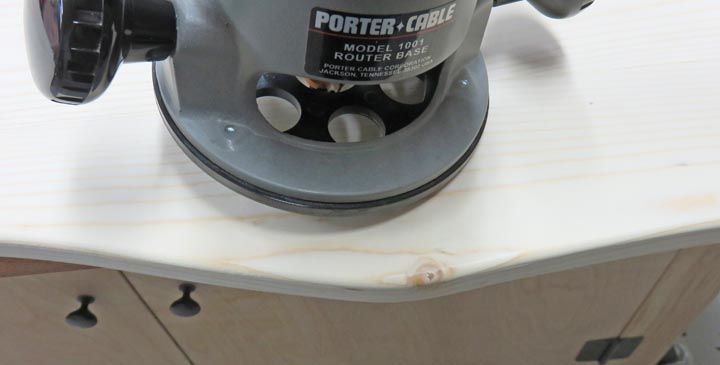
The next step was to put some nice smooth rounded edges
on some of the surfaces, but not all of them. I'm using a 3/16
round-over bit which should look and feel nice. As you can see I've got
the back panel clamped to my work bench which worked really well while I
used my router. However, I only routed the edges on the top and bottom
sculpted areas and the heart.
|
|
This went fast and it came out nice. I also did the sculpted area on the
back panel, and the front surface on the lid where you would open it
from.
|
|
|
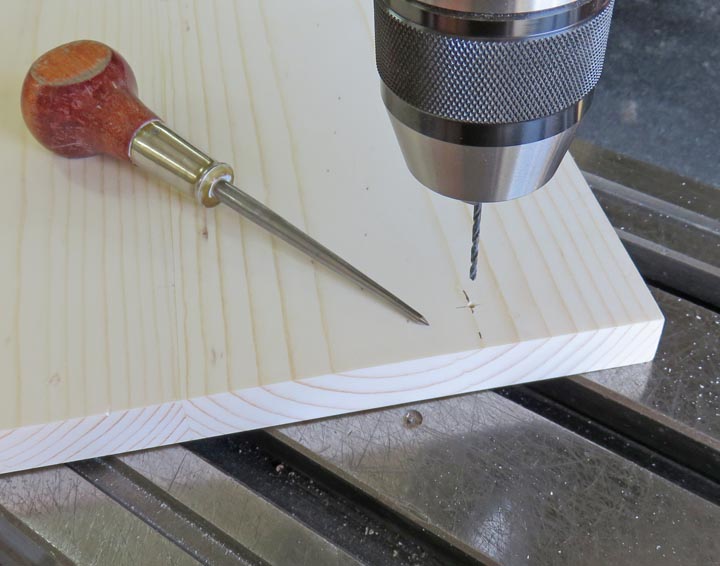
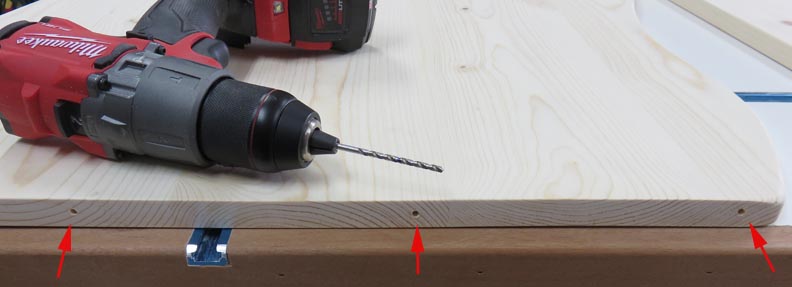
Assembly
This is the side panel and I've laid out for some holes
for screws. These screws will hold the sides to the front
and back panels, seven per panel. I used my awl to make a small dimple
and then used a 3/32 drill to pick up that spot. Once I have the small
hole in the correct location, I came back with a larger drill and that
one
will follow the existing hole.
|
|
 |
|
Once I had the clearance holes drilled in the side panels, I
placed each one against the front and back panels, clamped them in
place, used a transfer punch to made some dimples, pulled off the clamps
and then drilled my pilot holes. The location of these holes determine
the placement of each panel, which is critical.
|
|
 |
I pre drilled the holes in the shelf cleats before hand and here I'm using my
transfer punch again to locate each piece on the side panels.
|
|
 |
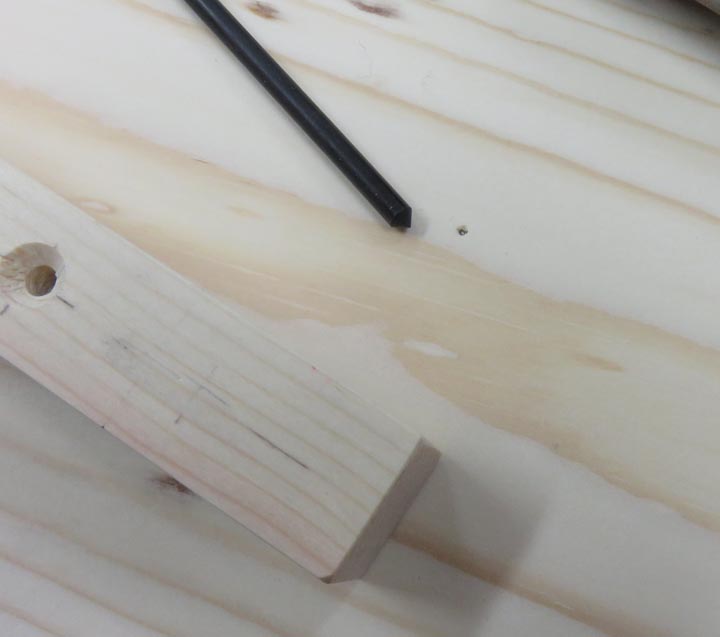
Here you can see what the transfer punch does. I also used my pencil to
darken the spot so you can see it better. Now all I have to do is drill
a pilot hole for my screws at the dot.
|
|
 |
Once I had the box screwed together, I was able to fasten all the shelf
cleats in their proper locations.
|
|
 |
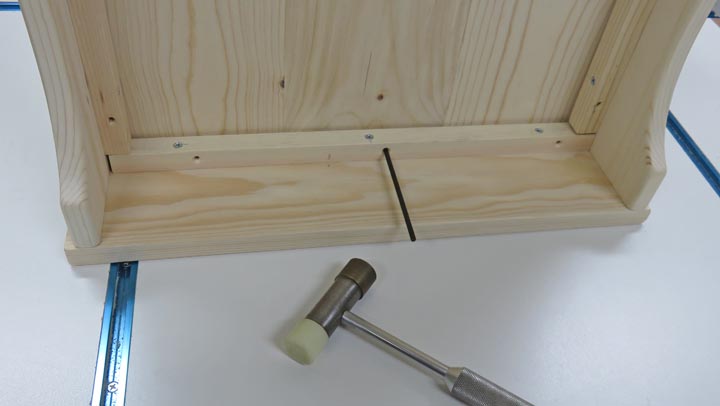
This is looking at the bottom side: I'm transferring the shelf cleat
holes that will hold the shelf. Once I had all the spots
located, I removed the shelf and drilled all the pilot holes.
|
|
 |
|
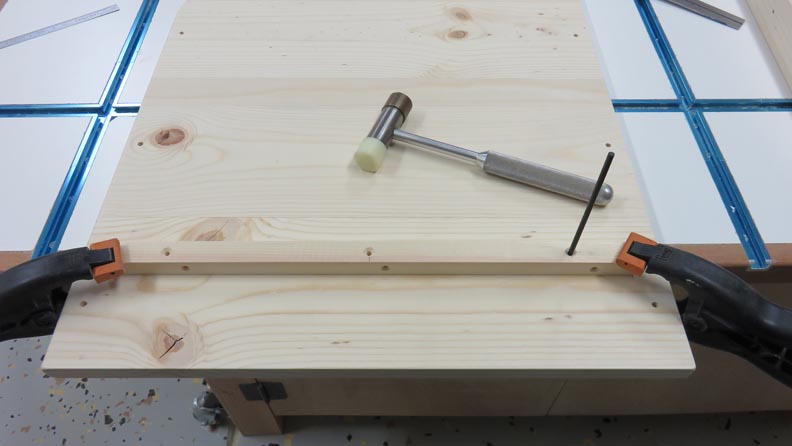
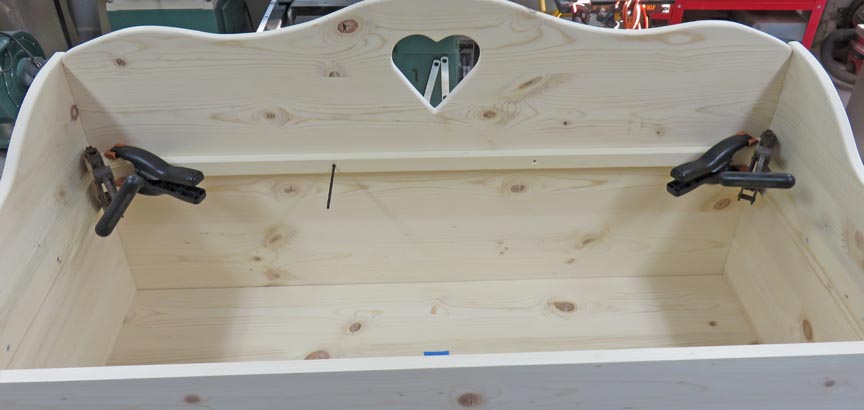
Now it's time for the seat supports. These need to be
flush with the top surface of the front panel. Once I had both sides in
place, It was time to locate the rear piece. As you can see I have the
rear piece clamped so I can transfer the holes.
|
|
 |
|
1
2
3
4
5
6
7 |