|
Assembly Continued
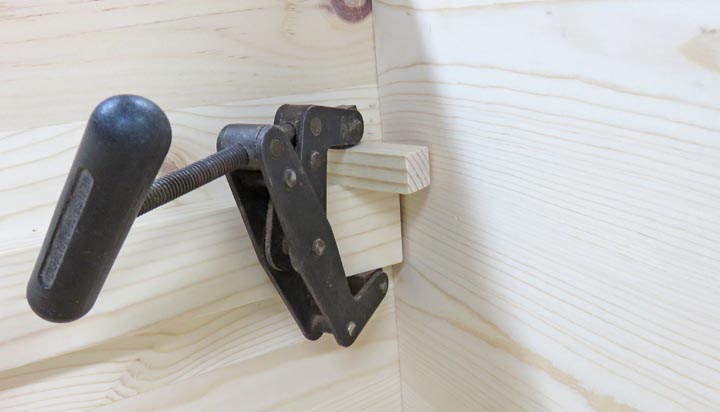
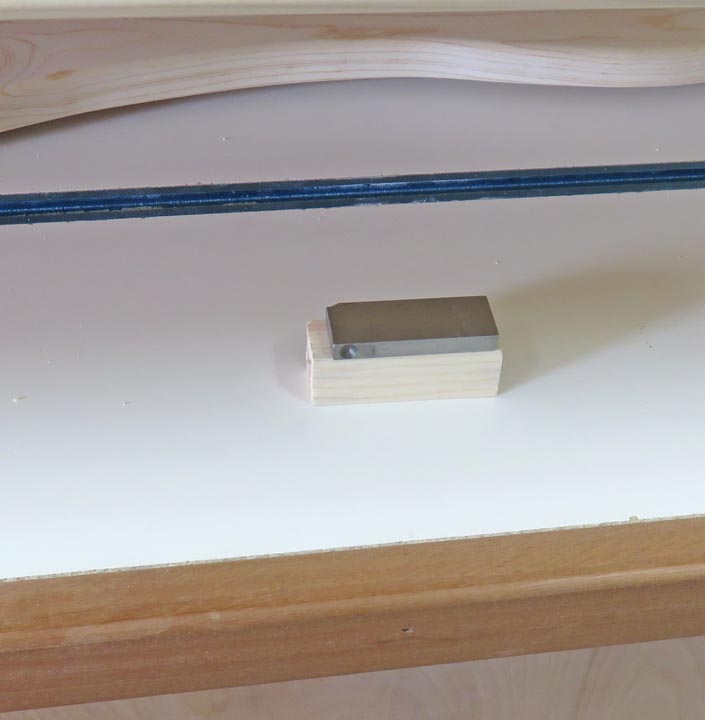
A close up of how I was clamping. The clamp you see
below is holding a small block of scrap wood. I then placed the rear seat support
under that block and then transferred the hole location. This way
I was sure to have the rear support in the right spot.
|
|
 |
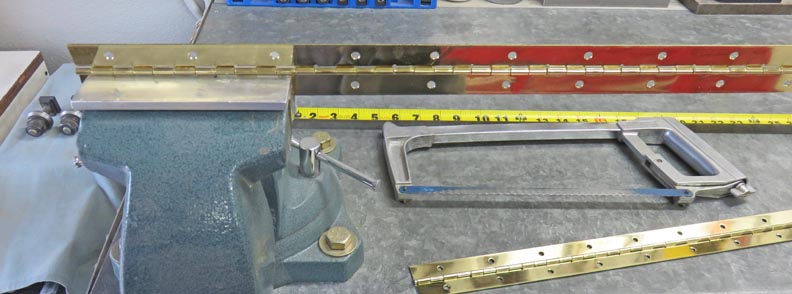
I'll be using a piano hinge for the seat
and as you can see I'm cutting it to length. I placed the piano hinge in
my vise and then used my hacksaw to cut it.
|
|
 |
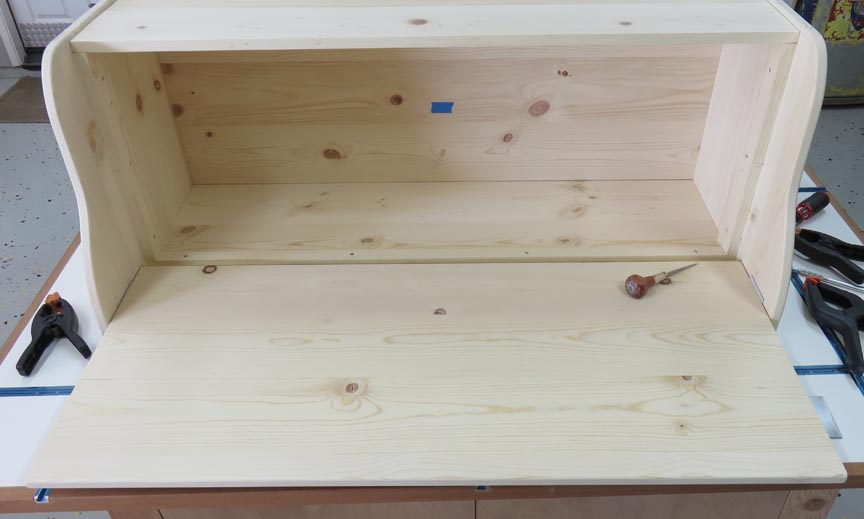
Here I'm clamping the hinge against the bottom of the seat, getting it
in the right location.
|
|
 |
|
To make sure the hinge is right at the edge, I'm using
five steel parallels to locate it with. This way I know the hinge is
where it needs to be. Then I used an awl to put a small dimple for my
holes. I used screws at every other hole location.
|
|
 |
To get the screw locations for the back side, I placed the box on it's
back to get at the other holes.
|
|
 |
|
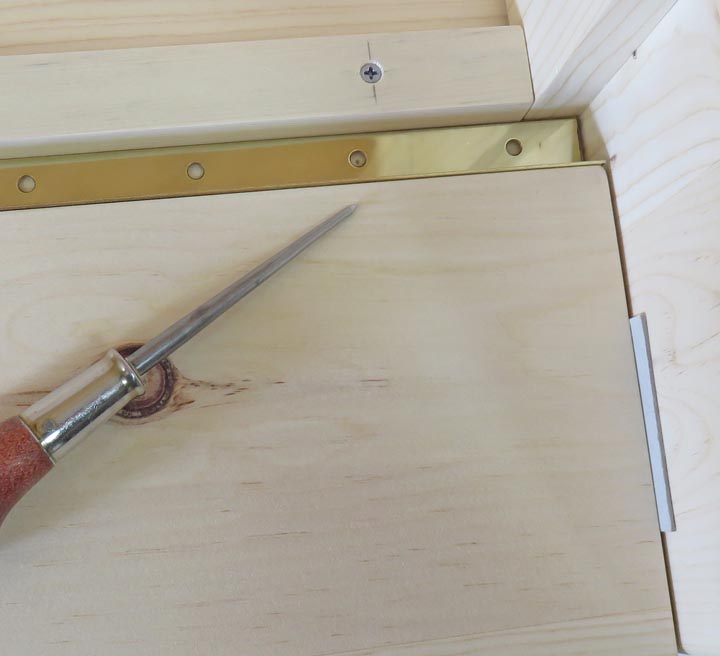
Here you can see I'm using my awl to make a mark and
then I screwed in my #4 screws without any pilot holes. Also notice the
cardboard shim to the right. I placed one of these on both sides to keep
the seat centered.
|
|
 |
I used these two shims to keep the seat level while I was screwing it in
place.
|
|
 |
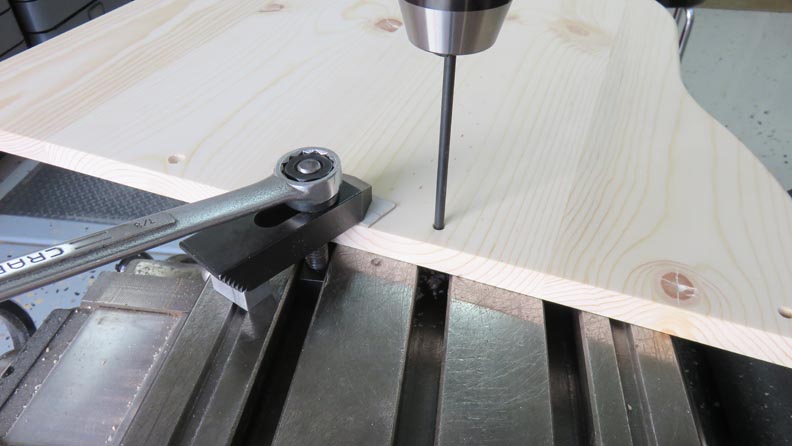
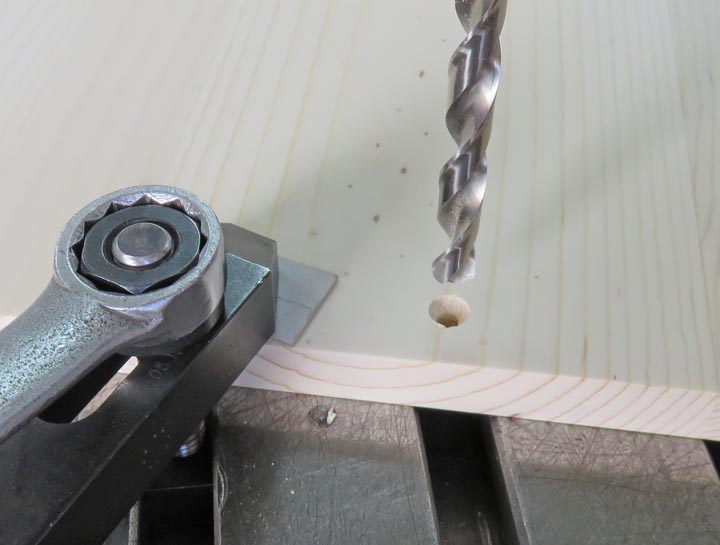
Here I'm finding the center of my screw holes using a transfer punch.
Once the punch slipped through the hole, I clamped my work piece down
and switched to a 3/8" diameter drill for a counterbore.
|
|
 |
|
I'll be using drywall screws to hold the side panels on
and here you can how far I've counter bored my hole. Once the screw is
in the hole, the flathead screw was .100" below the surface (less than
1/8"). This way I have more material to help add strength to my
board.
|
|
 |
|
1
2
3
4
5
6
7 |