|
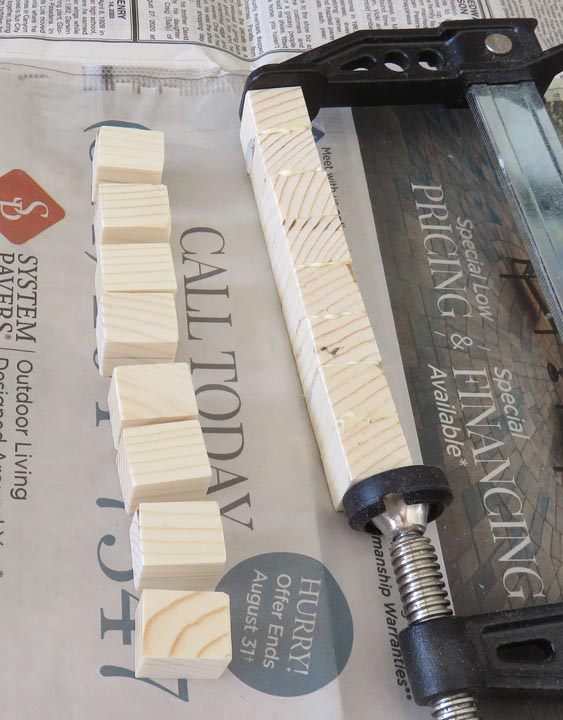
Wooden Plugs I need to plug all those counterbored holes so they
don't show, and to do that I'll be making them. What you see here is
a bunch of pieces that are going to be glued together. However, I won't
be using the 'end grain' for this, I'll be using the 'face grain'. Now
this isn't much more work doing it this way, but I do have to keep all
the pieces oriented the correct way while gluing.
|
|
 |
|
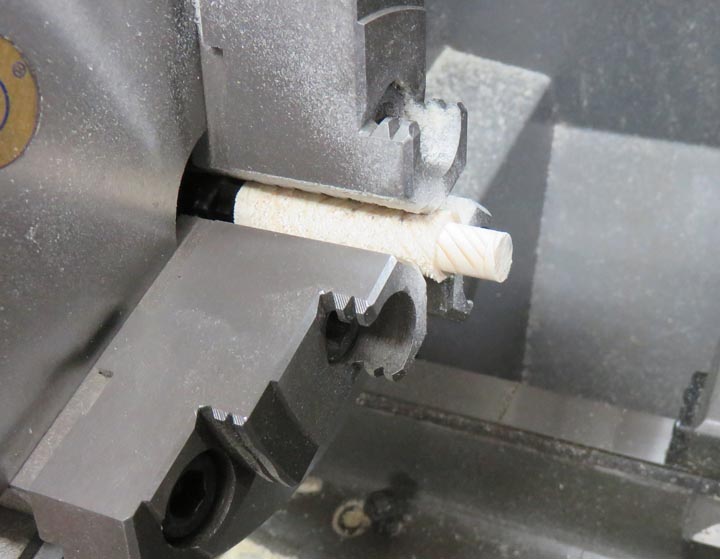
Here I'm turning the plugs in my lathe down to 3/8".
This worked but I could only do two or three plugs at a time. The reason
for this is because the grain direction is weak this way. To
help with that, I had to keep my work piece stubbed up so it doesn't
break. Ask me how I know that???
After I had the diameter I needed, I used my hacksaw to
cut the piece off. This worked well because my hacksaw blade is very
thin compared to my parting tool, which is 1/8" thick. This saved material
and I had more control by doing it this way, because the pine would flex
so much.
|
|
 |
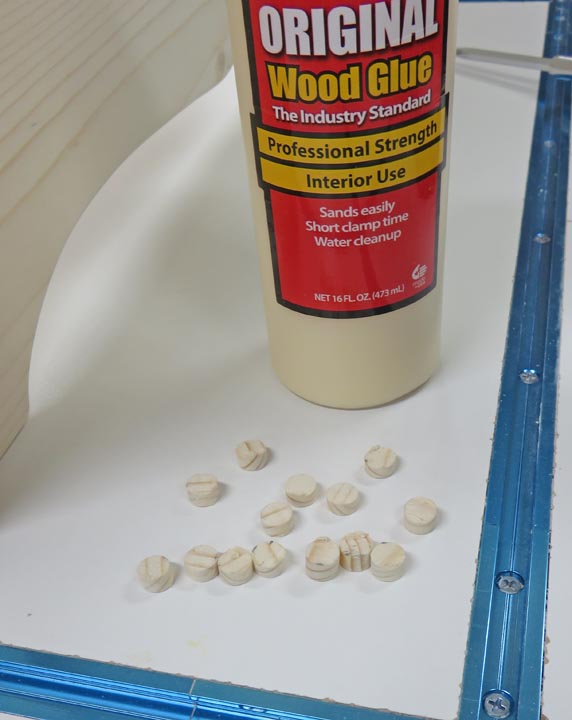
I gave each plug a light sanding on the face and broke the leading edge
before gluing.
|
|
 |
|
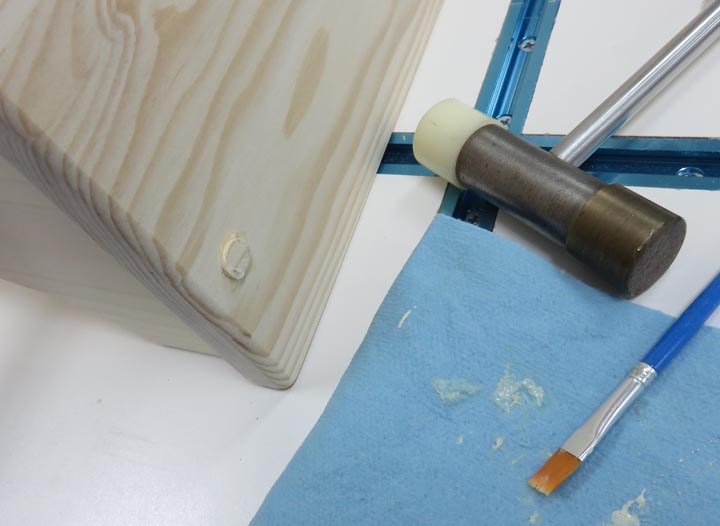
I used one drop of glue, spread it around with that
small paint brush and then tapped the plug in with my soft faced hammer. The
next day I came back and sanded all the plugs with 80 grit and then
150 grit sandpaper. This was my first time doing this but it worked
great and it was easy.
|
|
 |
|
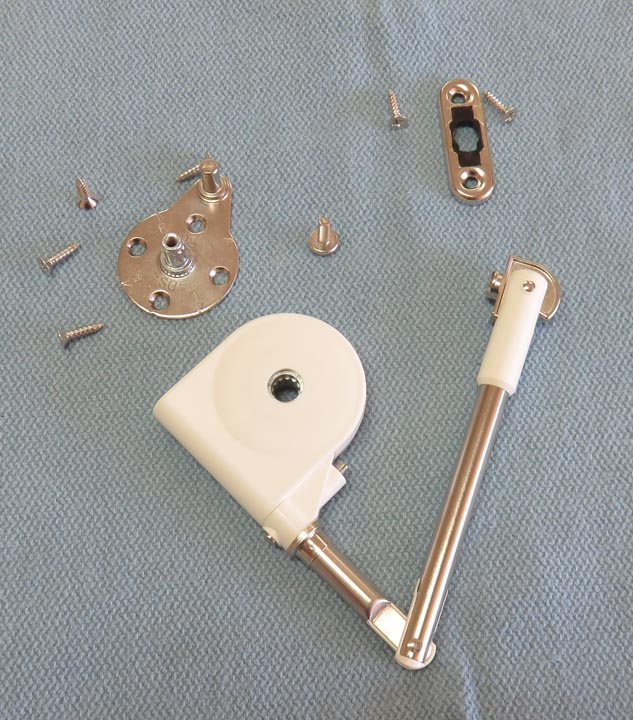
Seat Hardware
There is more than one way to keep little fingers safe
so the seat doesn't fall on them. And I looked a lot of
different types of mechanisms from cheap spring setups to elaborate gas
pistons before I settled on this 'lid stay' (as they're called) or lid
support is made by Sugatsune. This lid
support has a soft closing technology to prevent slamming
and can hold the lid open up to 105 degrees.
Once I read all the reviews I bought two because I
didn't know if I'd need one per side of the seat or not. If I only
used one, then I'd use the other for a second toy box.
|
|
 |
|
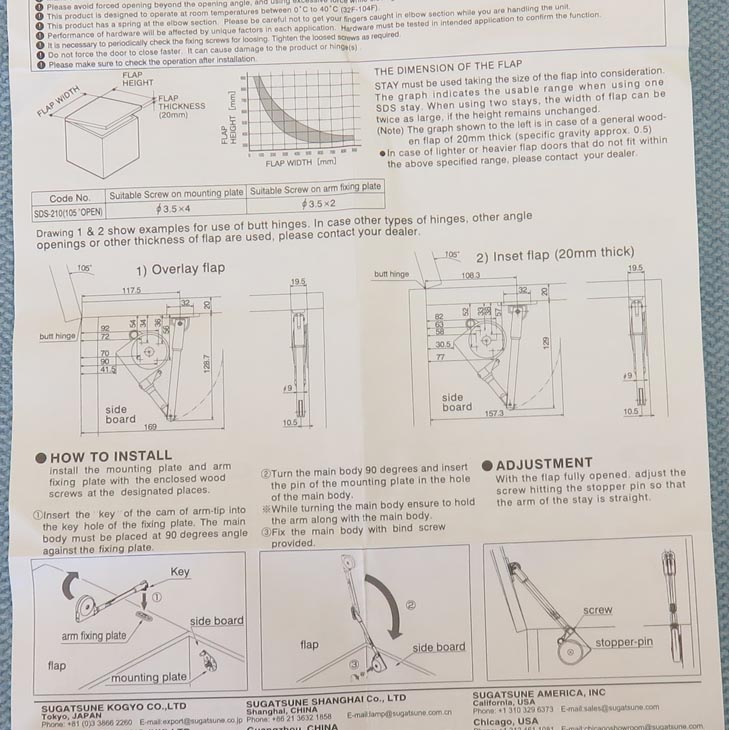
Here are the instructions that came with the lid support.
Depending on the way your lid is hinged determines where it gets
mounted. After looking at both ways it can be mounted, mine is on the
right (2 Inset flap). And with this being made in Japan, all the
dimensions are in metric.
|
|
 |
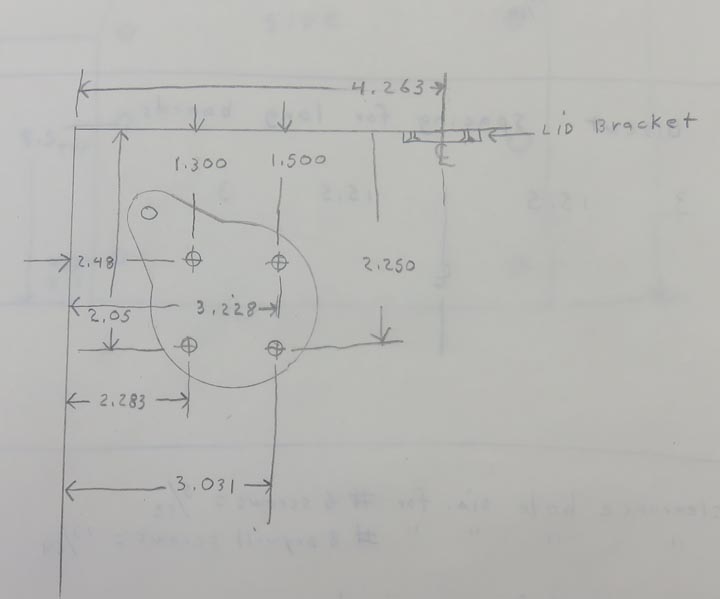
I really don't have much use anything metric so I had to convert
all the dimensions. Once I had all my new numbers,
it was easy to layout.
|
|
 |
|
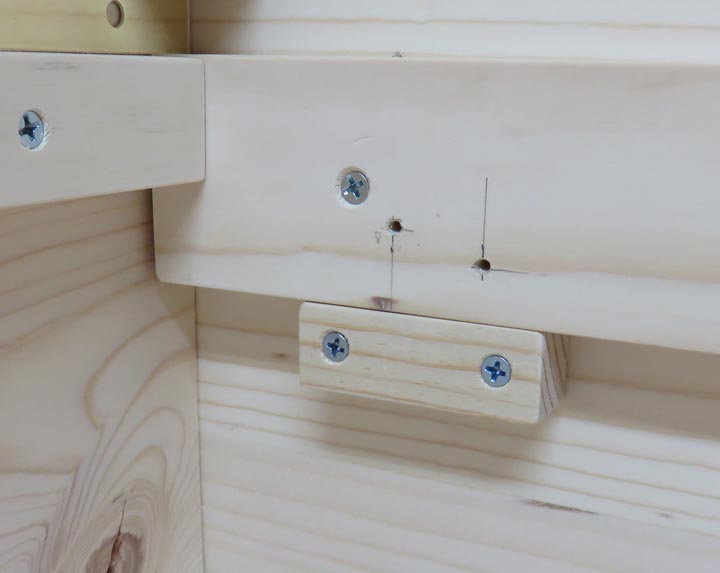
And sure enough, I had two holes in my seat support and
two in mid-air. What I had to do was add a small block so I could
utilize the four screws the bracket had.
|
|
 |
|
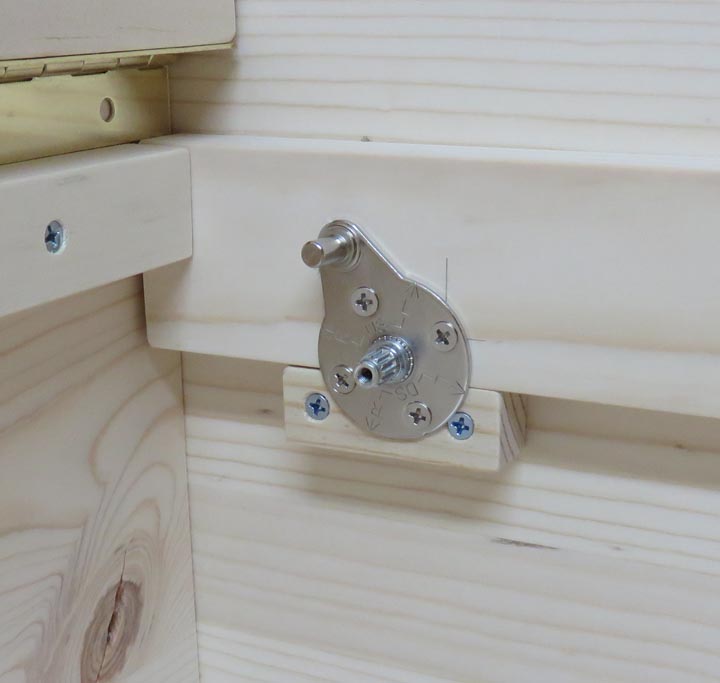
Here you can see all four screws fastened down. However,
if you look close you can see one screw split the difference between the
two wood pieces. I don't think it's that big a deal so it's all good.
|
|
 |
|
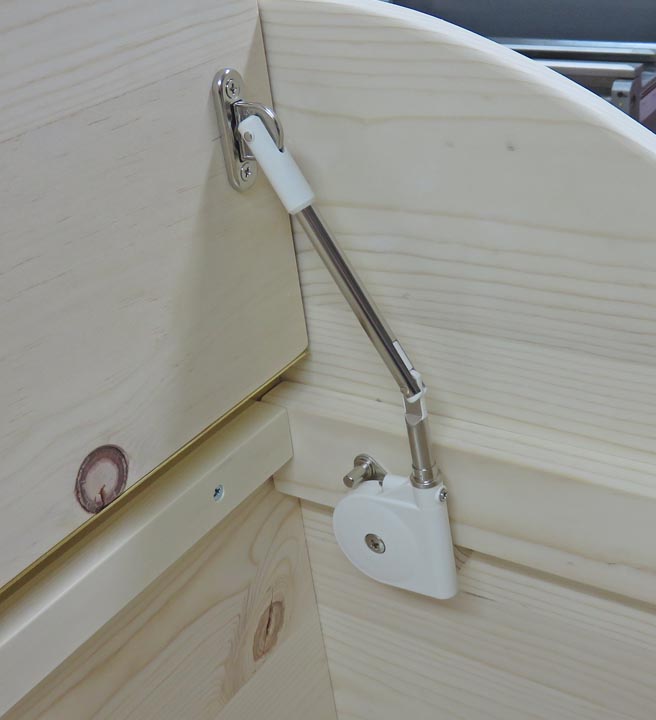
Here it is installed which was an easy task. However,
once I opened the lid I quickly found out the lid and back hit each
other and won't open past 90 degrees, so this is my fault forgetting
this detail. The arm that you see should be straight and not at an angle
while open. That means the lid only stays open a few seconds before it
wants to close.
But the good news is the lid support works great because it
slowly closes the lid and hardly makes a sound when it shuts fully.
|
|
 |
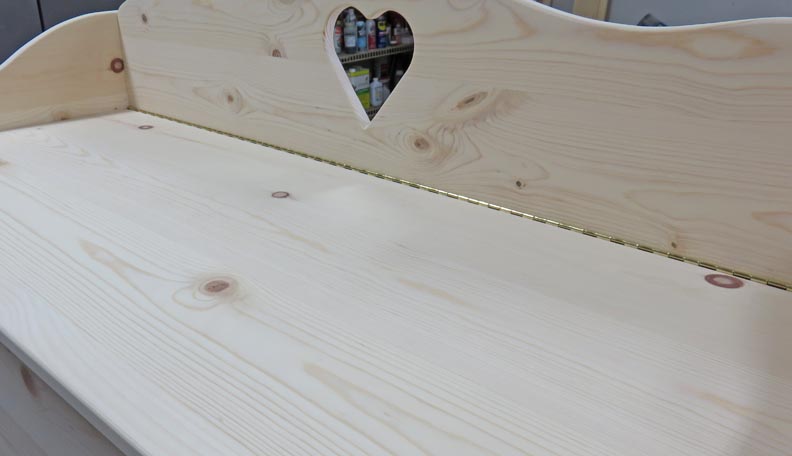
Here you can see the long piano hinge, which works really good. So far
things are going together pretty well. Now it's time to take it all
apart and put a nice finish on it.
|
 |
|
1
2
3
4
5
6
7 |