Toy Box   1                                                11-2020


I bought some books a few years ago that have all kinds of ideas for making toys and furniture. As I was looking through it the other day, I saw a nice looking 'Country Bench', or toy box that I thought would be a good project for me. Now this will be the first time I've ever made something this large and it will definitely be a challenge for me. However, I like learning so it's all good.

This will be a Christmas present for my granddaughter, Audrey, but if all goes well, I plan on making another one next year for my other granddaughter, Giuliana or JuJu. Now Audrey is three and a half years old so she should be able to use this pretty good, but JuJu just turned one so she will have to wait a bit longer to get full use out of it.

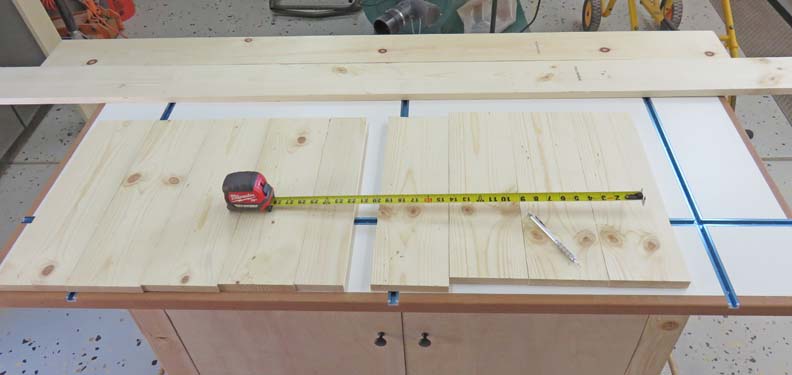
The size of the toy box will be 42" long X 18" deep X 26" high in the back. The lid will also be a seat which is 16 1/2" high, so it will be like having two 
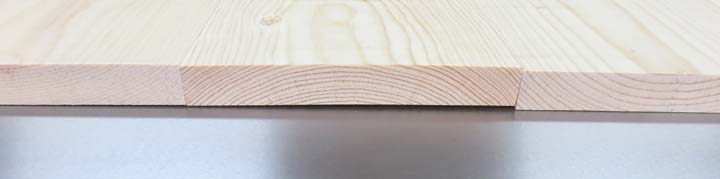
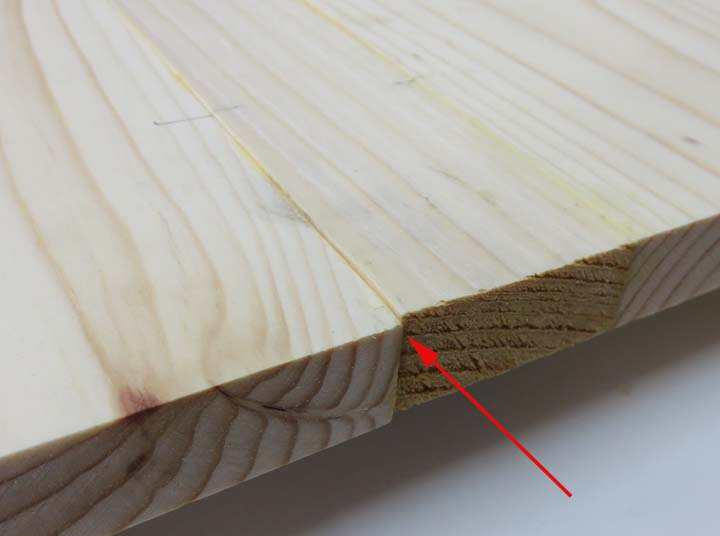
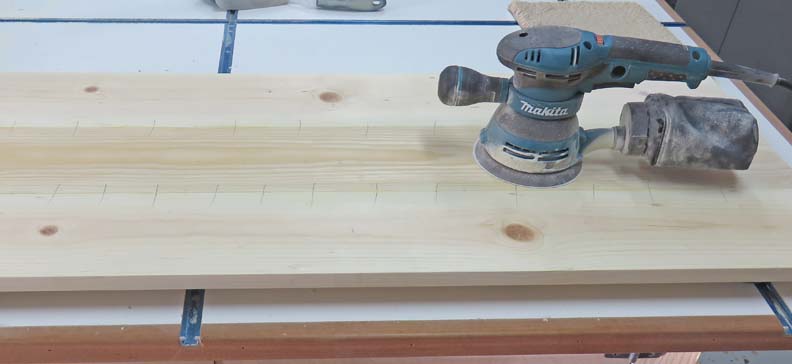
items built into one. I plan on using common pine with knots for this project and I'll have to plan around said knots because I don't want to end up with one cut in half or on an edge.

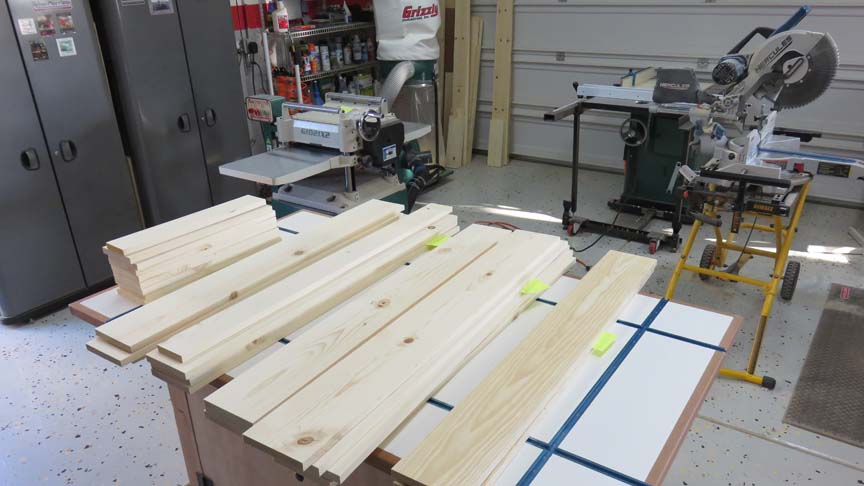
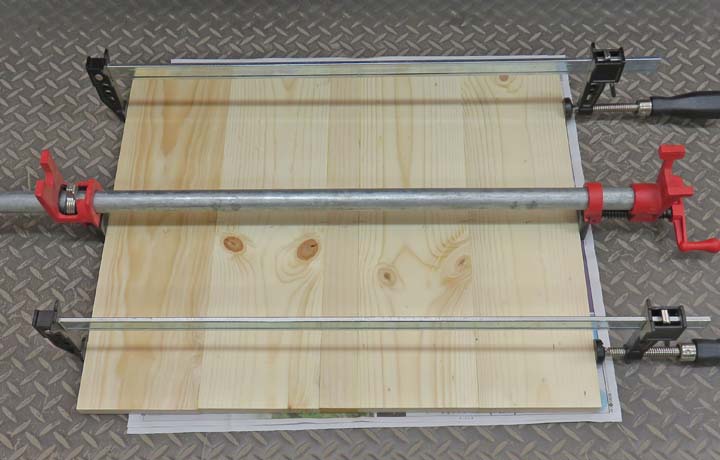
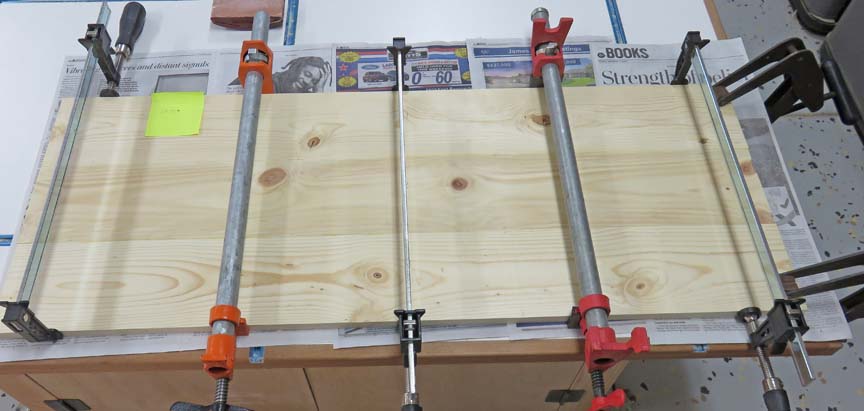
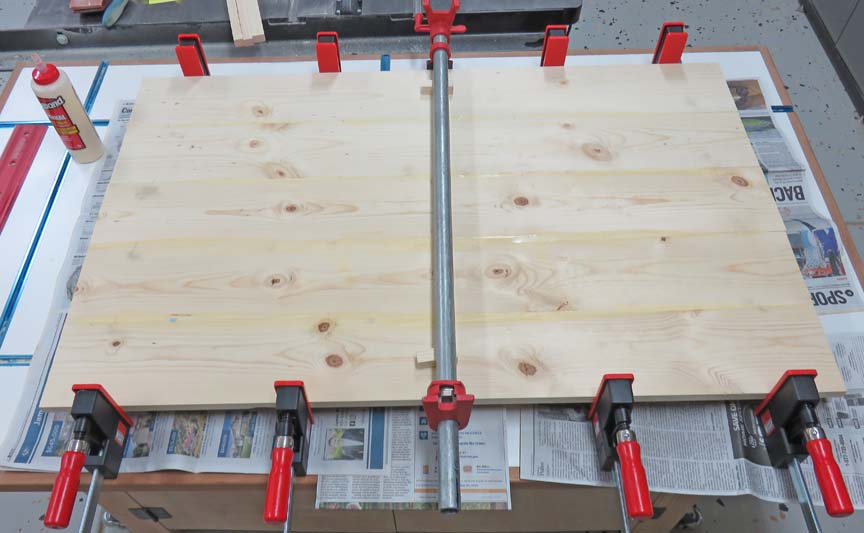
I bought 1" X 6" X 8 feet long boards and had a really hard time picking out enough that were not warped. On a side note: lumber these days is very expensive and it's not very good quality either. With that being said, I also bought some shorter 6 foot boards that were better looking just in case I needed them.


Building A Box


With all the boards cut about one inch oversize in length, I'm now ready to run them all through my thickness planer. The yellow tags are helping me keep track of each individual piece of the toy box. And my mobile work bench is working out great for this.


Now that all the lumber is the same thickness, it's time to trim all the sides that will receive glue. I don't own a joiner for this process but my table saw should do a good job here. Notice I'm using a 'feather board' to help keep each piece against my fence. This worked great and went pretty fast.


Every panel on this toy box will need five or six pieces glued together. And to help me keep things in alignment I'm using #10 biscuits on each piece. The pieces below are going to be the sides and are 18" long. As you can see I'm using three biscuits per piece. However, on all the longer pieces I used four biscuits per piece.


Notice the grain of the wood below. I'm alternating each piece to help keep each panel as straight as I can.


This is one of the side panels being glued here. Those black clamps are 24" long and I'm close to maxing them out.


The following day I removed the clamps and didn't like the mismatch that I had. Now these are too wide for my planer so that means I'll have a lot of sanding to do. I'm not sure why this area was so bad compared to the rest of the panel.


Here is lid which is about 42" long.


Here I'm sanding on the lid and if you notice I have pencil marks every few inches. This helps me determine if everything is sanded or not.


I had to wait over a week to glue this back panel together because I didn't have clamps large enough... so I bought some. The four matching clamps are 36" long and are made by Bessey. These are called 'parallel clamps' and get their name because the jaws are truly parallel to each other. And after using them I can see why people like them, they work great! I should have bought these a long time ago. The model I bought is K Body REVO JR and come in many different lengths.

Now I've used pipe clamps many times before (like you see in the middle) but the jaws are junk compared to my new ones. Do yourself a favor if you do large glue-ups like this and buy some type of parallel clamps, you won't be disappointed with the results. However, there is one downside to these clamps, they'll cost you.


1   2   3   4   5   6   7