|
Finishing The Tray Continued
I'm getting ready to transfer the hole location from the tray to the
chair. I clamped the tray in place and then by using the sharp tip of
the #10 screw, I was able to make a mark on the wood by pushing on it with a
screwdriver.
|
|
 |
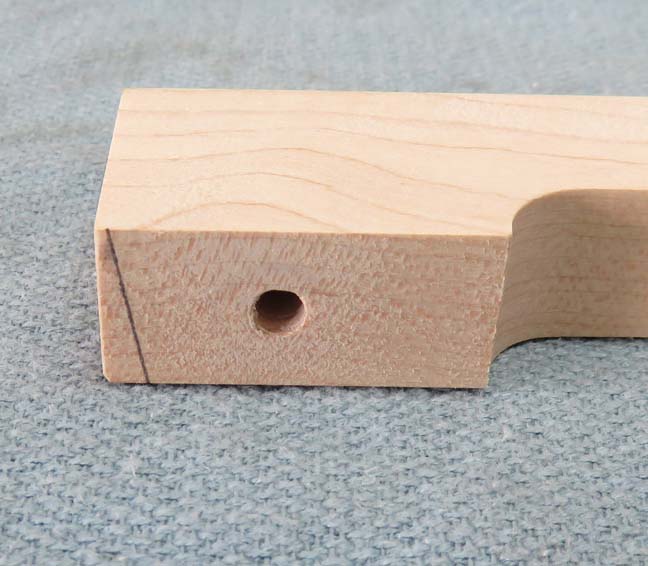
Here is the mark the screw left which was
easy to pickup. This will be a pilot hole for my # 10 screw but it won't
go through.
|
|
 |
I have the chair on its side here. The area between the arrows are
pointing to the back of the tray that needs to be cut at a 10 degree
angle.
|
|
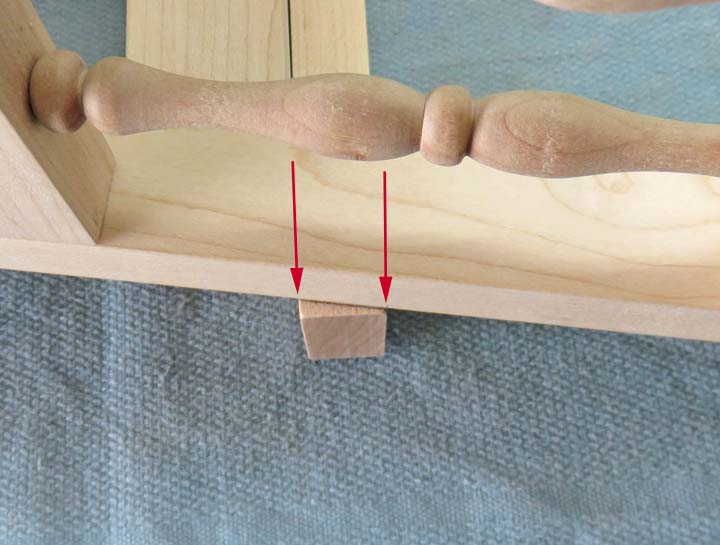 |
Once I cut this angle, it will then match the back of the chair.
|
|
 |
|
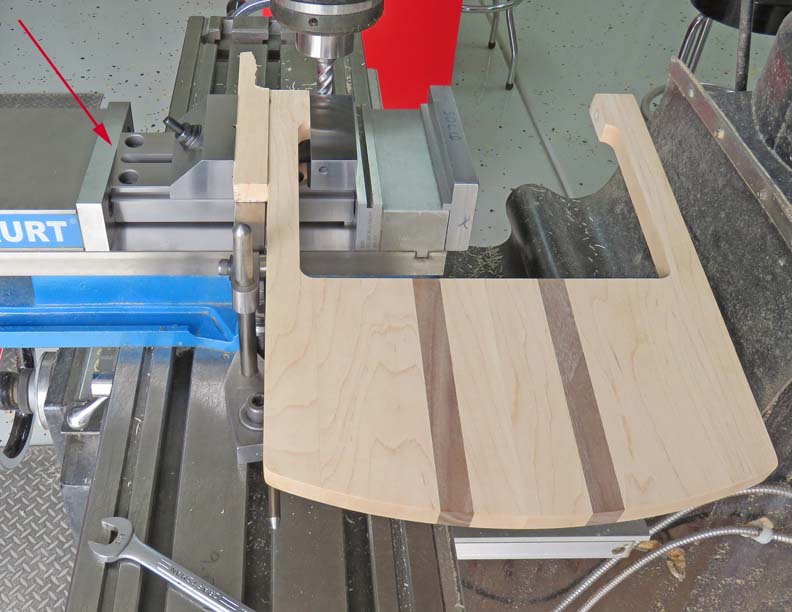
To get my 10 degree angle, I'm using my precision vise...
in my mill vise set at my desired angle. I placed my 10 degree angle
block under the precision vise and if you look close you can see the
slight difference where it's angled (arrow).
|
|
 |
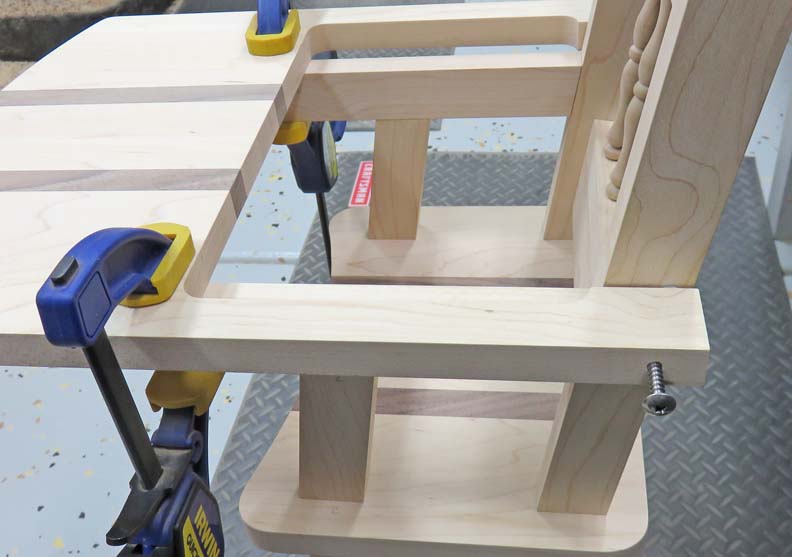
This worked out great and now the ends of the tray and chair back are flush with
each other.
|
|
 |
|
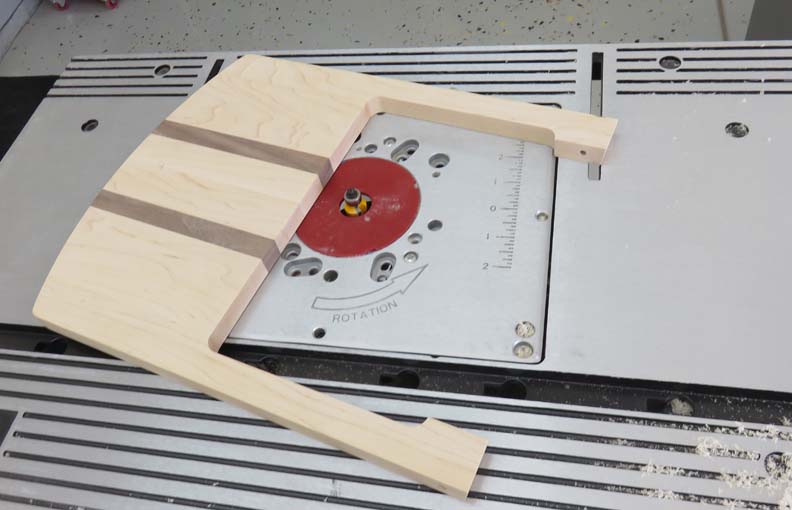
I used my router table and put a 1/8" radius on most of
the edges of the tray. In fact, did the same for most of the other pieces for
this project. Note: where one piece would cross another piece, I didn't
put a radius at those areas (like the arm rest where it comes in contact
with the arm rest support). I worked up to a pencil line and then
stopped so it would look better. You'll see what I mean later.
|
|
 |
|
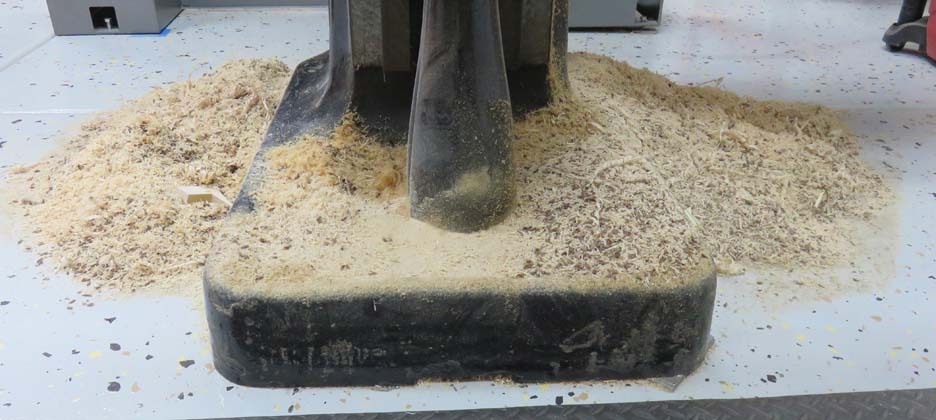
Cleanup Time Here is the mess I ended up with once I was finished
machining. Lots of wood chips for sure but I did leave some in the base
area of my milling machine. The reason is because of the 'lubricating oil'
that runs through the machine and finds it's way
to the bottom. This helps to absorb this oil as it's being dispensed.
|
|
 |
|
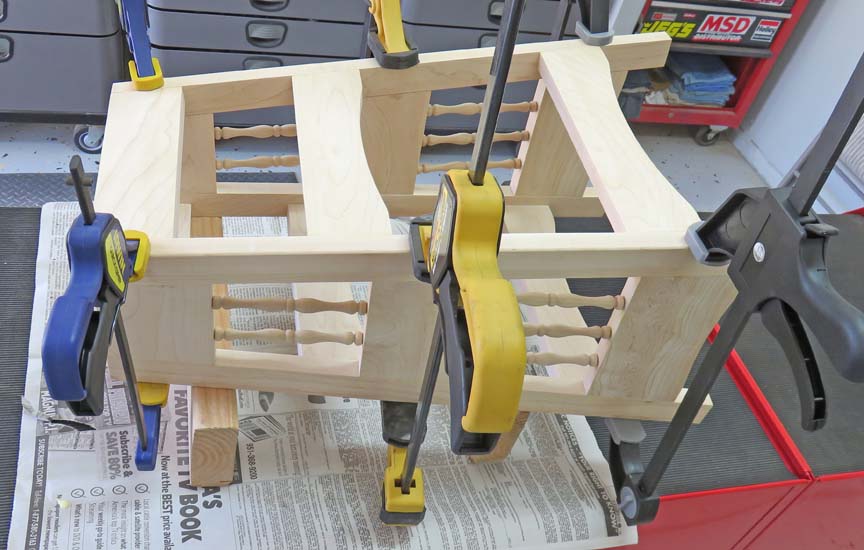
Final Assembly
I did one last dry fit with all the dowels before
gluing. Then I put a couple of drops in each dowel hole, a small
amount between them (on the flat surfaces) and then clamped them
together. However, once I started placing my clamps here and there, some
of the joints had gaps. All I could do is shake my head from
side-to-side wondering why?
Then it hit me, I wondered if I placed too much glue in
some of the holes and that was holding my pieces apart? I'm not sure but
my plastic clamps were quickly replaced with some screw clamps that have
much more clamping force. Once I had those troubled areas closed, I
replaced some of my screw clamps with the others.
|
|
 |
|
The following day I assembled the other remaining sides
and the same thing happened (gaps) so I repeated the process from above.
Once everything was dry, I used my D/A sander again and made sure all
the surfaces were flush. I also did some hand sanding here and there.
|
|
 |
|
1
2
3
4
5
6
7
8
9
10
11 |