|
More Drilling
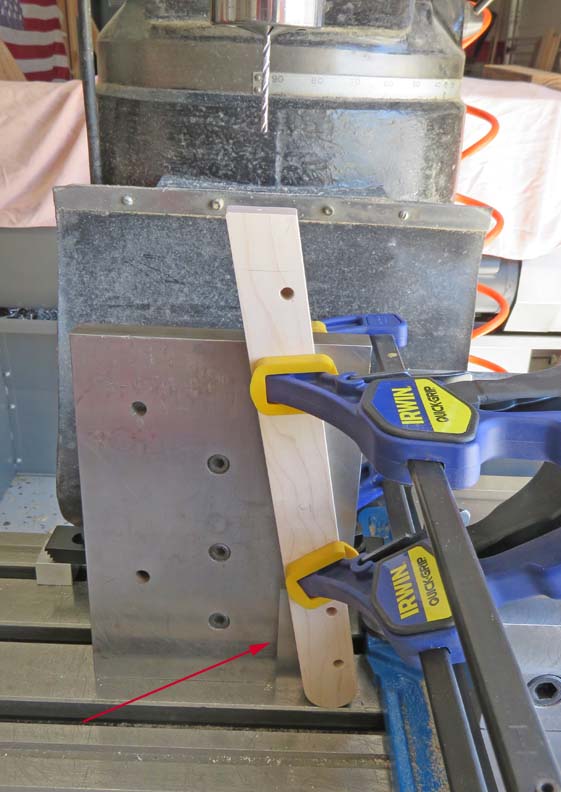
This is the arm rest for the chair. I'm drilling a pilot hole for a # 10
screw and to make sure it's sitting at 10 degrees, I'm using my angle
block to help me (arrow).
|
|
 |
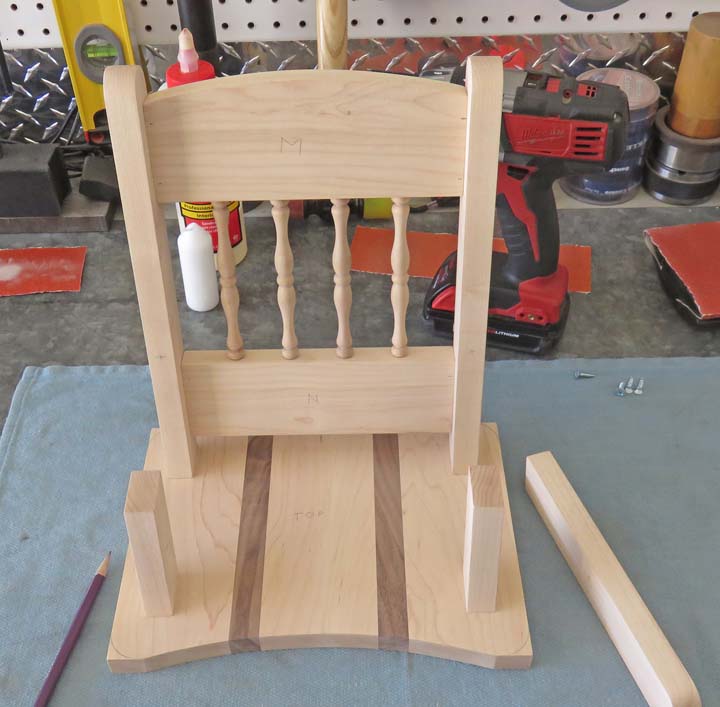
I'm getting ready to drill some dowel
holes to locate the armrests. The seat back and the two armrest supports
are screwed in place here.
|
|
 |
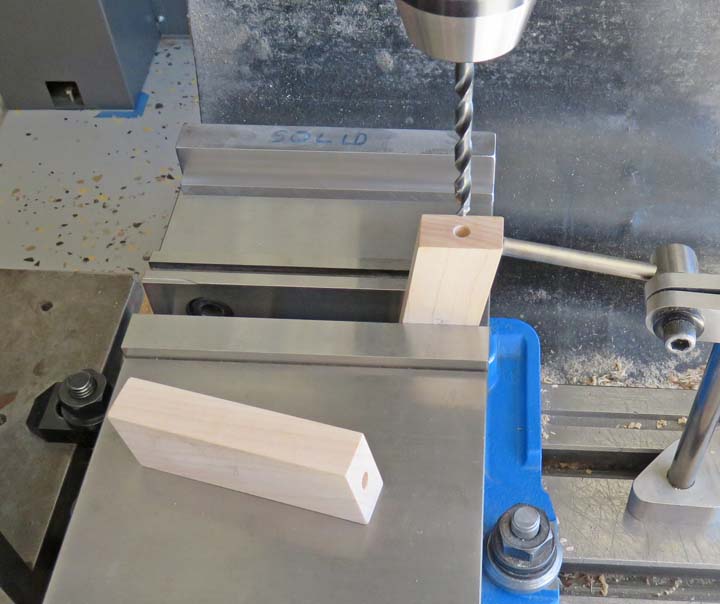
Here I'm drilling the dowel holes in the armrest supports. This was the
easy part.
|
|
 |
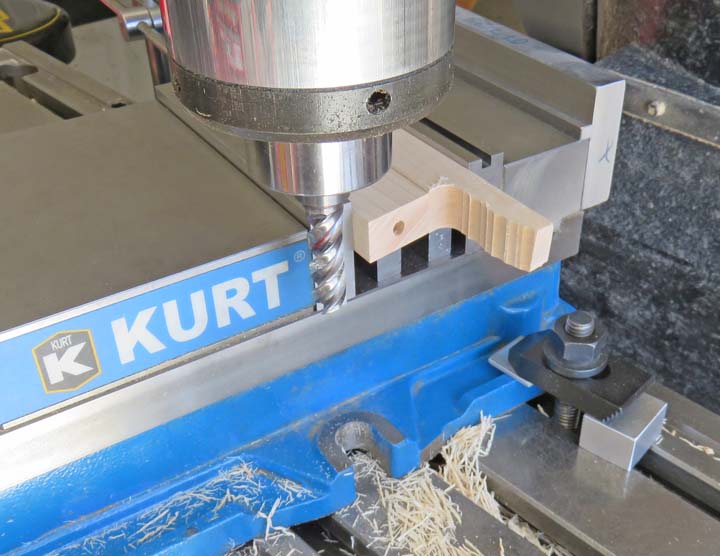
The hard part here is getting the dowel hole in the arm rests in the
correct location. The reason it's tricky is because of the 10 degree
angle at the end of the arm rest and having everything line up when your
done.
|

|
|
And to make sure I didn't end up putting the hole in the
wrong place and end up with a gap between the chair back and armrest, I
offset the hole longer than I needed by a small amount. I figure it's
easier to cut more material off than to make a new piece.
Note the
pieces don't fit correctly (arrow). This was planned and I only needed
to machine a small amount off to have it fit correctly.
|
|
 |
I took .010" at a time and then checked my work. In all, I removed about
.035" until I had the fit I wanted.
|
|
 |
|
Making Brackets At this point I'm ready to attach the seat to the base.
And to make that happen, I'm making four small brackets. The author
bought his, and he called them "figure eight fasteners" but after looking in our local hardware store, they had no
idea what I was talking about.
|
|
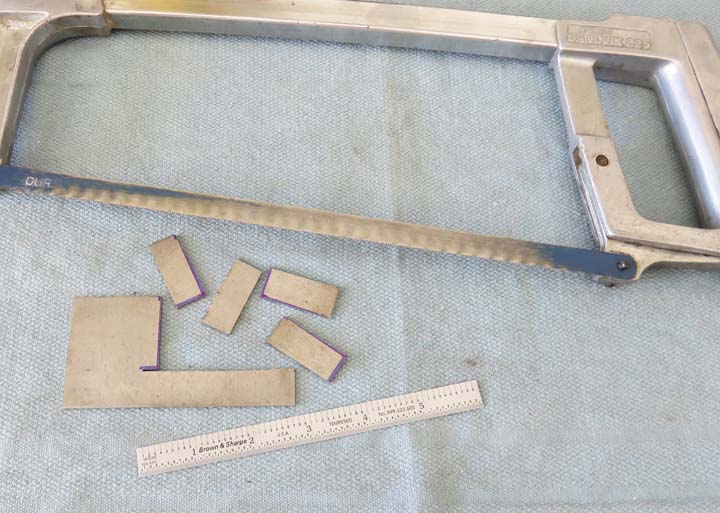 |
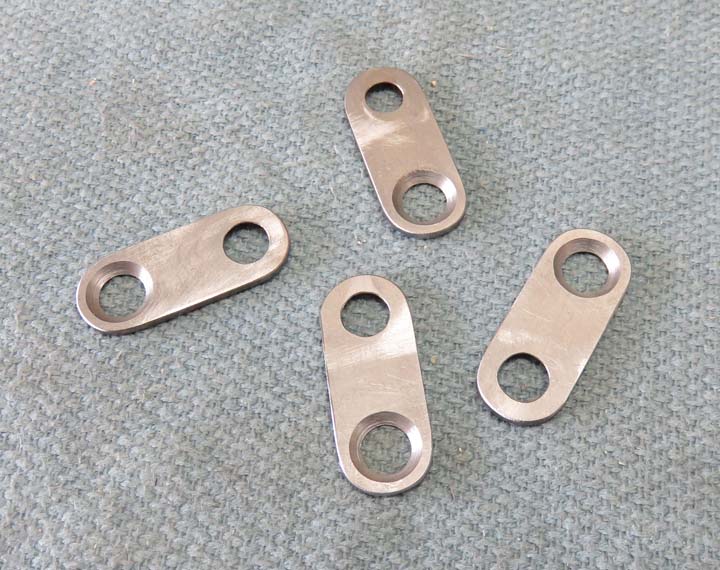
I made these from 4130 steel that was 1/16" thick. They are 1/2" wide X 1
1/4" long and have countersinks on either side. I'll show you why next.
|
|
 |
|
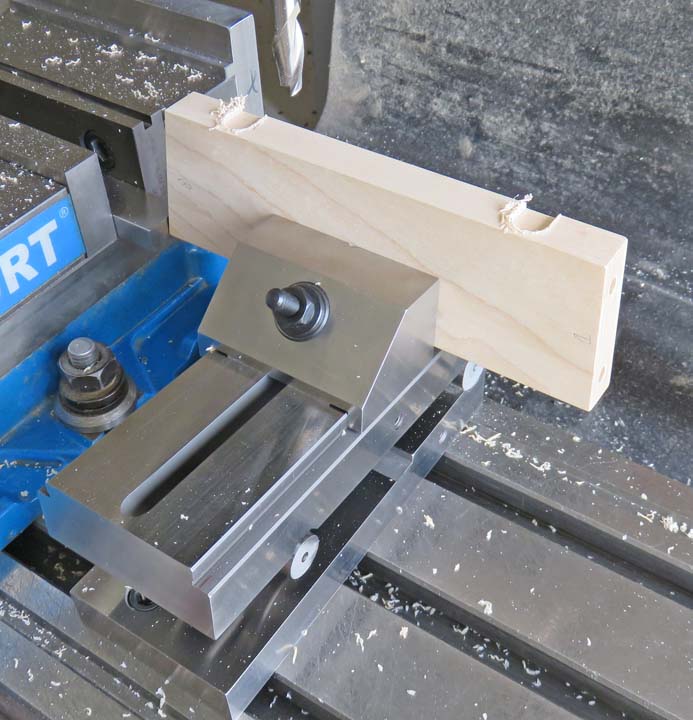
I'll be attaching my new brackets to the longer of the
two pieces
at the top of the base. To make sure I have the slots for the brackets
parallel to the top surface, I'm using my sine vise set at five degrees
here.
This sine vise sure has come in handy for this project.
|
|
 |
|
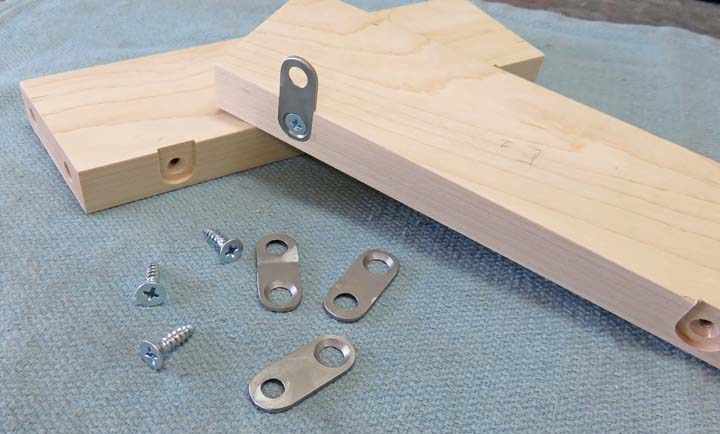
After drilling a pilot hole and countersinking for the
flathead screws, this is what it looks like. Now if your asking
yourself... countersinking for the flathead screws, those brackets already have countersinks
in them?
Yes the brackets already do. But with the brackets being
so thin, the countersink on the screws go beyond the thickness of the
brackets and won't tighten correctly if I didn't countersink the wood a
small amount too.
|
|
 |
|
1
2
3
4
5
6
7
8
9
10
11 |