Doll High Chair 1                                                2-2019


This project will be a birthday present for my granddaughter, Audrey. She will be two years old and I'll be making a 'Doll High Chair'. I knew this would be a lengthy project, which is why I started in late February. The idea for this present came from I book I bought that has 'kids toys that are made out of wood'. I had no idea that I'd ever make something from a book before but here we are.

I started reading how the author made this doll high chair and after a few paragraphs, I stopped and put the book down. The reason is because he used a bunch of woodworking terms and woodworking equipment. Well, I don't own the tools that he used and I don't plan on buying them either. However, the part I really 
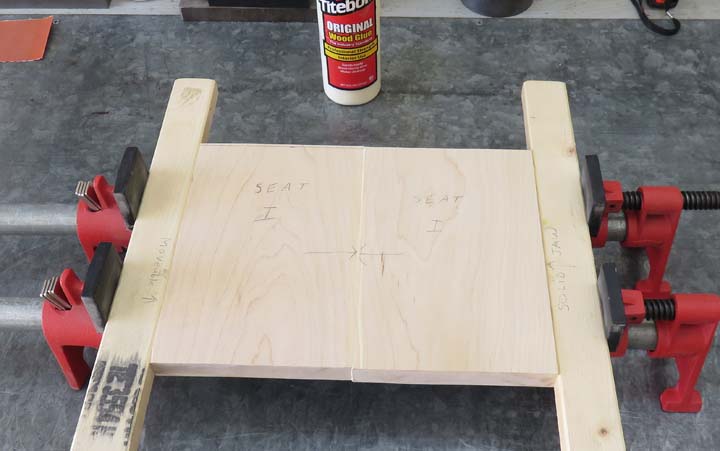
liked was the pictures and a material cut list of all pieces (sizes). So with the pictures and the sizes, I decided to make it like I wanted.

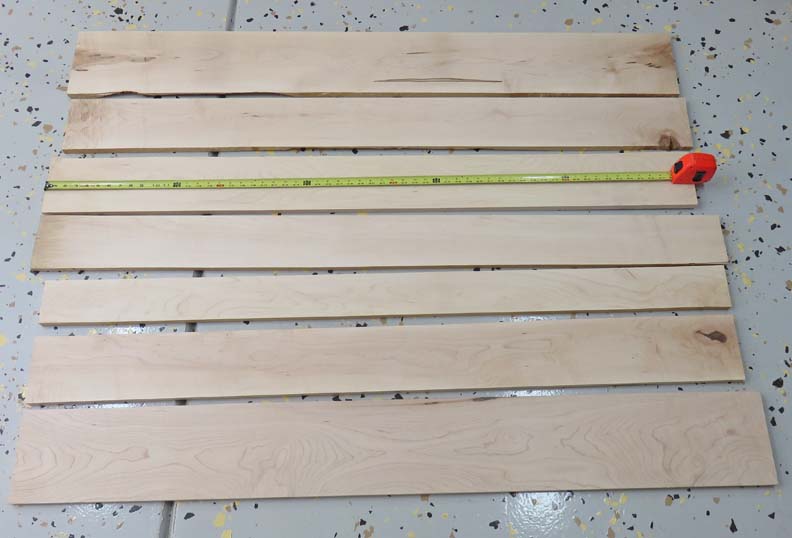
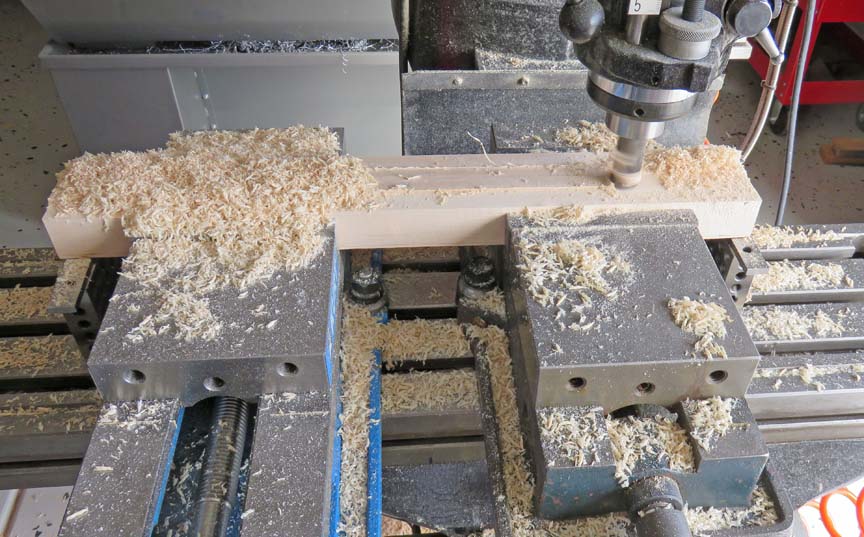
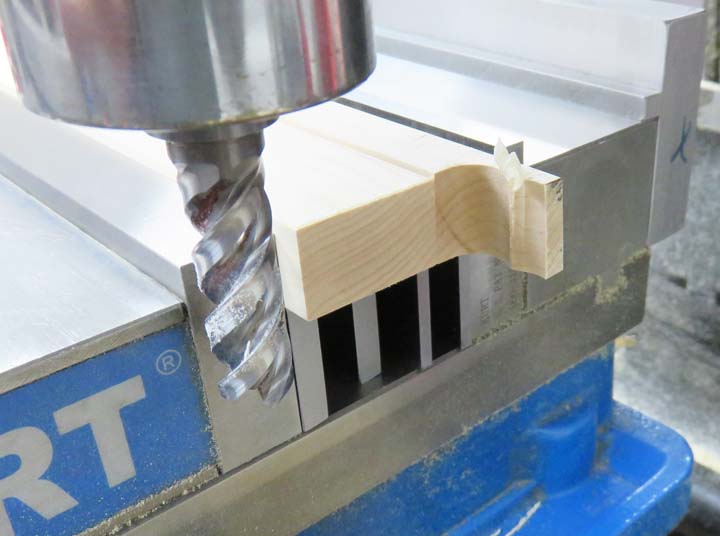
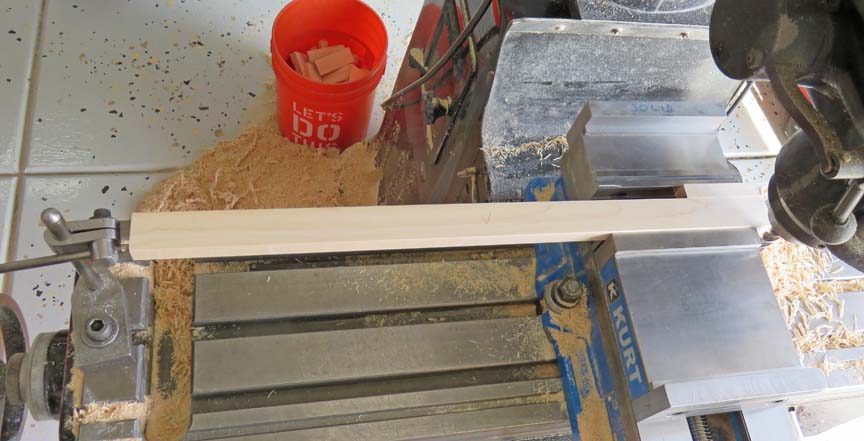
I'll be using hard maple for this project and as you can see, I believe I have more than I need. However, it won't go to waste because I'm sure I'll be making something else in the near future. I 
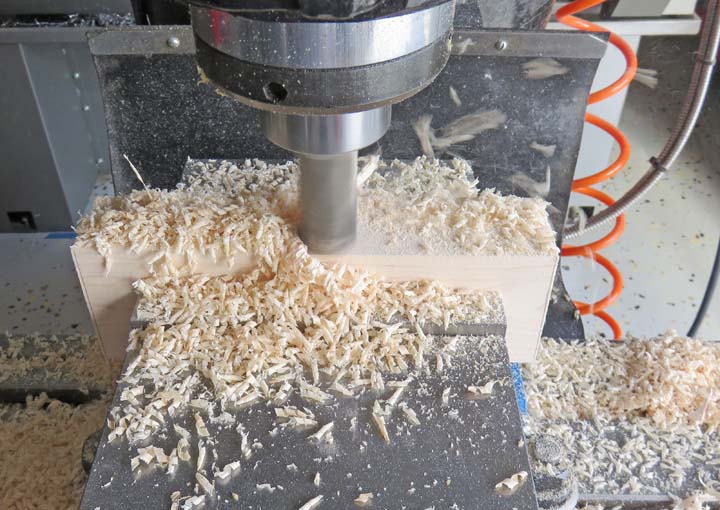
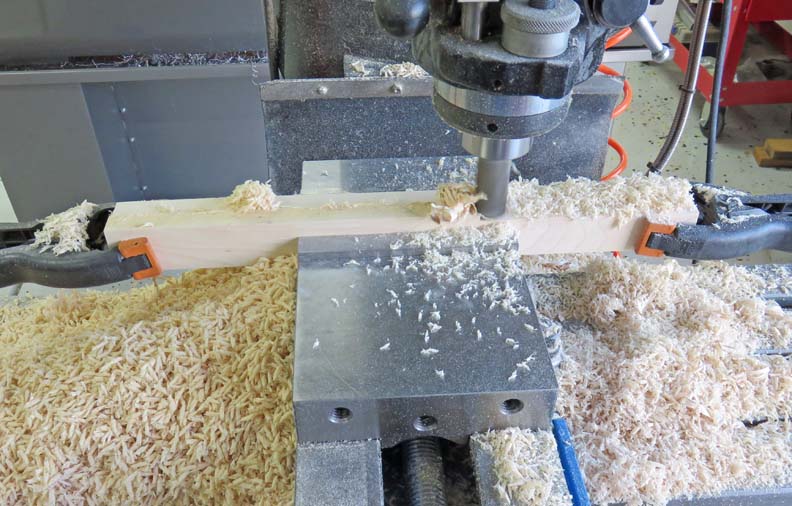
measured and laid out all the pieces and started cutting.


Here is what it looks like once I had all the pieces cut. If you were counting, there are 33 pieces below, however, I'll be adding more along the way. You'll see why soon enough....


Squaring All the Pieces


Now the fun begins, time to square up all those pieces. And this takes awhile on a milling machine.


Here are some of the longer pieces being held with clamps on the ends so they don't chatter (vibrate) when the cutter gets to the end.


I'm gluing two pieces together for the seat hear and I'll be doing the same thing for the tray.


These longer pieces are the legs. I needed two vises because of the length. Notice I'm machining all four here.


Here I'm cutting the top surface of the seat. Once both surfaces were parallel, I cut the ends.


Speaking of ends, that's what I'm machining here.


To make sure the ends don't split or crack, I'm using a scrap piece behind my good part.


To make sure all the pieces are the same length, I'm using my 'work stop' to bank against. In this case, my work stop is at the very end of the mill table. Kind of rare to see my work stop that far away compared to most things that I make.


1  2  3  4  5  6  7  8  9  10  11