|
More Dowel Holes
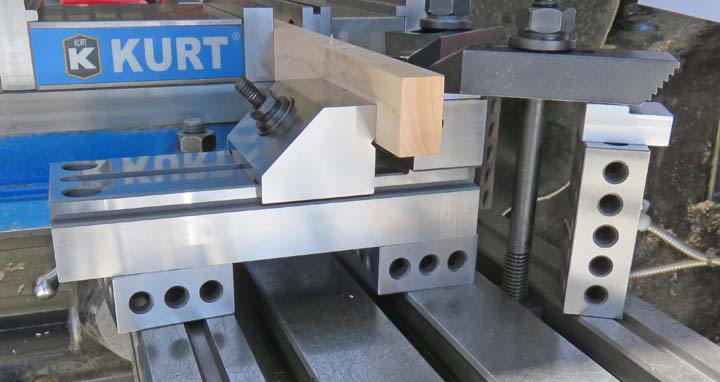
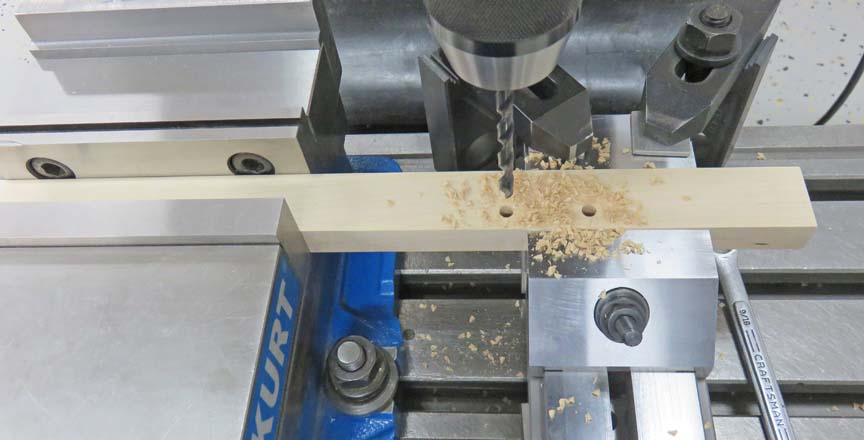
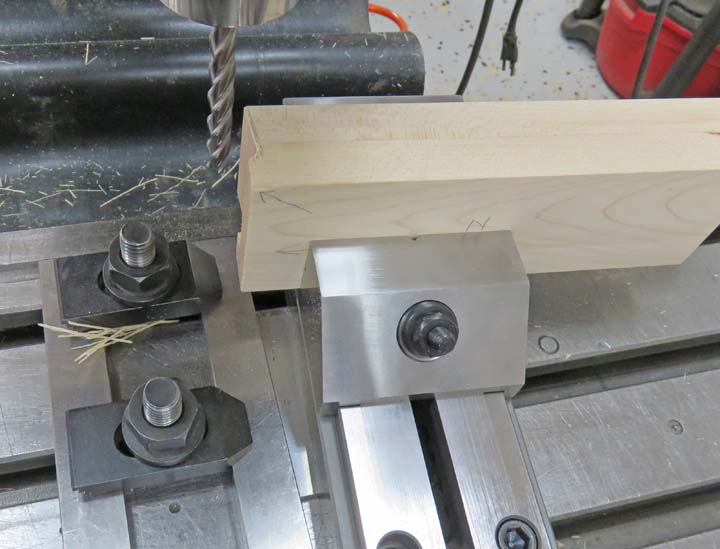
As you can see I had to use some blocks under this vise because it
wasn't tall enough. Whatever works ya know!
|
|
 |
|
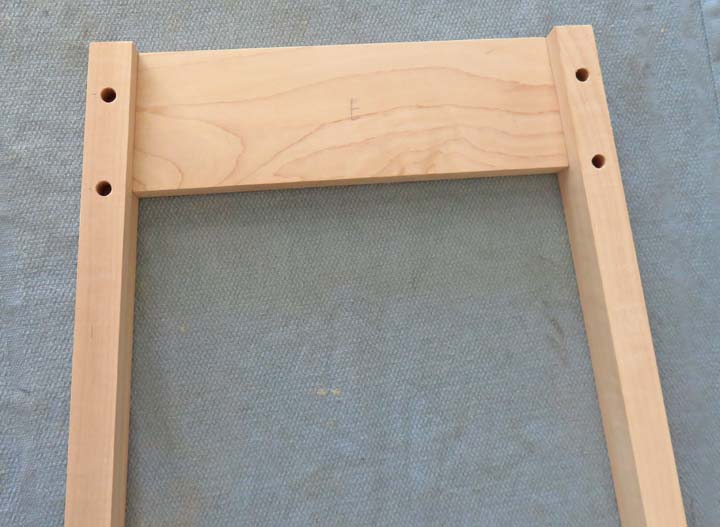
The piece that you see below will go between the
longer pieces of the A shaped legs, just like I did on the last page. And again, there will
be three different lengths and these will have dowels as well. What I'm
doing is making sure the surface that gets the 1/4" holes are parallel
to the mill table.
|
|
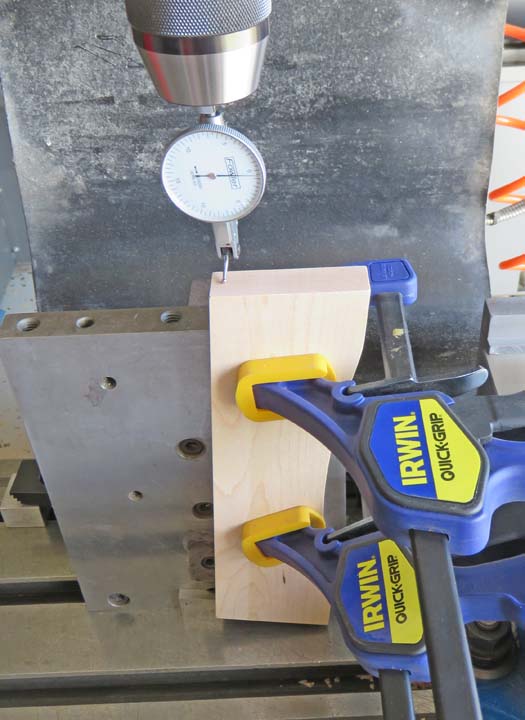 |
These pieces get two dowels per side just like the others did.
|
|
 |
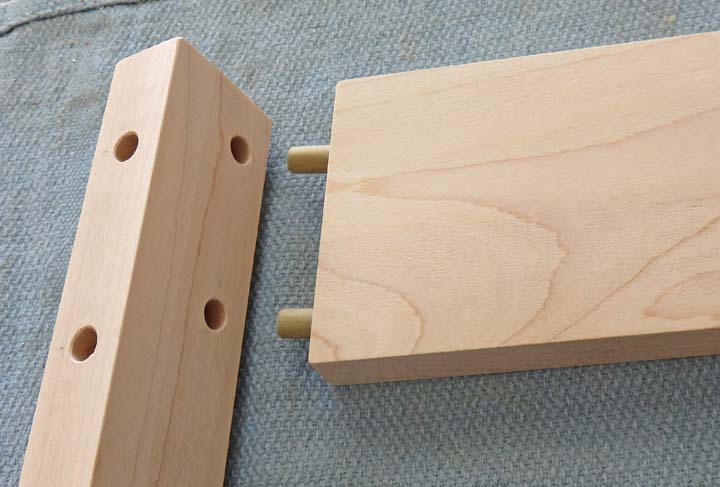
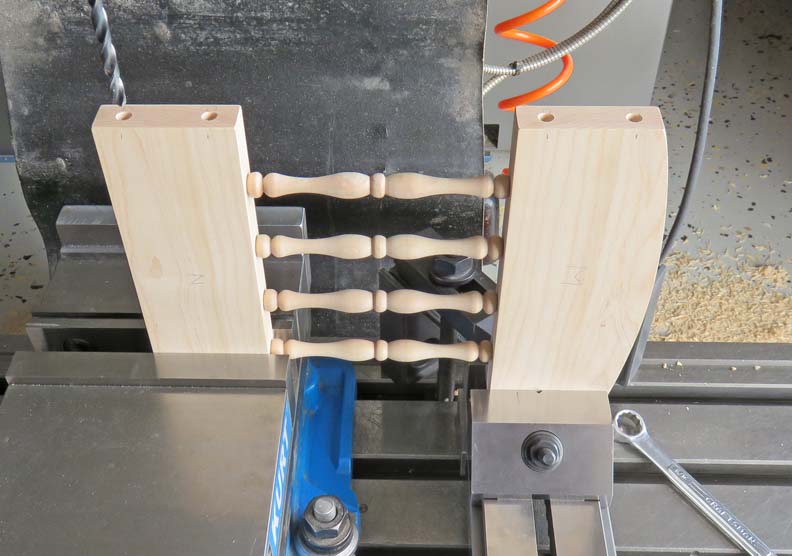
Here is how it will look when they go together. The reason these holes
are not in the center of the longer piece here is because I wanted all the
outer edges to be flush.
|
|
 |
The center piece below will need to be cut with a five degree angle so it matches
the tops of those longer pieces, just like I did with the others.
|
|
 |
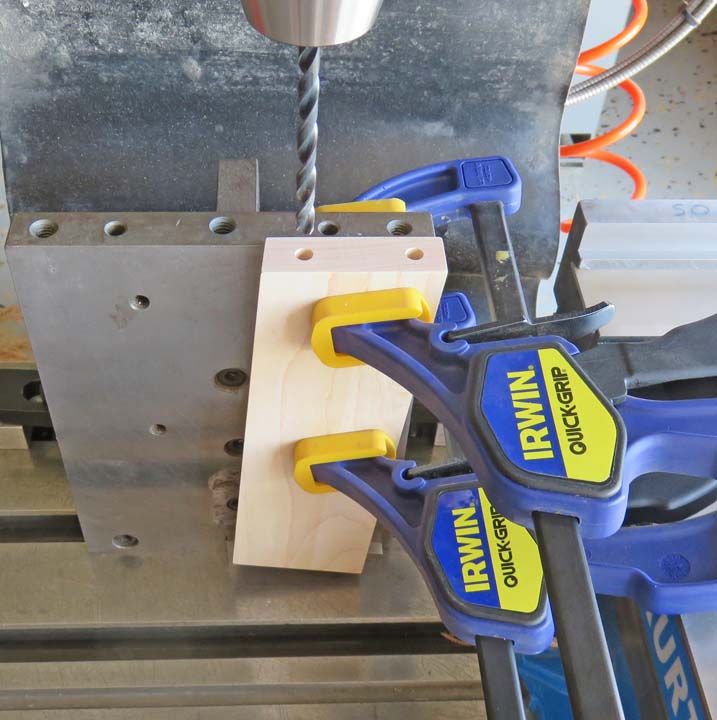
Here I'm drilling more dowel holes which seemed like it would never end.
|
|
 |
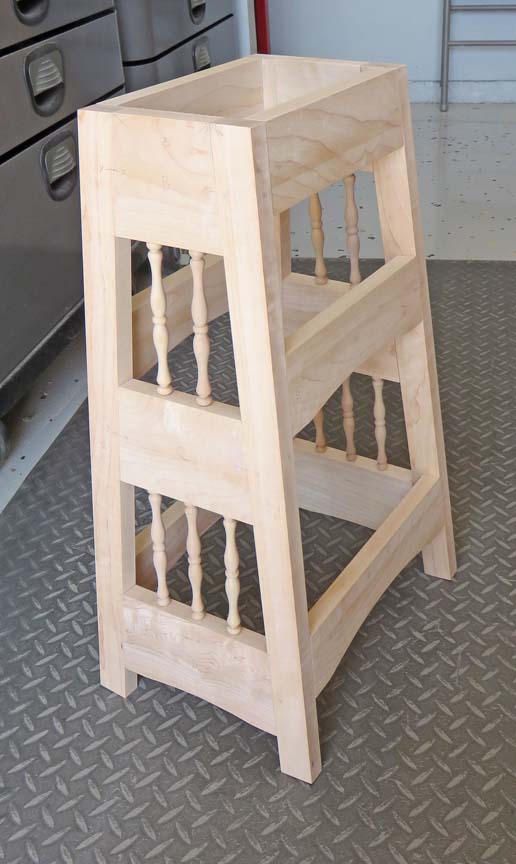
The base is only dry fit together here but I have all the dowels in
place, all 48 of them. So far I'm pretty happy with it so now it's time
to work on the chair.
|
|
 |
|
The Chair
The same procedure was used here, clamp, find the edge and then drill
some holes.
|
|
 |
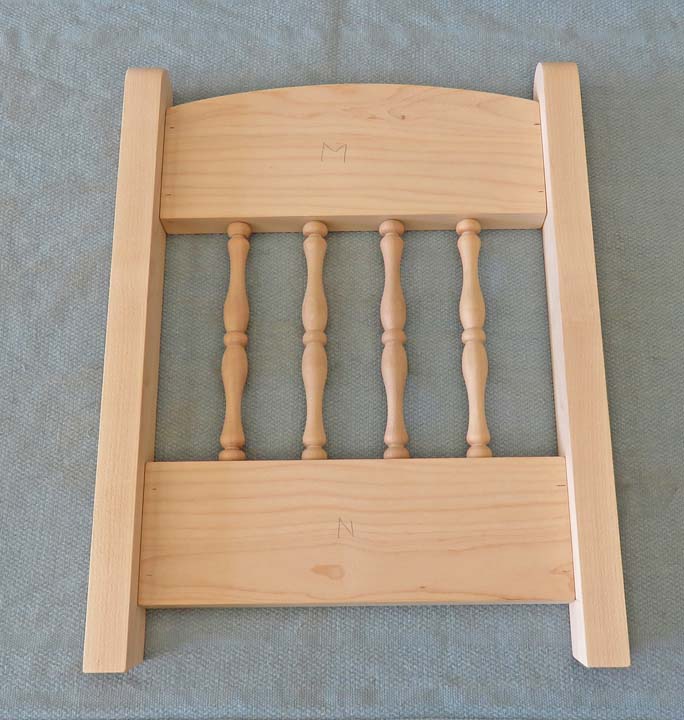
And there you go, the back is coming together. Notice the 10 degree
angle on the bottom of the side pieces. This is so the back will sit at an angle
when finished.
|
|
 |
|
Foot Rest
This piece is the foot rest and will go in the A shaped base. I'm putting a five
degree angle on the sides here because it will be placed between the A frame
of the base.
|
|
 |
|
1
2
3
4
5
6
7
8
9
10
11 |