|
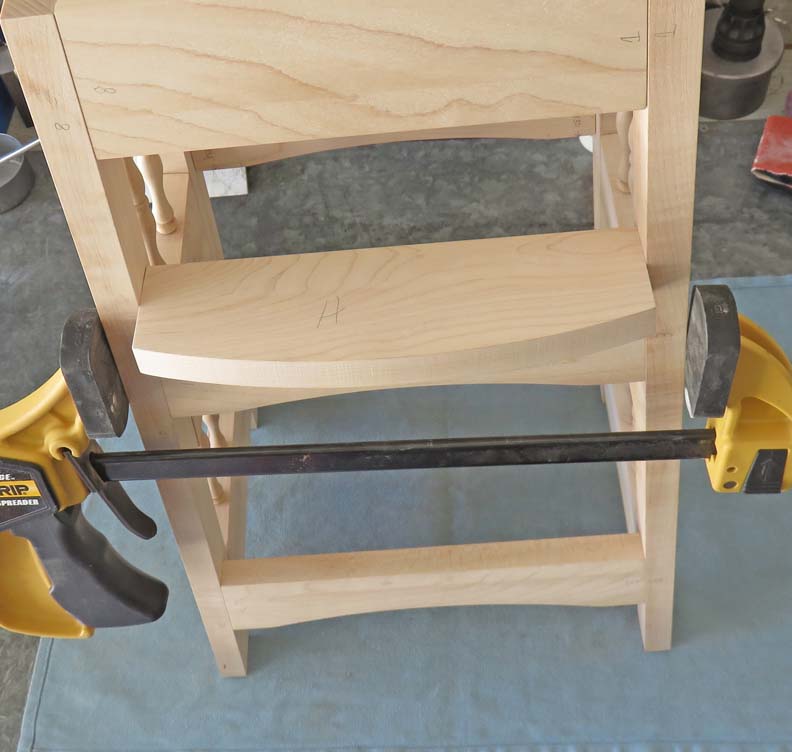
Foot Rest Continued
This should give you a better idea of what I'm talking about. And I'll
glue
this in place later.
|
|
 |
|
Changing Horses In The Middle Of The Stream?
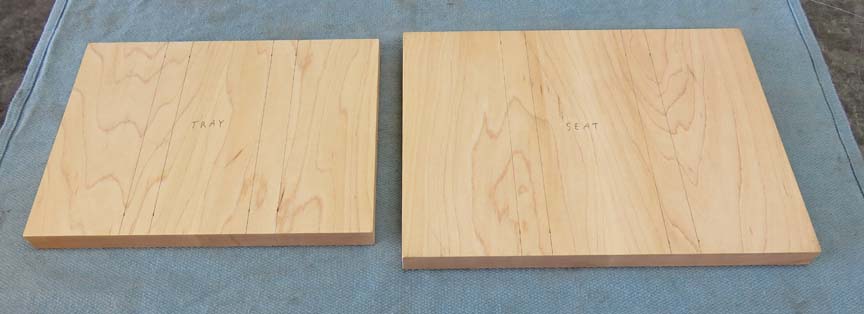
These pieces are for the seat and tray. After machining all
six sides making them nice and square and parallel, I didn't like them. What do I
mean exactly? Well....I like a contrast of colors when I'm making
something and with all the wood being hard maple, there lies the
problem. So now what??
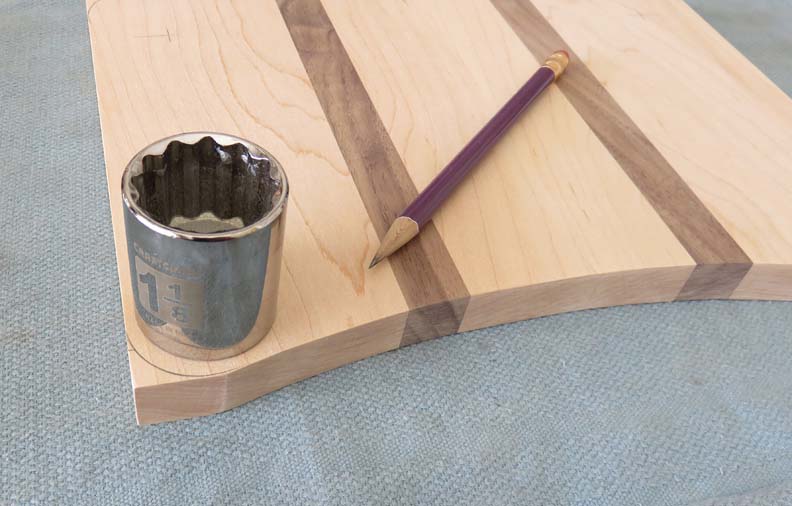
See those pencil lines, imagine those thin areas being a
different species of wood. Like black walnut for instance. Yeah, that
sounds good to me!
|
|
 |
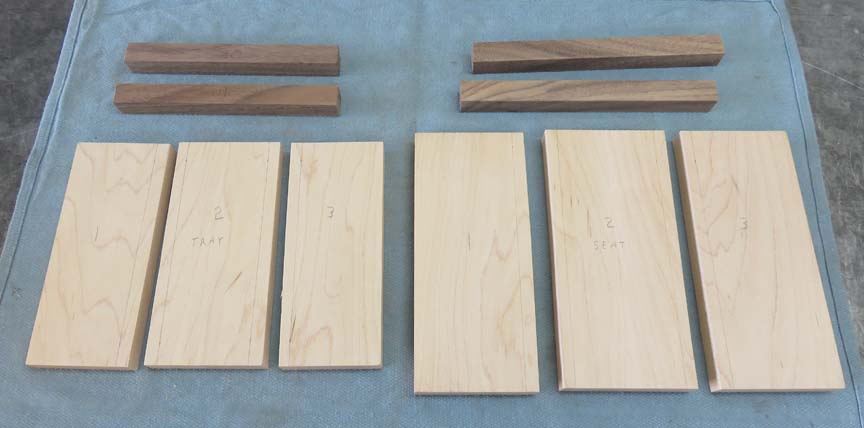
A few cuts with the saw and now it's time to change the look.
|
|
 |
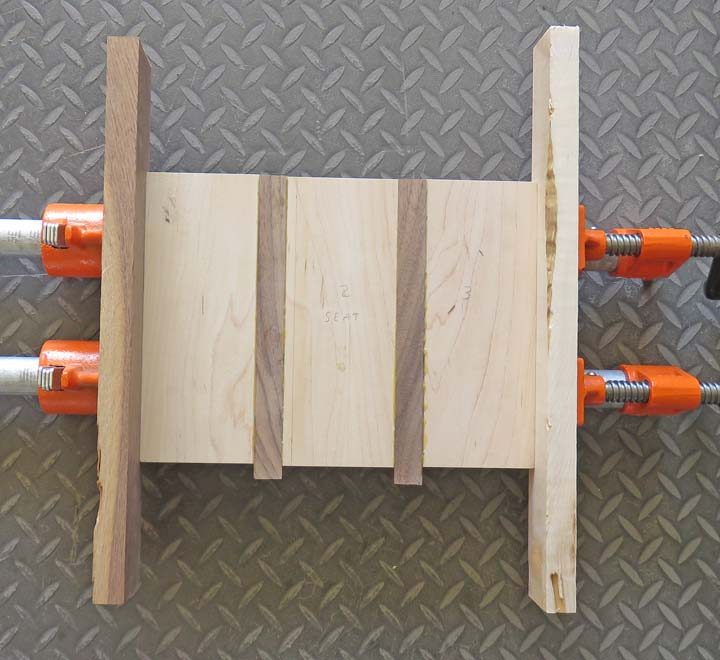
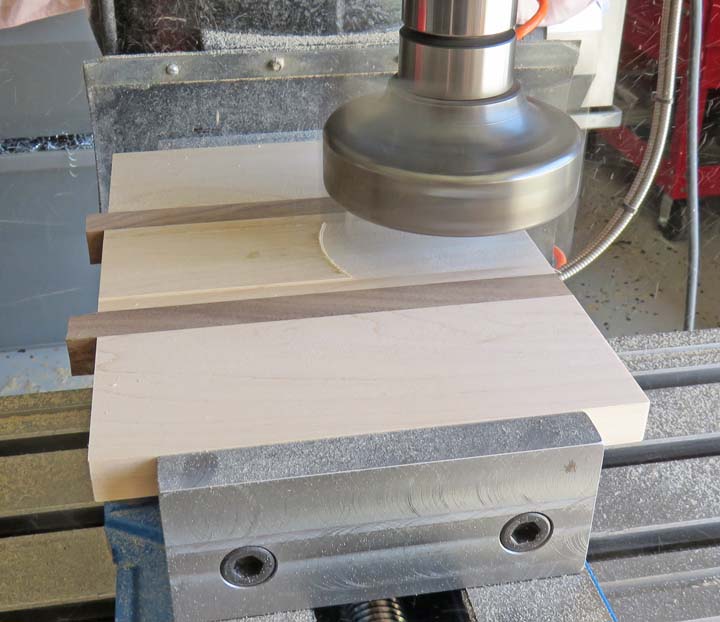
After machining the sides of the fresh cut hard maple and black walnut,
I have them both glued and clamped.
|
|
 |
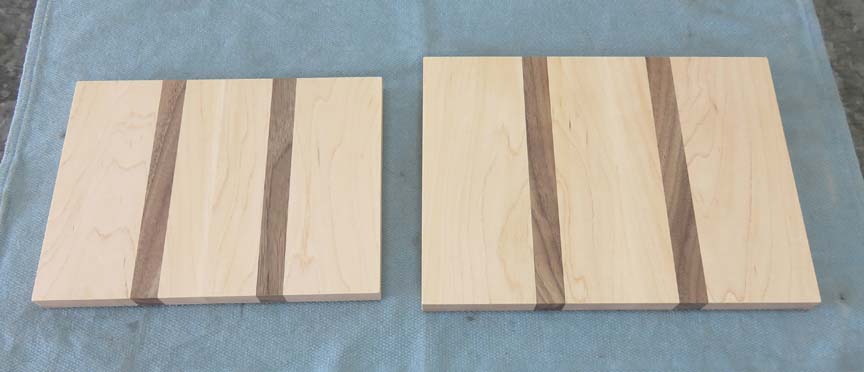
The next day I started recutting both pieces.
|
|
 |
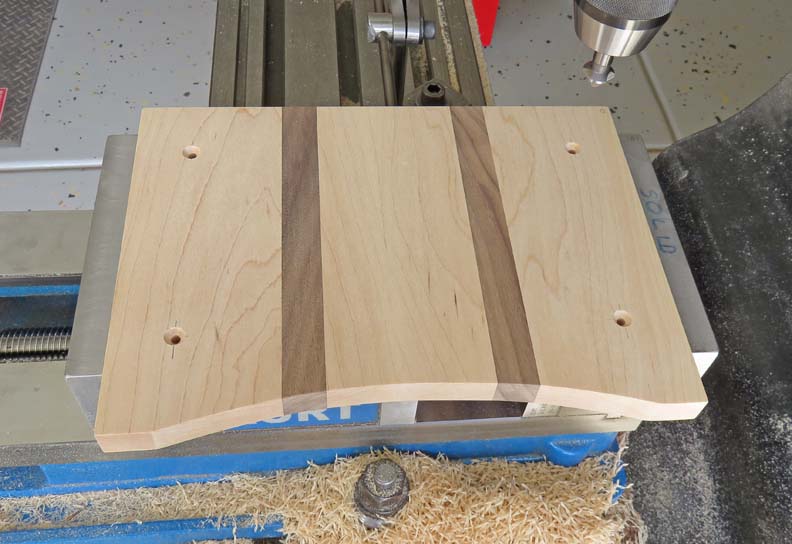
Now that's much better don't you think?
|
|
 |
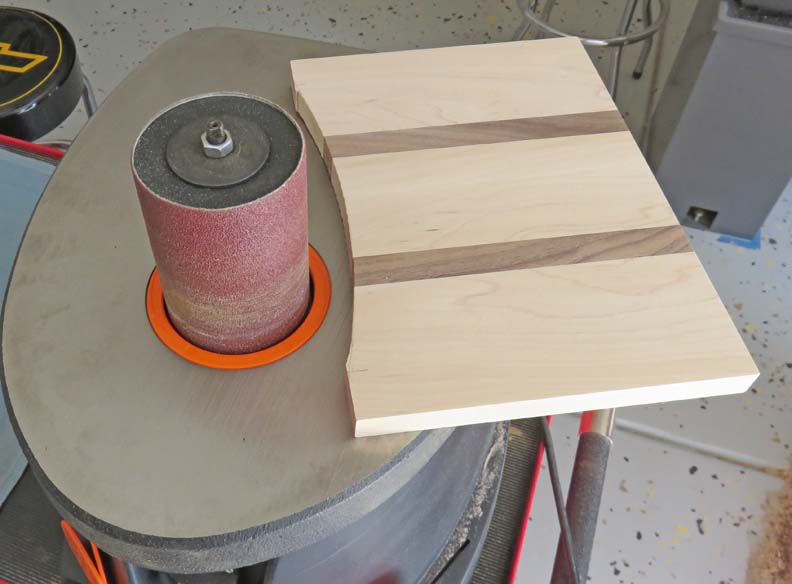
I laid out the 15" radius and sawed next to the line. Then it was time
to sand the concave radius on my oscillating drum sander.
|
|
 |
I did some hand sanding and then decided on what size radius to use on
all four corners. I used my belt sander and sanding block for this step
a few days later.
|
|
 |
|
Mounting Holes
This is the seat and I'm drilling and countersinking some screw holes.
This is the bottom surface.
|
|
 |
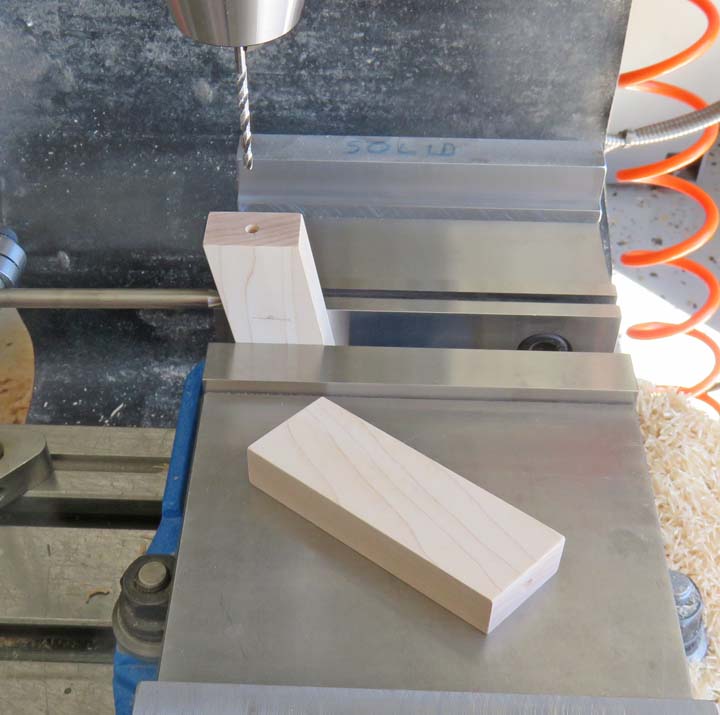
Continuing with the seat, these pieces are supports for the arm rests.
One side will have a dowel and the other will have a screw. Here I'm
drilling pilot holes for some screws.
|
|
 |
|
1
2
3
4
5
6
7
8
9
10
11 |