|
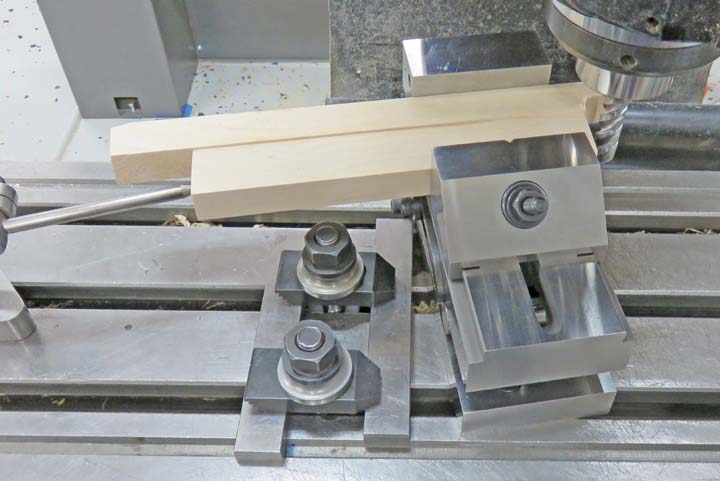
Next I'm working on the chair pieces, which will sit at
a 10 degree angle. The piece below will be the arm rest on the chair and
won't have a compound angle.
|
|
 |
|
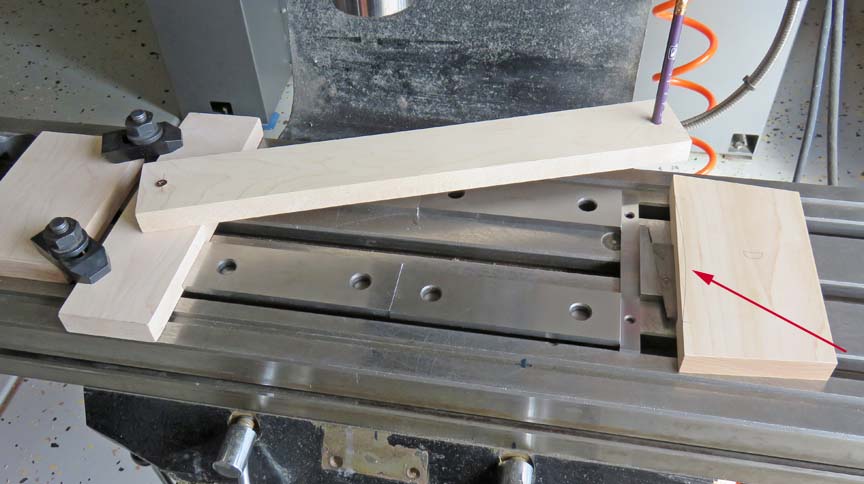
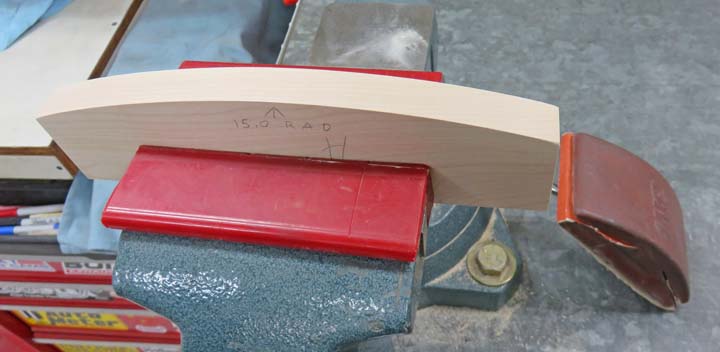
15 Inch Radius Now that I have
most of the pieces cut square and with
the angles needed, I'm getting ready to put a large radius on some of
them. This radius will 15" but doesn't have any function and is just for
looks. What I'm making is some tooling that will mark the radius with a
pencil. This pencil line will then be cut with my bandsaw later.
|
|
 |
I drilled two holes 15" apart on some scrap wood, one for the pivot screw and the other for
a pencil. By rotating the arm side-to-side, it draws a line on my work
piece (arrow).
|
|
 |
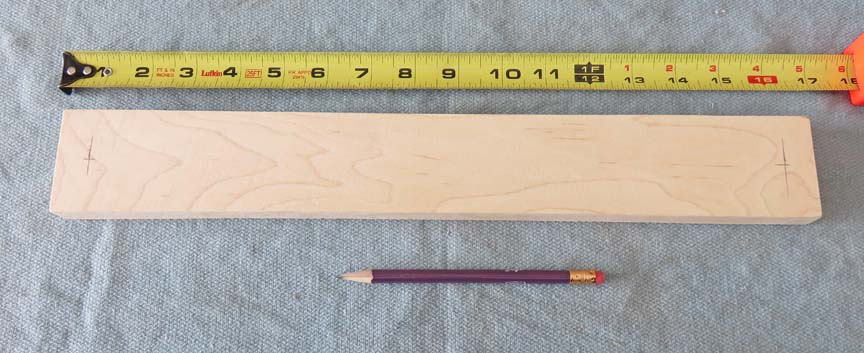
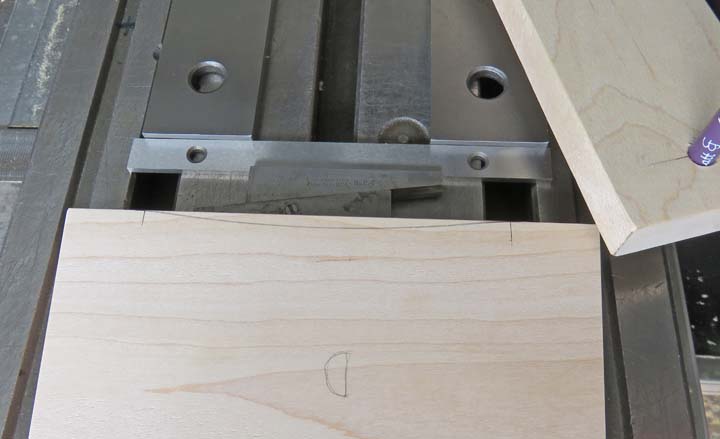
Here you can see the line a little better. Also notice I've got two
lines one inch from each edge that my radius tangents into.
|
|
 |
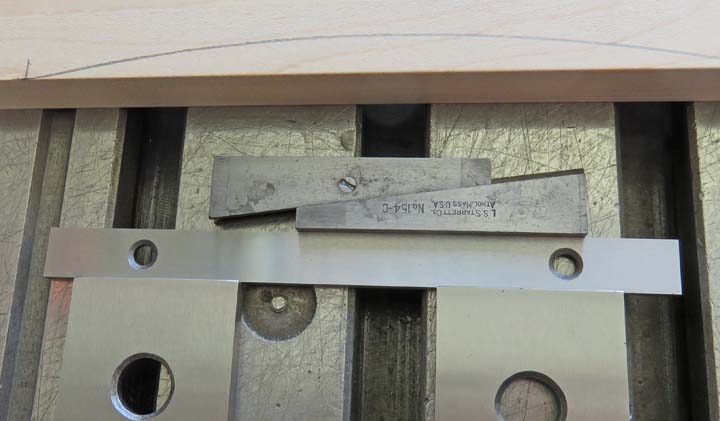
To make sure the radius line is in the right spot, I'm using my
adjustable parallel to place my work piece exactly where I want it. An
adjustable parallel is like having a bunch of different size shims at
your disposal.
|
|
 |
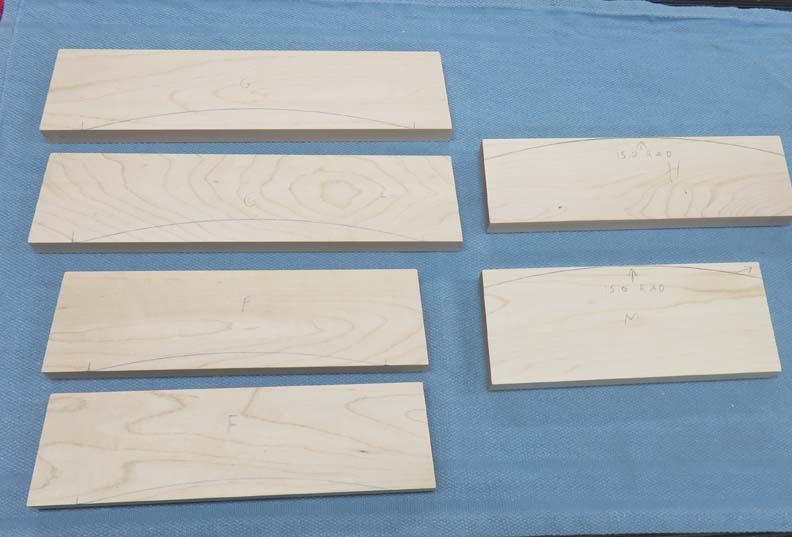
Here are most of the pieces that will have a radius. Note: some have a
convex and some have a concave radius.
|
|
 |
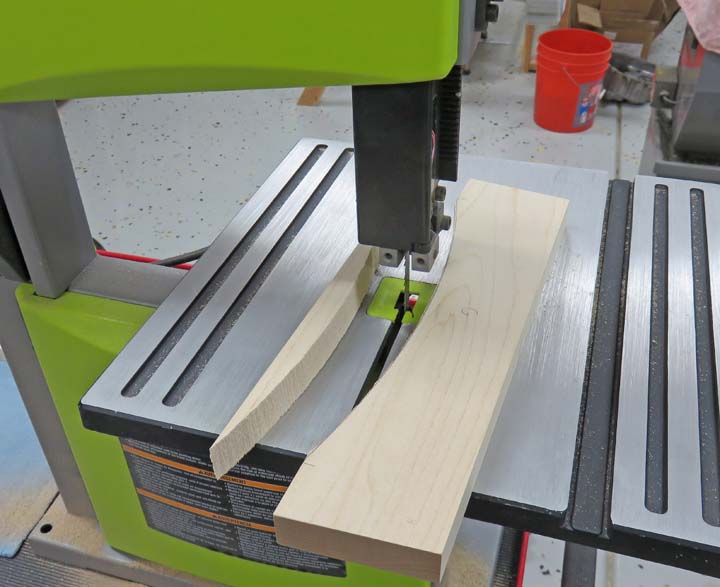
I cut right next to the line with my bandsaw.
|
|
 |
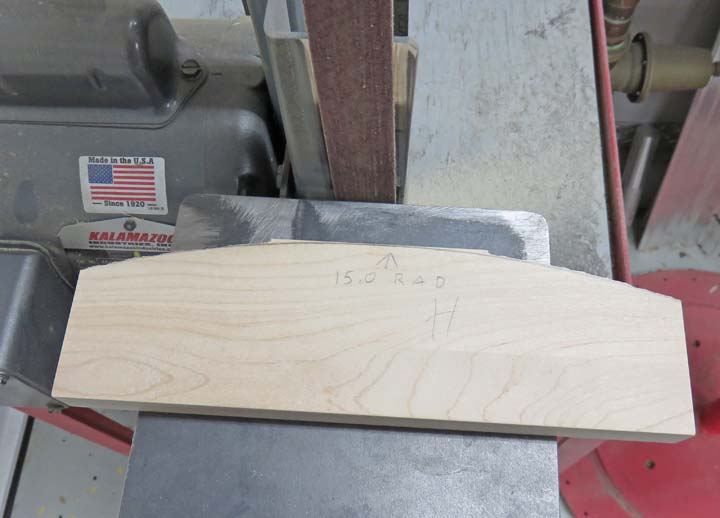
Then I used my belt sander and sanded to the line.
|
|
 |
To finish with I used my sanding block which worked out great for this.
|
|
 |
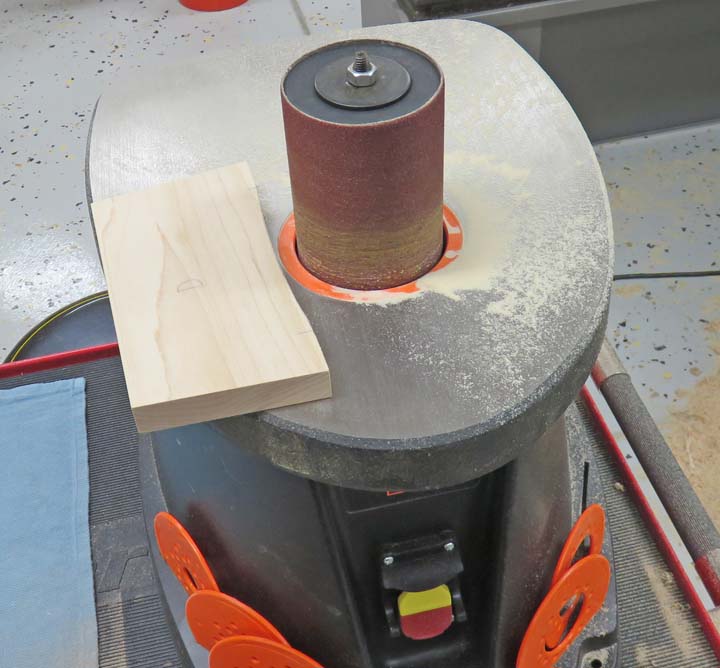
For the concave radius' I used my oscillating drum sander, which made
short work of those pieces.
|
|
 |
|
1
2
3
4
5
6
7
8
9
10
11 |