|
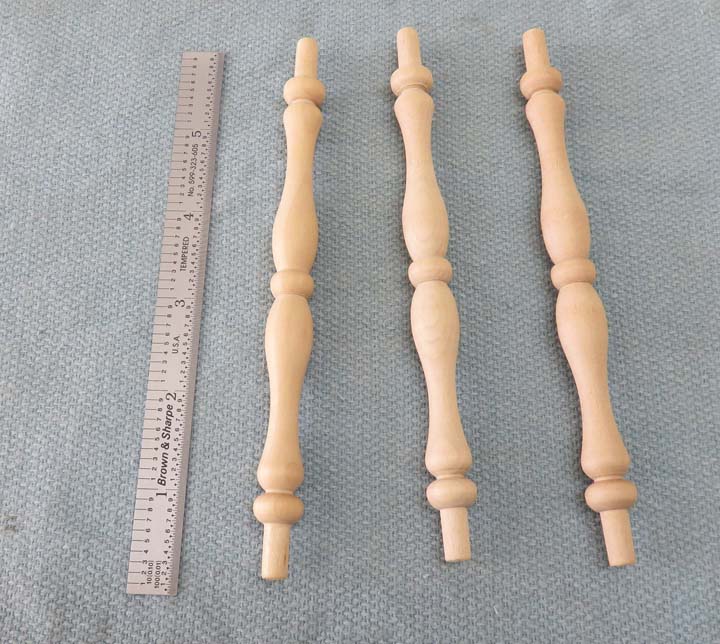
Decorative Spindles I bought some decorative pieces called 'spindles' that
will go between a few of the blocks here and then. The ends of the
spindles are close to 1/4" diameter
but are tapered slightly. No big deal because I sanded the ends so they
would go all the way into a 1/4" diameter hole. These are made out of
birch, came in a bag of 25 and are very good quality, which I bought
from Amazon.
|
|
 |
|
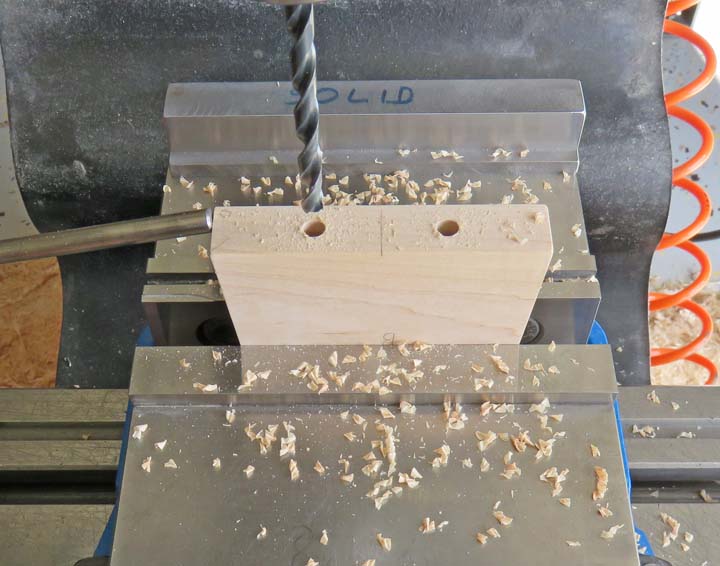
This is one of the pieces that fits into the A shaped legs. The top section will have two spindles and the
bottom will have three. I'm using a 1/4" drill here and going .700" deep
as the spindle ends are approximately 1/2" long. The difference is
.200" which will give me plenty of
clearance between the end of the spindle and the bottom of the hole.
|
|
 |
|
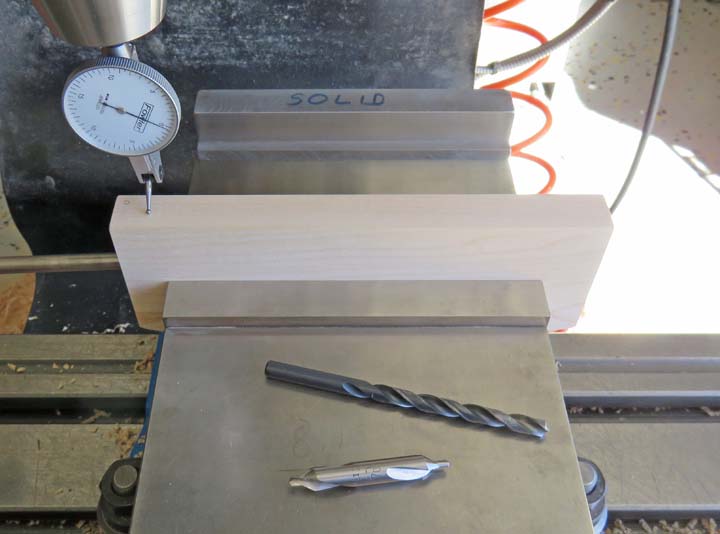
I'll be adding four spindles to the chair back. However,
I've already put the 15" radius on the other side of this piece which is why I'm
using my indicator on this surface to make sure it sits parallel. I
should have waited and put the radius on after drilling the
holes....oops! No big deal because it only takes a minute to make sure
my work pieces sits right.
|
|
 |
|
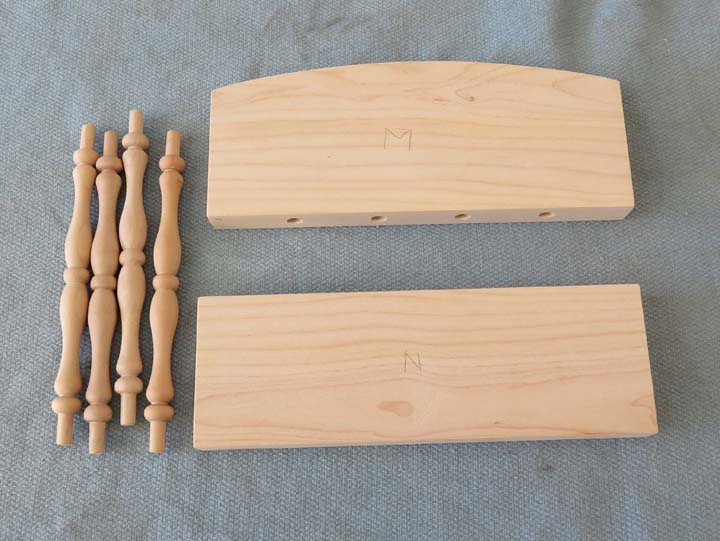
Here you can see all the holes are in place for the chair and ready to be assembled.
|
|
 |
|
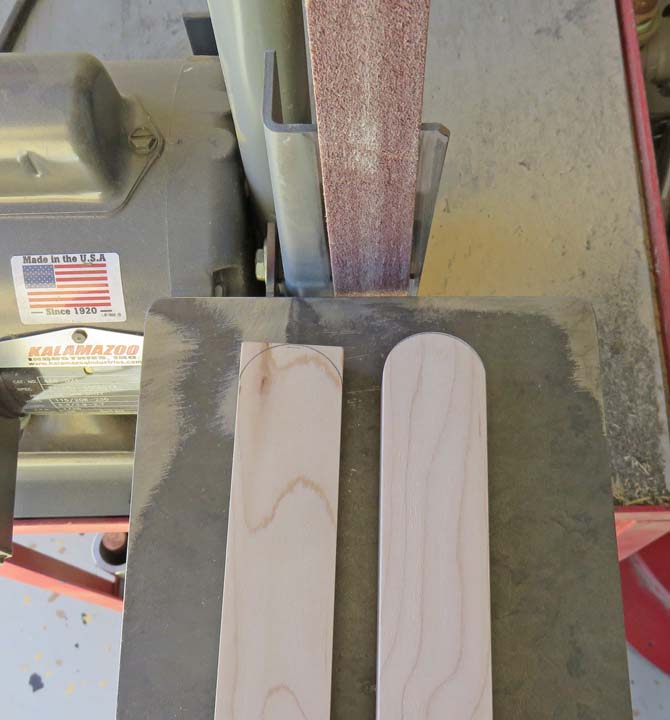
Another part of the seat are these arm rests. They need
a full radius on one end and to make that happen I'll use my belt sander
again. I laid out the radius using 1 1/8" mechanics socket which was
just the right size. Then I sanded to the line. This goes very fast and
is very easy to do. I then followed up with my sanding block to make
sure it looked good.
|
|
 |
|
A Bunch Of Wooden Dowels To make sure all of the pieces don't move and are in the
right location, I'll be using 1/4" diameter wooden dowels. The author used what's
called 'biscuits' that are made from thin wood and are the shape of a
football. Those biscuits require a special tool to cut the slots for
them, which I don't own or have any intention of buying. This is why I'll be using
the dowels.
However, one good thing about using biscuits in place of
dowels is they are more forgiving when it comes to location. Like I said
before, biscuits use a slot which can be made longer than the biscuits
themselves. That longer slot means you can move the two pieces that
you're joining a small amount making it more forgiving. Dowels on the
other hand are exact and if you are in the wrong spot, well...that's to
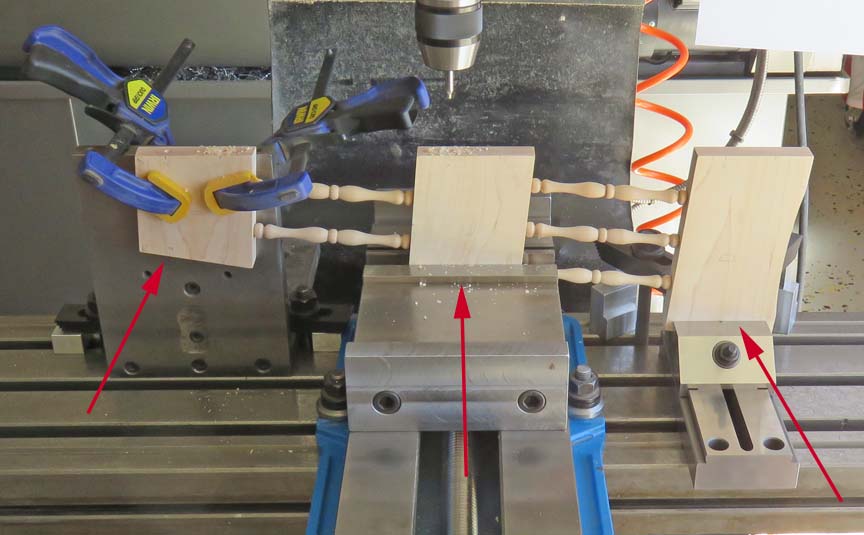
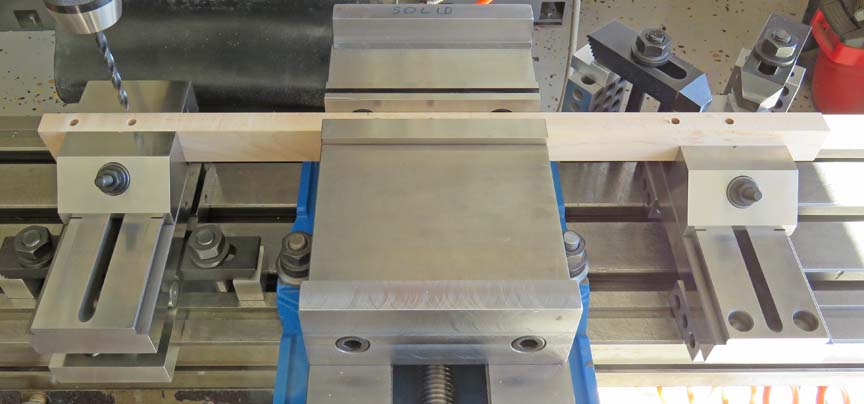
bad. To hold the pieces that will end up with dowel holes, I
used three different clamping arrangements. On the left I have an angle
plate (with two clamps), in the center I'm using my normal mill vise and
on the right I'm using my smaller precision vise. This worked out great
but I had to make sure that all the banking surfaces were in alignment.
Notice I have all three of my work surfaces on the same plane while I
drilled my holes. In other words those three areas that I'm drilling on
are parallel to the mill table. This had
to be so the holes were normal (square) to the surface.
|
|
 |
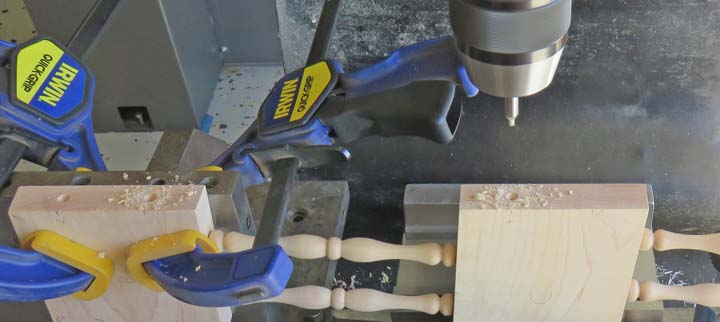
I used my digital readout to make sure all the holes were in the right
location. Here I'm center drilling prior to drilling my 1/4" holes
to make sure the drill doesn't walk (follow the grain of the wood).
|
|
 |
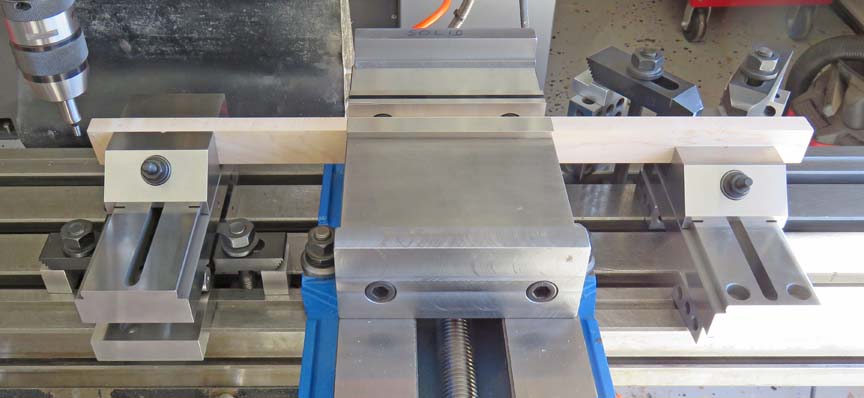
Now I have to match the location I did above to these longer pieces
(legs).
Here I'm picking up the end of my work piece with an edge finder. Once I
have my zero set on my digital readout, then I can start drilling my
holes.
|
|
 |
|
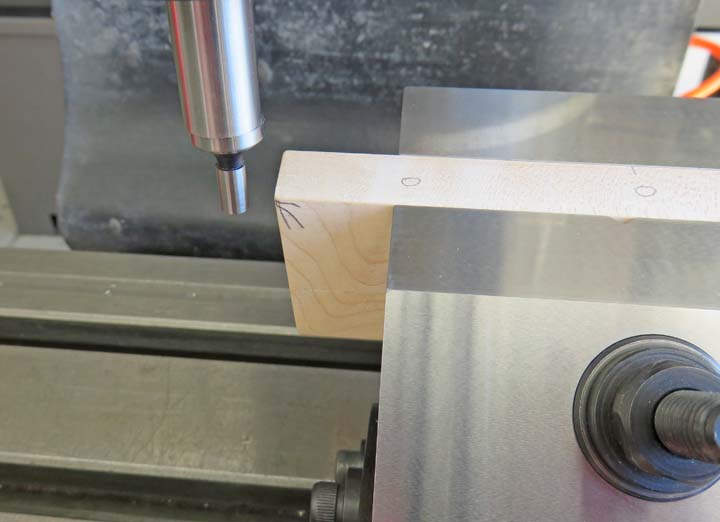
A close-up from above: The arrow in pencil is a reminder
that I need to pickup this edge because it has a five degree angle on
it. I did this for all four long pieces. However, two of them looked
like this one and the other two had the reverse. That meant I had to be
careful and stay right next to the top edge while finding my zero.
|
|
 |
I removed my angle plate and replaced it with my other precision vise.
This worked out really well.
|
|
 |
|
1
2
3
4
5
6
7
8
9
10
11 |