|
Final Details
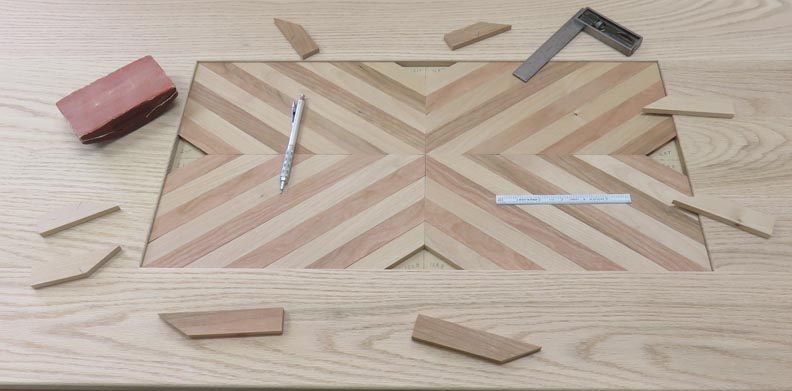
Here I'm dry fitting all the pieces which have 35 and 55 degree angels
on them. I'm saving the smallest pieces for last because those need
special attention.
|
|
 |
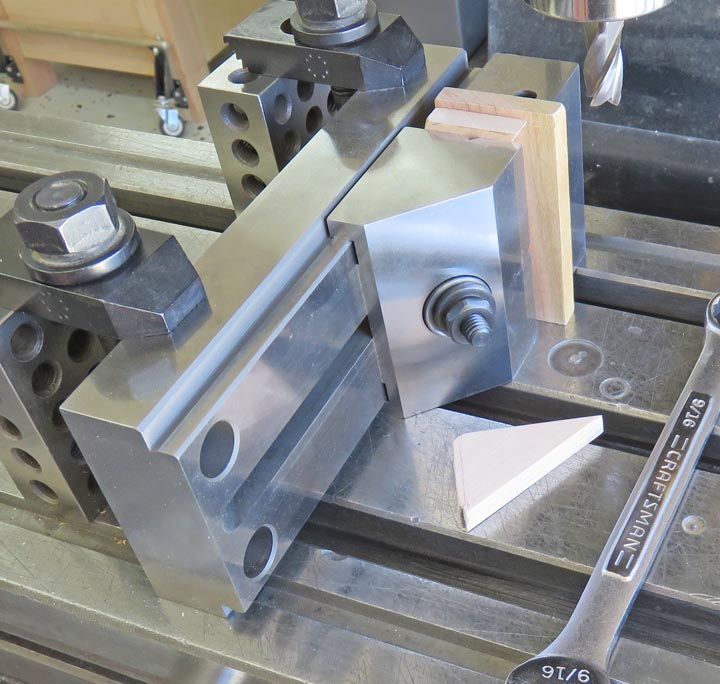
These last pieces are too small for my
miter saw so I'm trimming them to size on my milling machine. And I'm
holding them in a vise that I made a
couple of years ago. This
worked out great, but it was slow.
|
|
 |
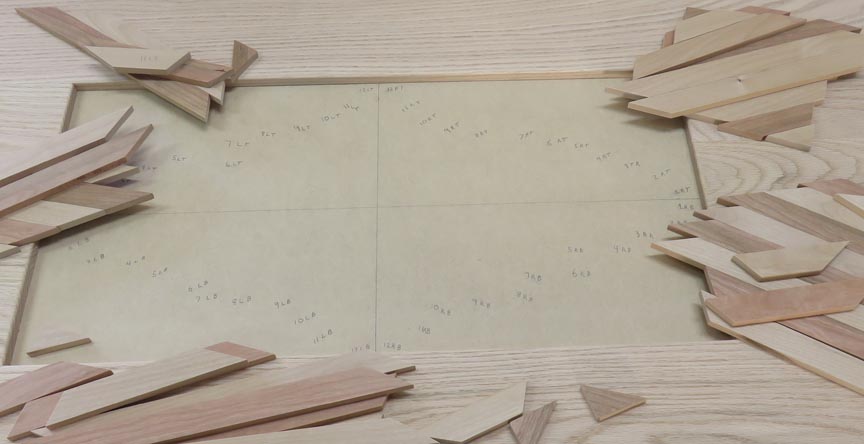
Once I had all the pieces fit, I labeled the back of each one with the
same number on the surface they'll be glued to.
|
|
 |
|
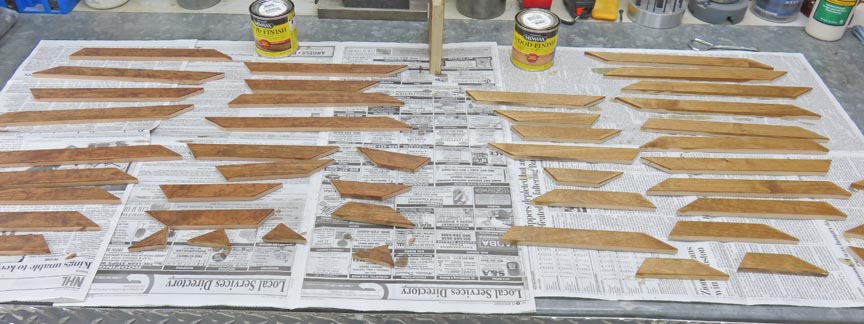
Here I'm staining all my pieces, but I'm using lighter
stain on the Alder (right) and just a little bit darker on the Cherry. I
did the same thing on my
headboard so I would have
a nice contrast between each piece.
|
|
 |
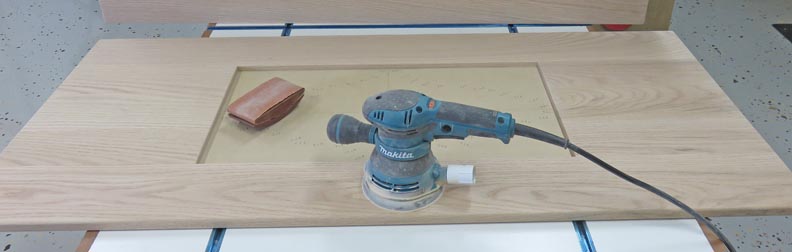
While the stain was drying, I sanded on everything else.
|
|
 |
|
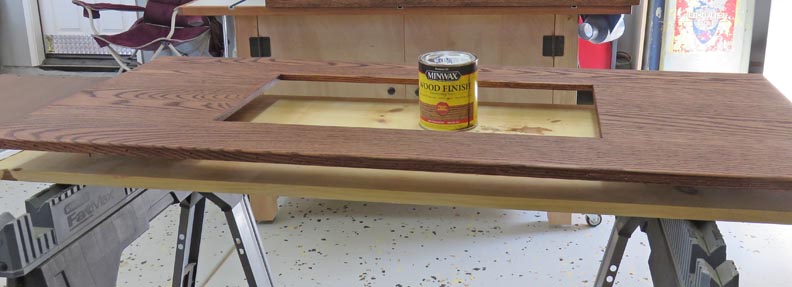
I'm using a different color stain for the chest, called
Red Oak. This color is closer to what I already have in our bedroom and
after testing it on a sample piece, it should match pretty good. That
makes three different stains for this project.
|
|
 |
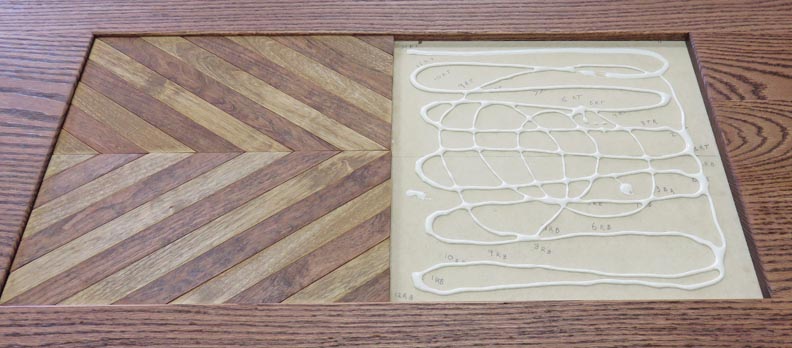
I'm gluing one half at a time because I don't want the glue to setup too
soon. At this point I spread the glue nice and even and then start
laying all my pieces in.
|
|
 |
|
I cut a piece of MDF to fit inside the recess and then
added some weight as a clamp. However, see those four pieces at the
bottom? Those wouldn't fit for some reason so something must have moved
while I was gluing. That means I'll have to work on those pieces when
the glue dries.
|
|
 |
|
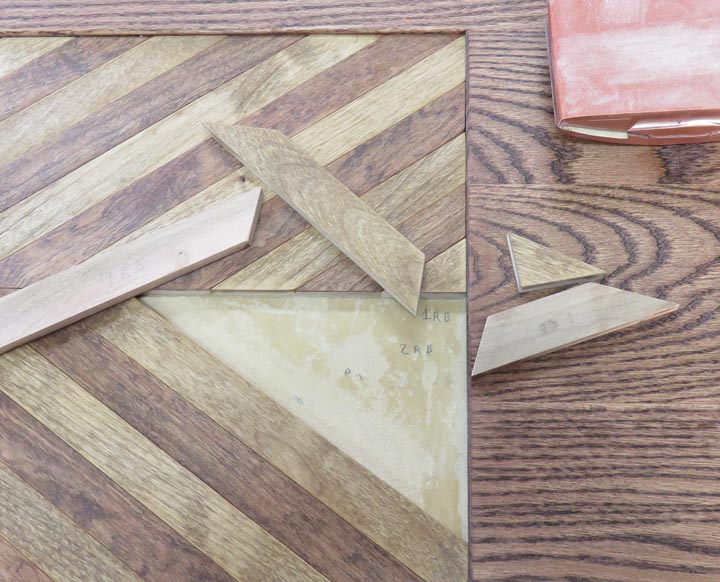
The next day I had to remove some glue and do a small
amount of sanding making sure all the corners were nice and clean. Then
I headed over to the miter saw to trim off a small amount from the 35
degree angle. This was no big deal fitting the remaining pieces but it
was a setback. And like before,
I set some weights on these pieces to dry overnight.
|
|
 |
I used the same clear finish on this project as I did on the headboard.
This semi-gloss is easy to apply but it's thin so you have to be careful
with drips and runs.
|
|

|
|
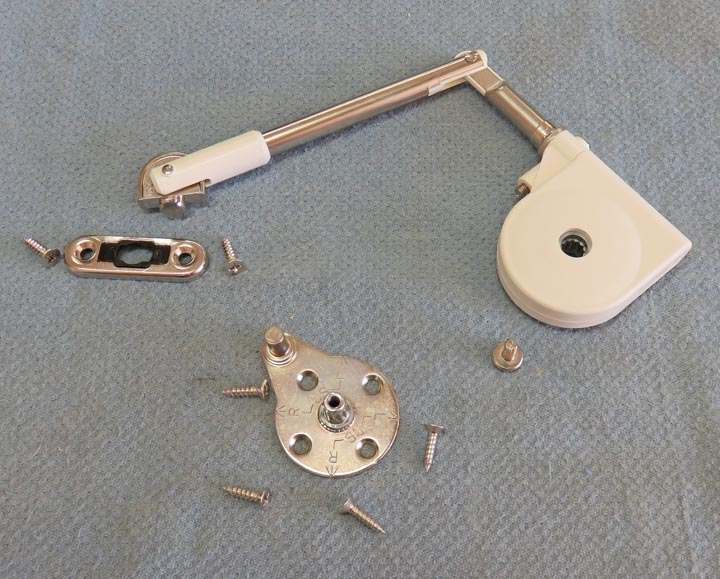
I'll be using two of these lid supports or Lid Stays made by
Sugatsune. I used one of
these for a toy box that I made last year but with this lid being twice
as heavy I'll need two of them to handle the weight. The action on this
unit is easy to open but hard to close. However, even with me adjusting
these lid stays to maximum, it's just enough to keep the lid from
slamming and slows it down just right.
|
 |
|
1
2
3
4
5
6
7 |