|
Working with Oak Continued
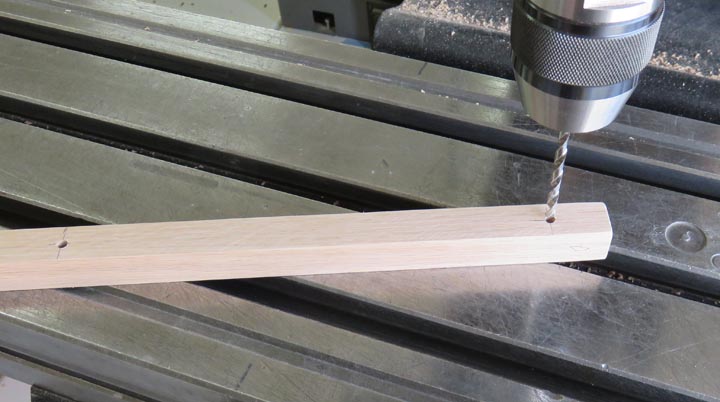
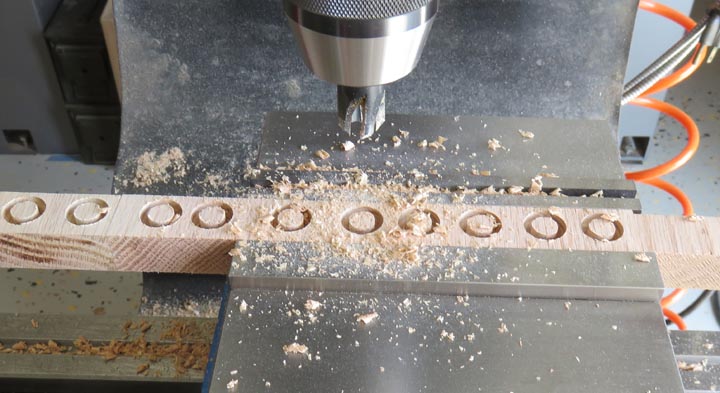
Here I'm drilling some clearance holes in the cleats that will hold
the bottom in place.
|
|
 |
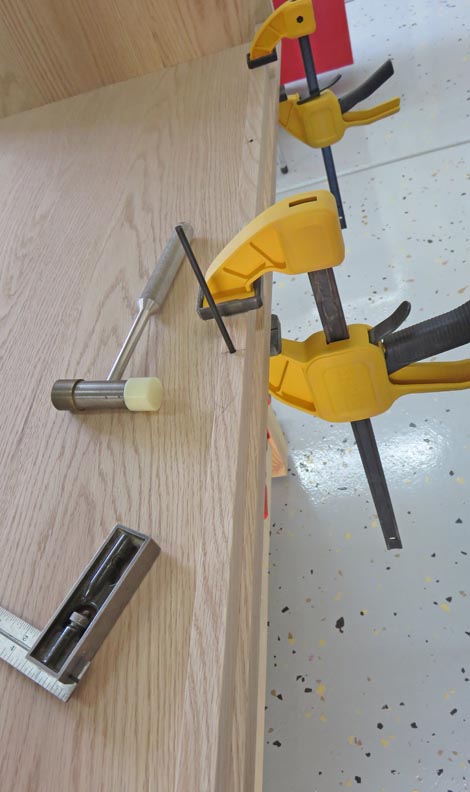
Once I had all the holes drilled and
countersunk, I clamped them in place and transferred all the holes like
I did before.
|
|
 |
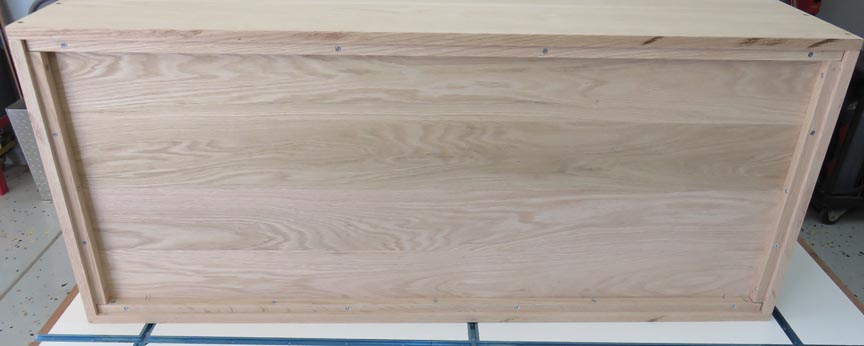
Here you can see the bottom is fastened in place and it fits really
good.
|
|
 |
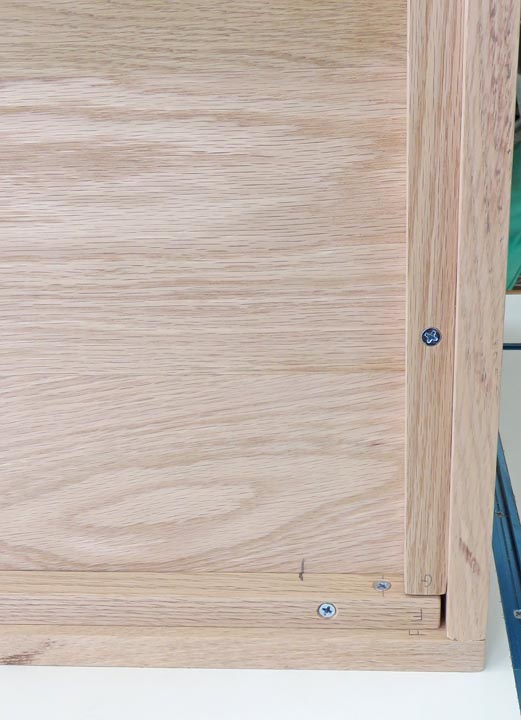
I used some #8 flathead screws to hold everything together.
|
|
 |
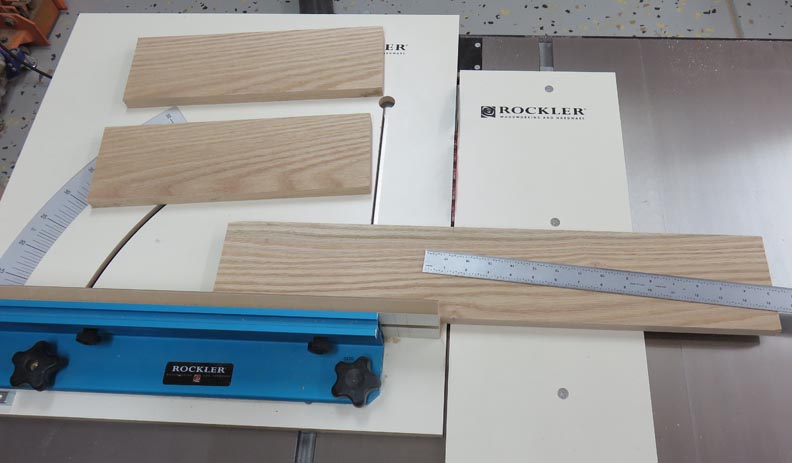
Now it's time to work on the lid. Here I'm cutting some pieces that will
become each side of the lid.
|
|
 |
Next I glued my pieces together oversize and will cut them later.
|
|
 |
|
Keeping Busy
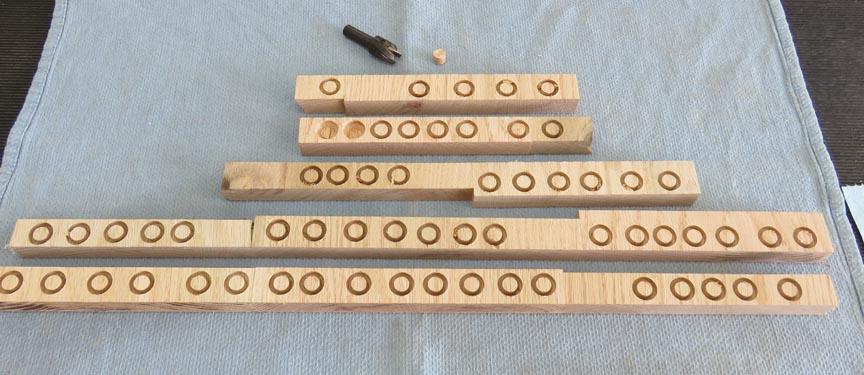
While the glue was drying, I started making my plugs that will hide
all the screws that holds the box together.
|
|
 |
Here is what I did in just a few minutes. And yes I realize this is way
too many but I couldn't help myself because of how easy it is to make
these.
|
|
 |
|
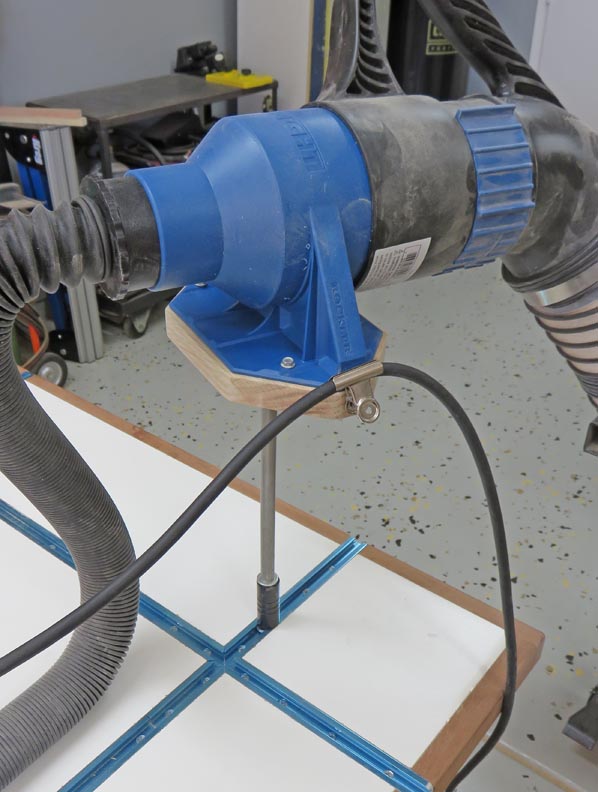
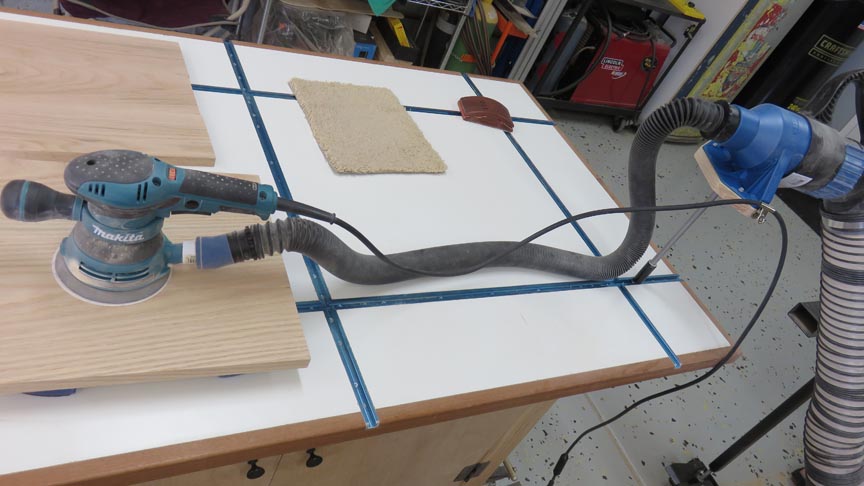
Custom Ventilation
This is the latest in the way of dust collection, at
least it is for me. I bought the blue adapter and made everything else.
I even added a small clamp to hold the power cord for my sander. I
mean....why not!!
|
|
 |
This worked out great but I do plan on cutting the hose just a
little shorter. With this type of arrangement I have virtually no
sanding dust in the air.
|
|
 |
|
1
2
3
4
5
6
7 |