|
Cutting Wood Continued
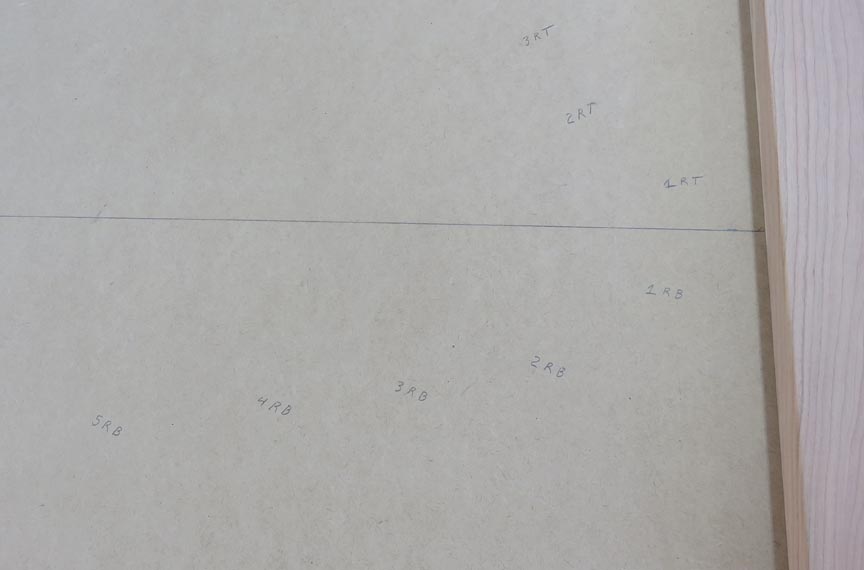
Here you can see what I'm talking about much better. This will be like a
roadmap for me.
|
|
 |
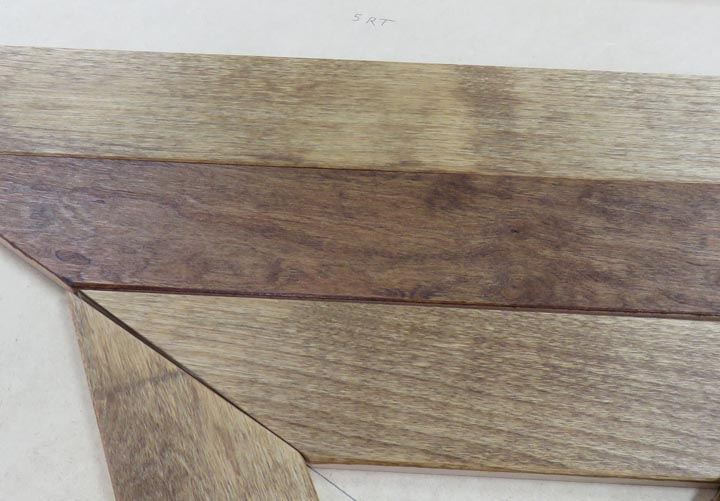
I wanted to define the edges between each
piece so I put a small chamfer on all the longer sides. I think this
will look pretty good once it's all together.
|
|
 |
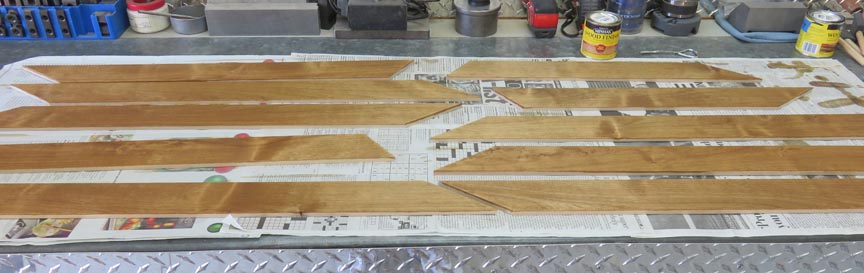
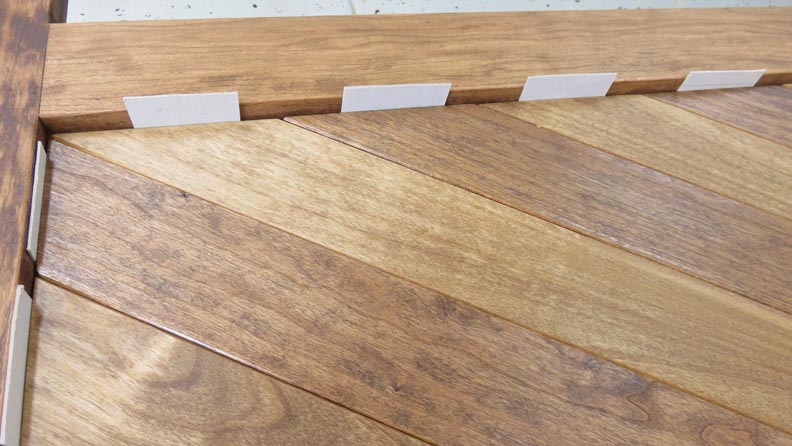
After a light sanding, I'm ready to put some stain on everything. Now
I'll be using two colors: a lighter one for the alder and a darker one
for the cherry. The alder is below.
|
|
 |
|
Final Steps
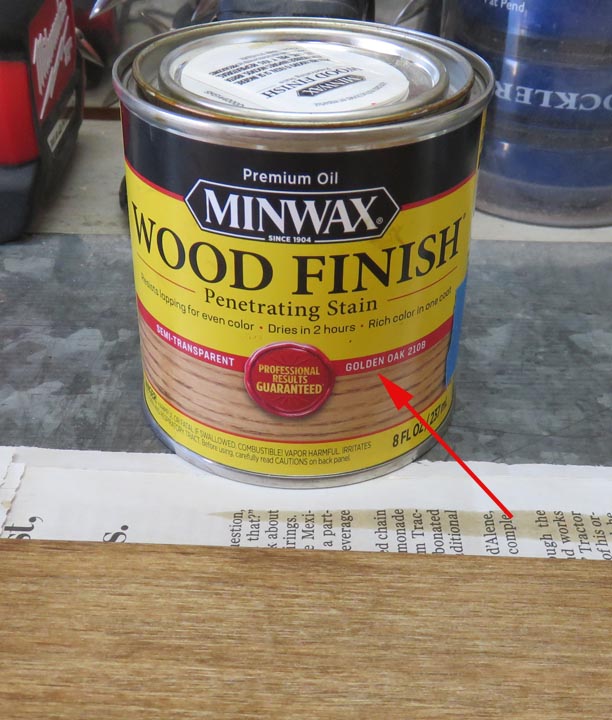
As you can see I'm using the color Golden Oak for the alder.
|
|
 |
|
What you see here is a second coat of the darker stain
for the cherry. The reason I'm doing another coat is because I didn't
think there was enough contrast between the cherry and alder after
staining. The
second coat is on the left vs. a single coat on the right.
|
|
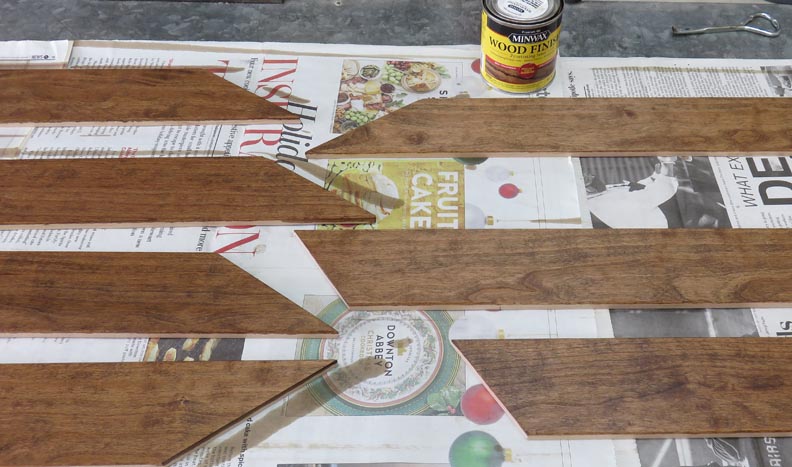 |
There we go, much better.
|
|
 |
|
Here I'm putting all the pieces back in according to my
roadmap. And notice I'm shimming the pieces near the bottom. For some
reason my pieces fit looser now than they did three days earlier. I have
no idea why this would be but I'm dealing with it. I figure if there's
going to be any gaps, the bottom is the place for them because pillows
will cover this area.
|
|
 |
if you look close, you'll see I've spread glue on only one quadrant.
This is to make sure all the pieces fit without any surprises.
|
|
 |
|
After gluing the first quadrant, I placed a piece of
leftover MDF
over it and pilled on various weights to hold it down. I did this for
the quadrant right next to it as well. This went pretty good and the
next day I did the other side. Yes I know, it's a random bunch of stuff
on there.
|
|
 |
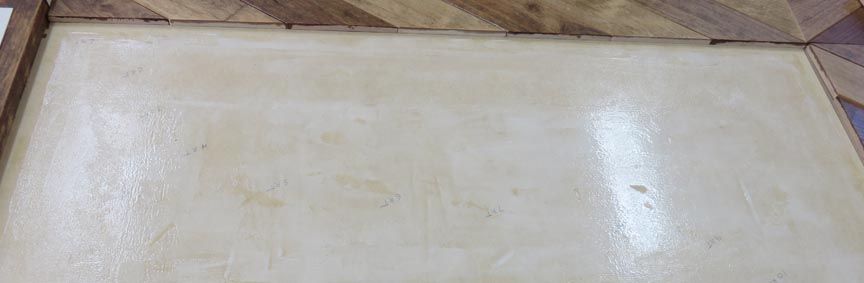
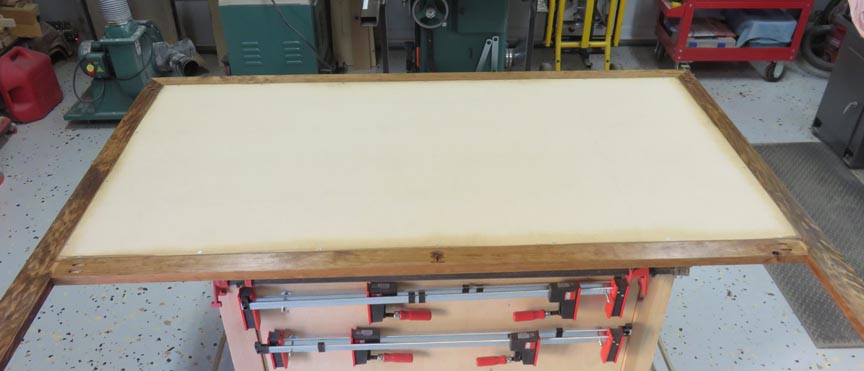
What you see here is the back. What I did was put some spray clear on
the frame to see how it would look and to make sure it covered evenly.
Well it looked pretty good so I bought two more cans of semi-gloss to do the front.
|
|
 |
|
1
2
3
4
5 |