|
Working with Oak Continued
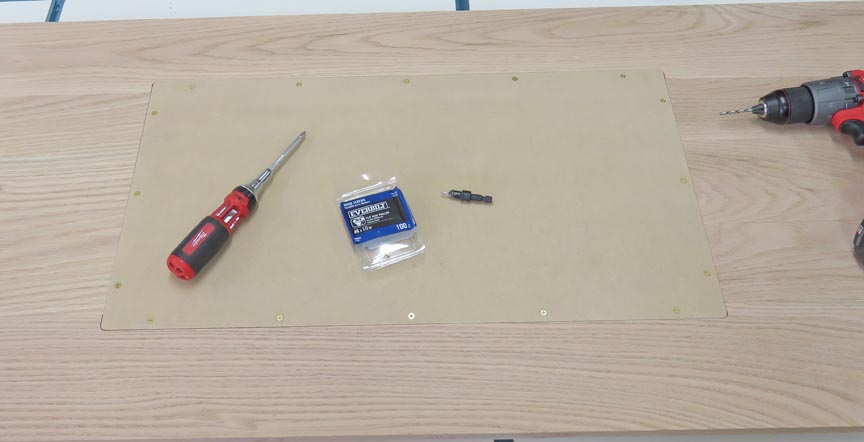
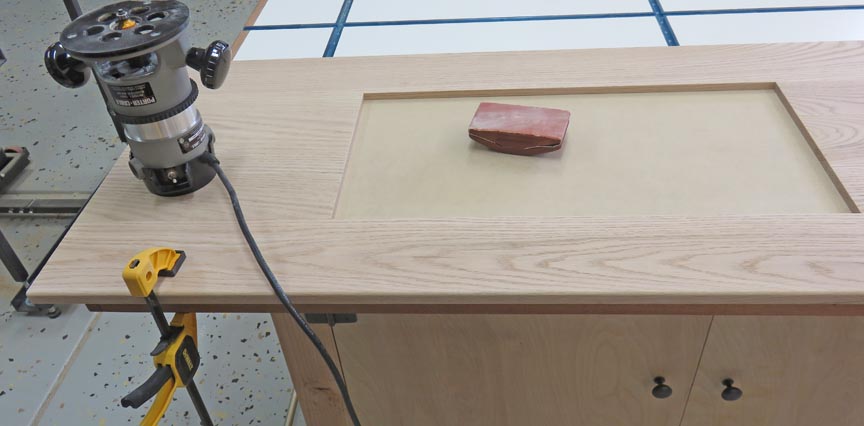
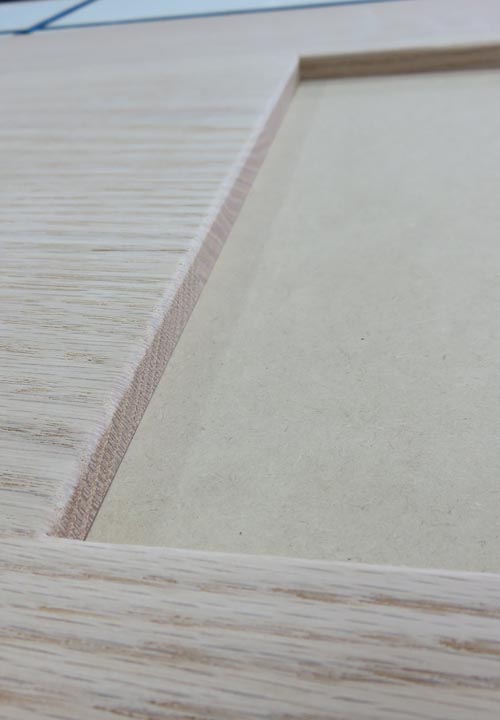
I used some #4 flathead brass screws to hold in the MDF insert. I
wanted this area to look decent because every time I open the chest,
I'll see this.
|
|
 |
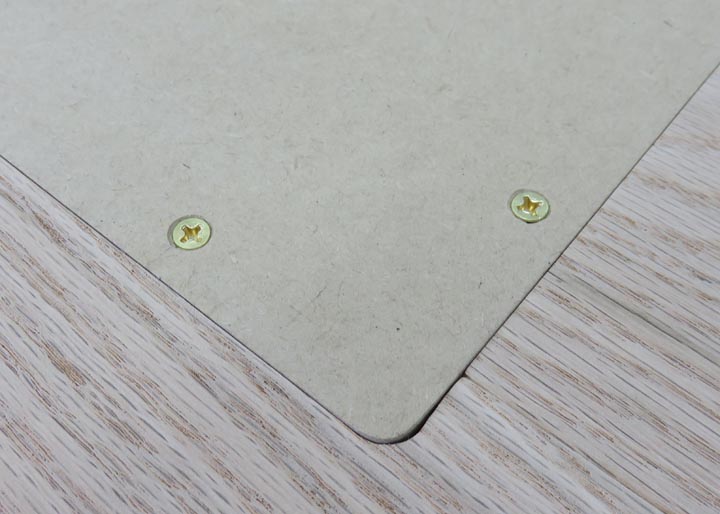
A close-up of the screws. I sanded the
radius on the corners of the insert by hand.
|
|
 |
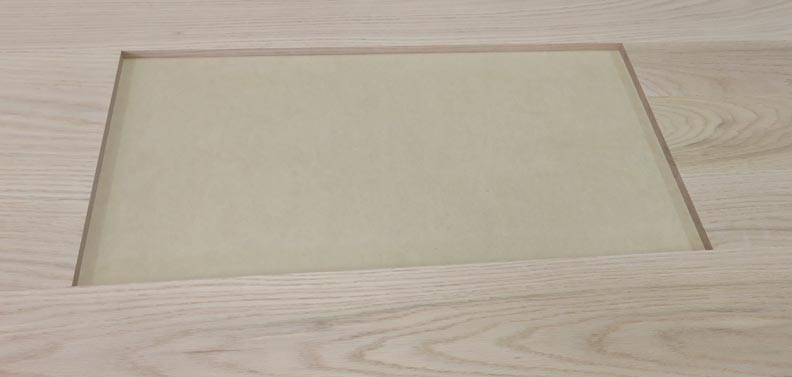
Here is what it looks like with the insert installed. I'll break the
corners here so it has a nice transition to the Chevron pattern.
|
|
 |
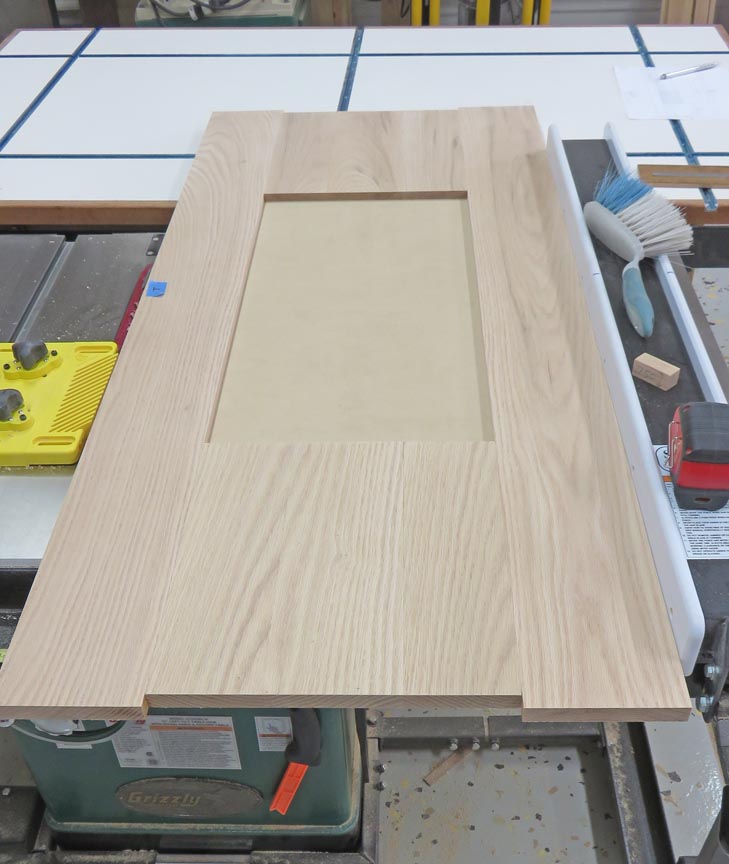
I'm getting ready to cut the lid to size here. I took a small amount off
each longer side on my table saw so it's parallel. Once the width was in
I used my cross-cut sled to bring in the length, making sure to keep the
center section centered.
|
|
 |
|
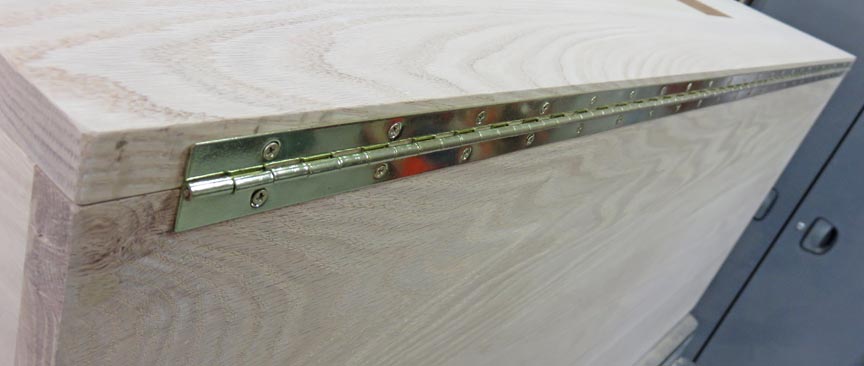
Next it was time to attach the hinge and for that I'm
using a 48" long piano hinge. To make sure the hinge stays centered, I
clamped my long straight edge to my chest and then rested the hinge on
it. This acted like a third hand and worked out great.
|
|
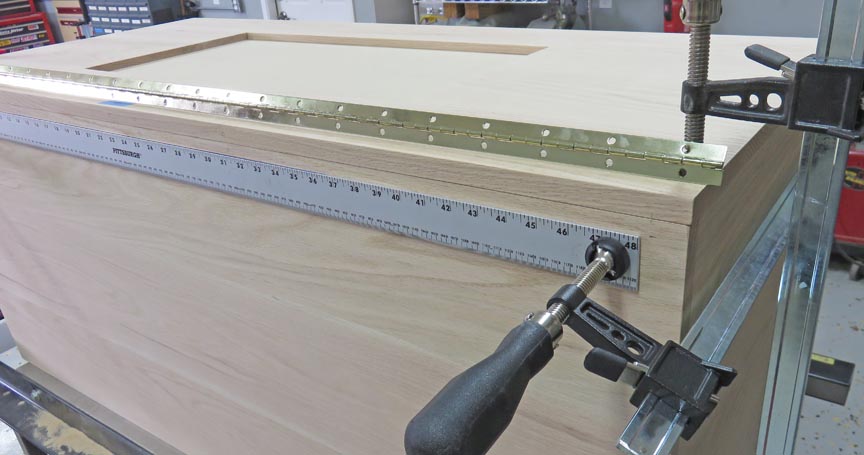 |
The chest is 50" long which means I had one inch per side that didn't
have any hinge. No big deal because this is the back, plus there are 48
screws holding it in place.
|
|
 |
Here I'm using a 3/16" roundover on the ends, front and back. I
also gave the bottom edge the same treatment so it's easy on the hands
when you open it.
|
|
 |
I used a 1/8" roundover bit for the area that has the Chevron pattern.
|
|
 |
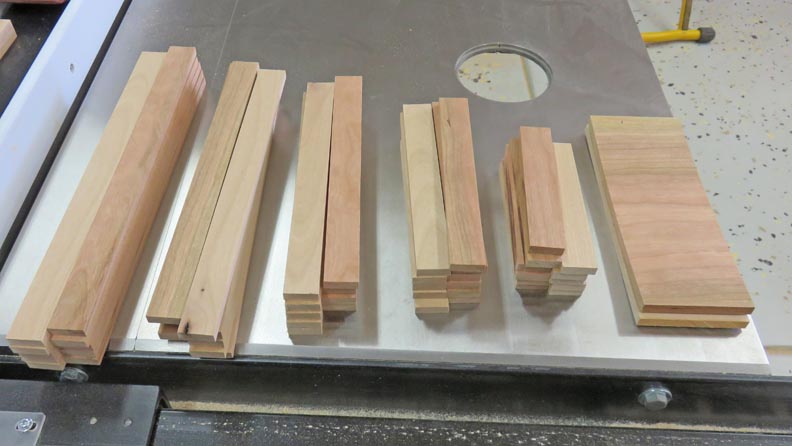
Here are my pieces for my Chevron pattern (plus a few extra). Now it's
time to cut some angels and fit each one using my sliding miter saw..
|
|
 |
I laid out some center lines so I have some kind of reference. Each
quadrant is 6" X 12".
|
|
 |
|
1
2
3
4
5
6
7 |