|
Back to Working with Oak
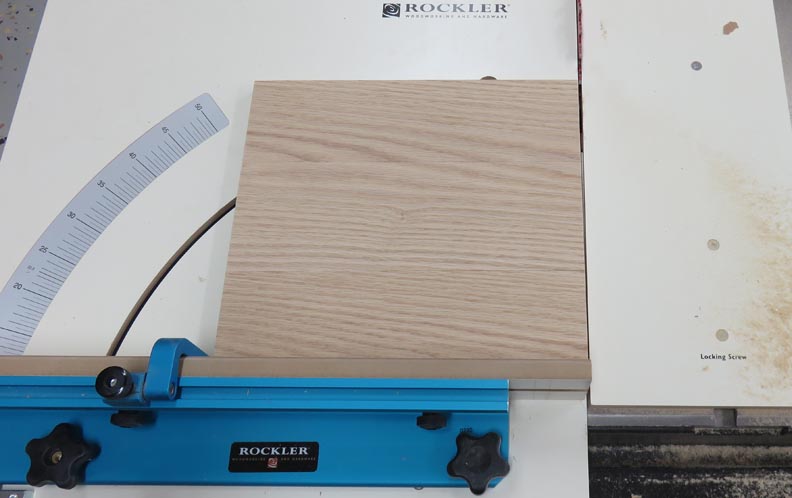
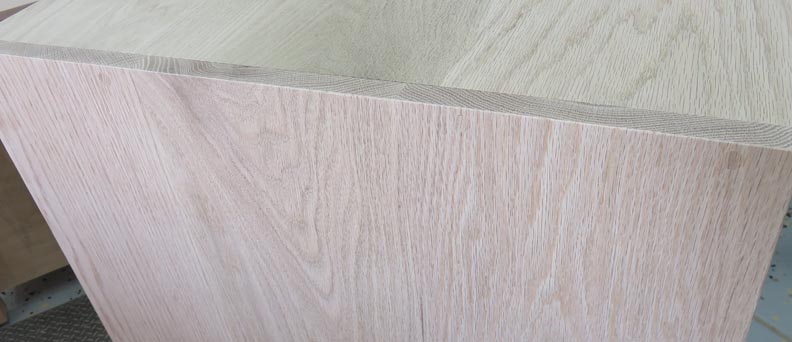
The next day I started cutting my pieces for the lid. I ripped the
12" dimension and here I'm using my crosscut sled to cut the 13" length
(plus a 1/4") that will be cut after it's glued.
|
|
 |
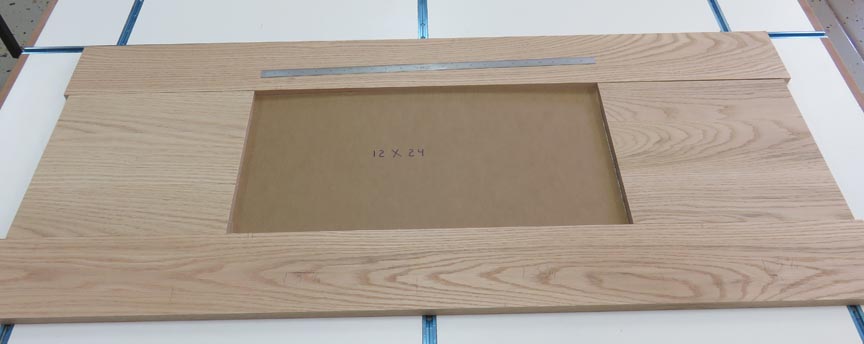
I'm mocking things up here. And you can
also see the two side pieces in place that I just cut. The center will
be 12" X 24 (cardboard for now) which will be the area for the Chevron pattern.
|
|
 |
|
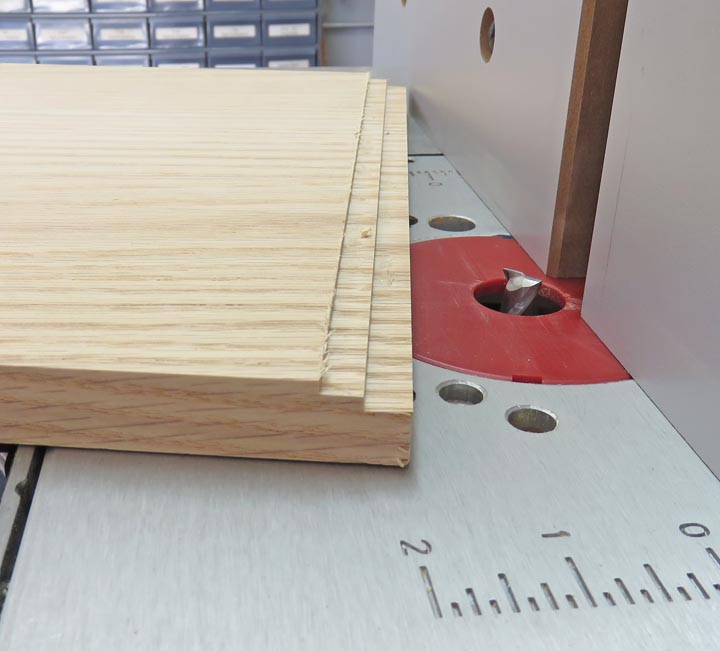
I'm cutting a rabbit in the end of each side piece that
will be 1/4" deep X 5/8" wide. This will be for some 1/4" MDF that will
be under my Chevron pattern and will be used to glue all the pieces to.
I'm using a 1/2" diameter cutter on my
router table so I had to take multiple cuts to get my final size. Each depth
of cut was about 1/8" deep.
|
|
 |
|
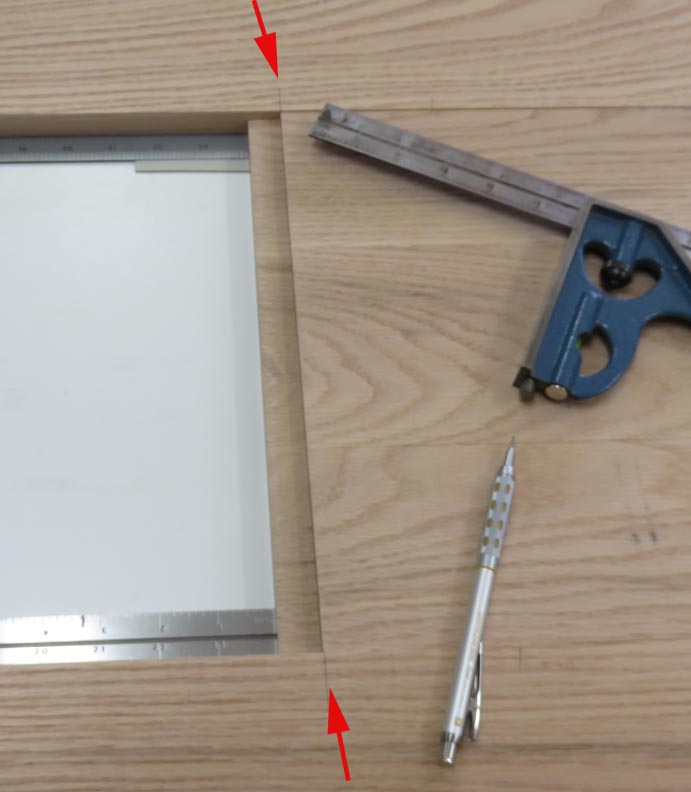
I'm marking the spot I need to cut on my longer pieces
that go to the lid. And these two pieces will get rabbits cut like the
side pieces did. The pencil marks (arrows) represent the end of the cut and
I'll transfer these lines to the other side of the board so I can see
each one. Also note the two 24" scales at the top and bottom. I used
these to help me make sure the two sides were correctly spaced apart
while I was doing my glue-up.
|
|
 |
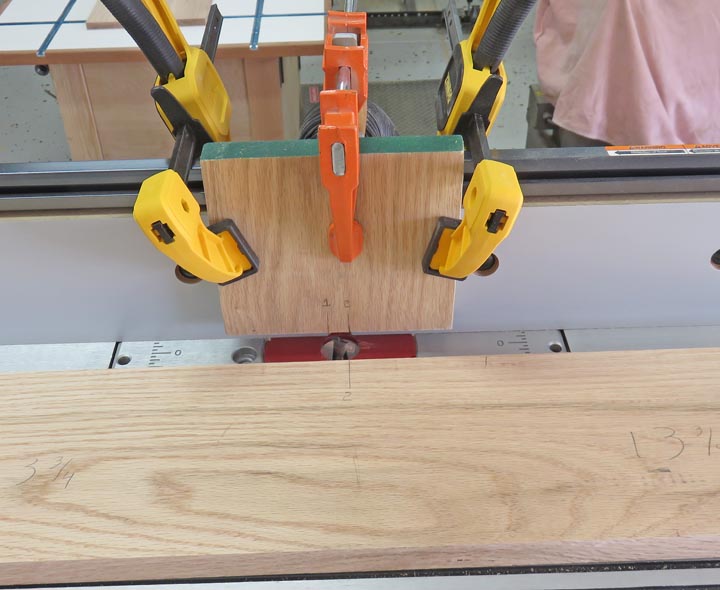
Here I'm back at my router table and I'm using a scrap piece of wood to
mark where I need to stop each cut.
|
|
 |
|
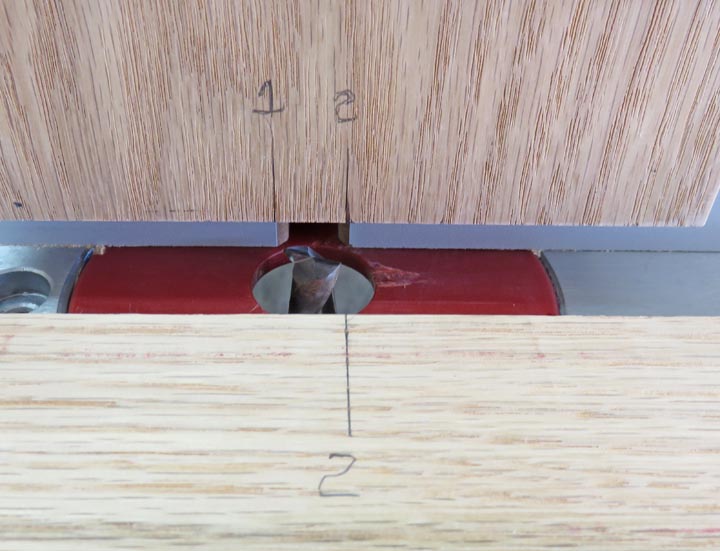
The lines under the number one and number two are 1/2" apart, which is
the same width as my cutter. I have corresponding numbers at each end my
boards (one and two). When each number lines up with the same number on
my scrap piece, I stopped my cut.
|
|
 |
|
This worked out well and my insert of 1/4" MDF fits great. Now I'll need
to screw this piece to the lid soon. |
|
 |
Next I worked on the plugs to cover all the screws. I had a bunch to
choose from so I could match the grain.
|
|
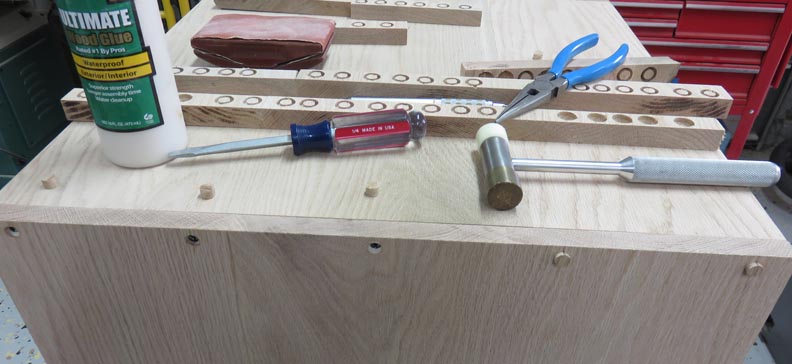 |
I placed a pencil mark on each plug after matching the grain. Then I
dabbed on some glue and tapped them in place with my soft-faced hammer
(above picture).
|
|
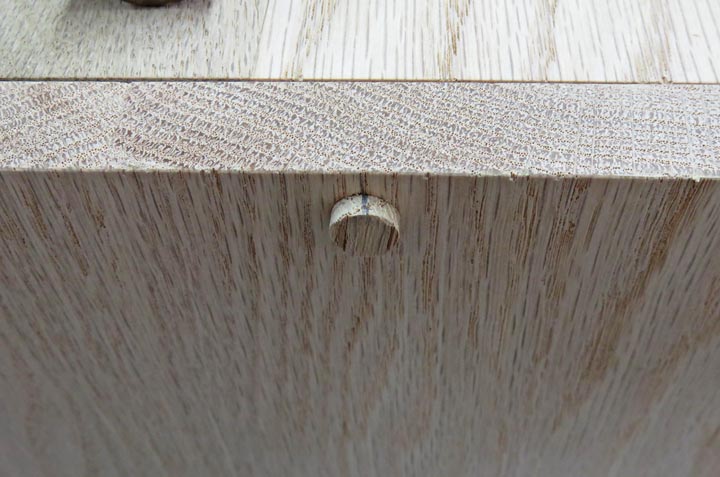 |
Once I sanded them flush, it's hard to see them.
|
|
 |
|
1
2
3
4
5
6
7 |