|
Working with Oak Continued
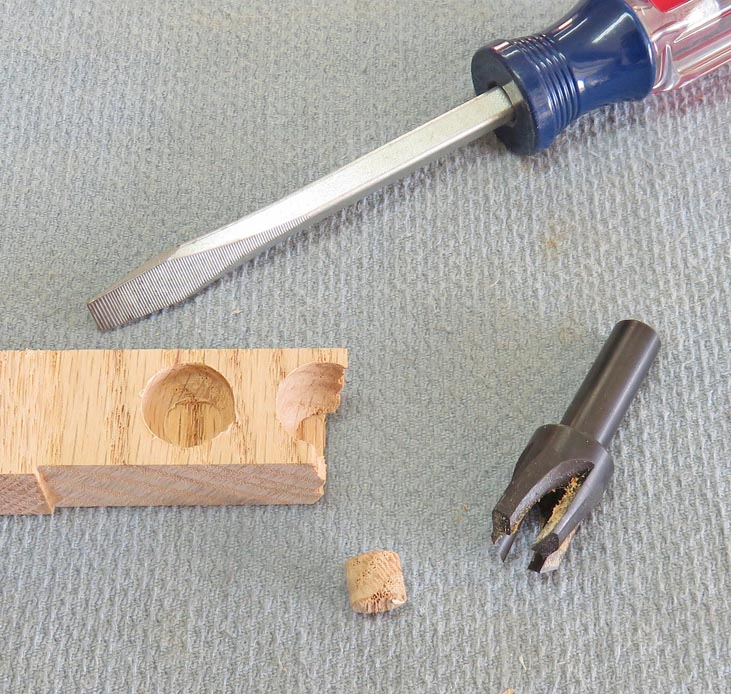
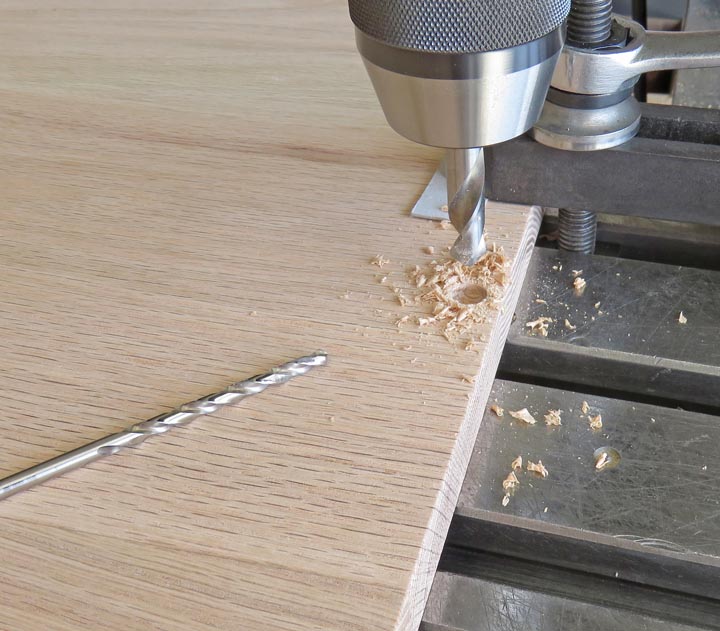
What you see here is a custom 3/8 diameter drill that I
sharpened to match the countersink of my flathead screws. And this drill
will be used to produce clearance for the head of the screw as well. The
drill on the bottom has a 118 included angle (which is common) but the
top one has something very different. All I did was grind the angle
until it matched my screw. This is important because if the angles don't
match, there's a good chance of the fastener coming loose over time.
|
|
 |
|
I bought a "plug cutter" to make wood plugs for all the
holes I'll be drilling. This cutter is made by W.L. Fuller and has four
flutes along with 3/8" shank. Now I should have done this awhile ago when I
was making the
toy box for my granddaughter because it would have saved me a
lot of time. All you do is plunge the cutter into whatever wood you're
using and snap it out with a screwdriver. This process only takes
seconds, cuts a press-fit plug and it works great.
|
|
 |
|
Here I'm getting ready to drill all the holes for the
screws, and it will be a multi-step process. First I used a center drill
to make sure each location was where I wanted it. Then I used a 3/16"
drill, which is clearance for the body of the screw.
|
|
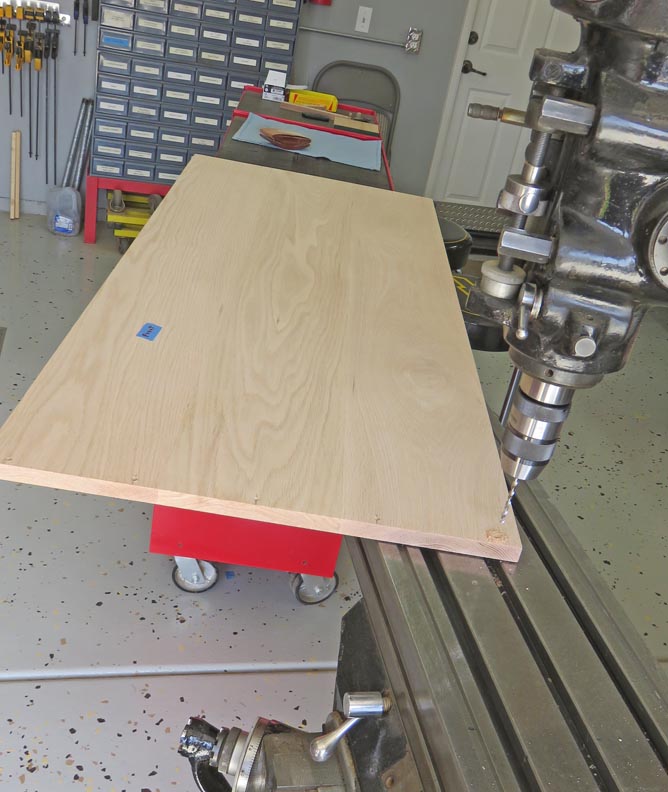 |
My work piece is 50" long so I used my tool box and some scrap wood for
support.
|
|
 |
|
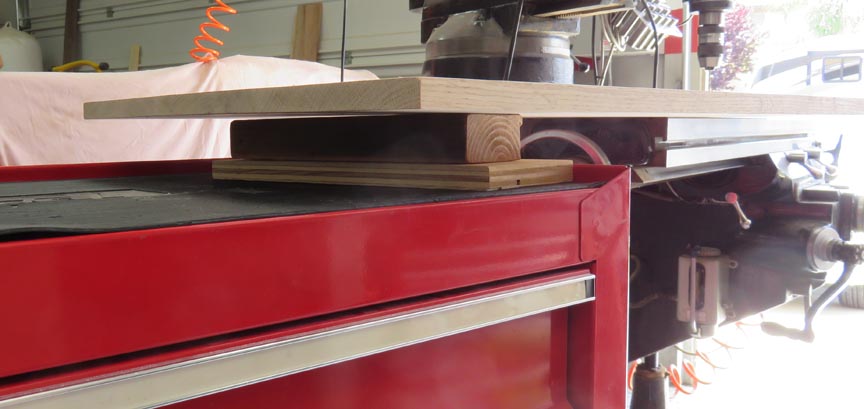
After drilling all the clearance holes, I was ready to
switch over to my custom drill. However, if the larger drill isn't
exactly in the center of the hole, it will cause all kinds of problems.
Knowing this, I'm placing the 3/16" drill back into the hole, clamping my
work piece and then switching to the larger drill. Yes, this is a slow
process but it works.
|
|
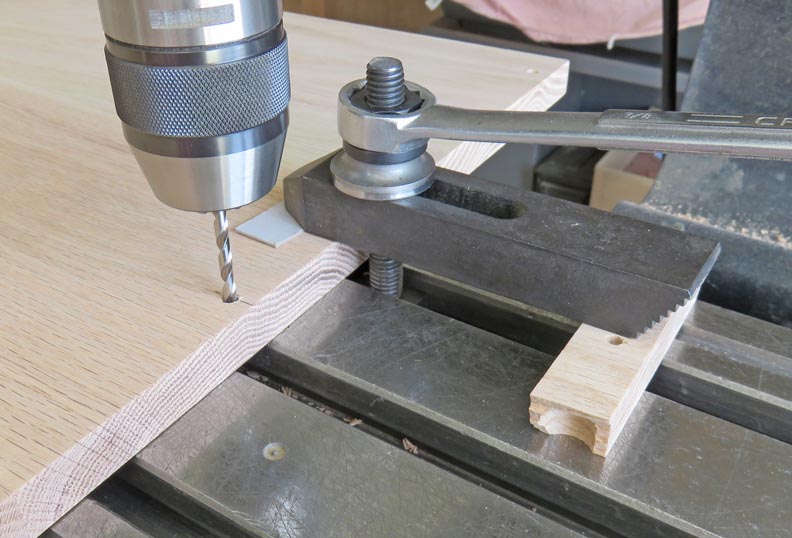 |
Here I'm drilling my countersink and clearance for my screw heads.
|
|
 |
|
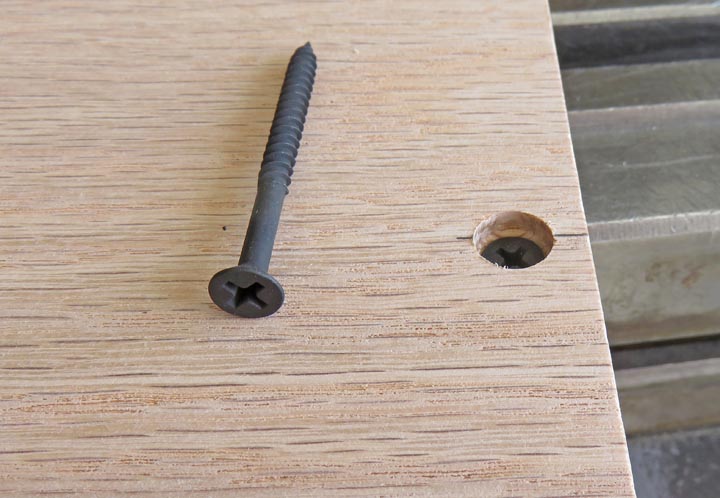
I bought some cabinet screws in place of the drywall
screw I showed you earlier, but the angles are the same The depth of the screw head is just over
1/8" from the top surface. This will give me plenty of material under
the screw head for strength.
|
|
 |
|
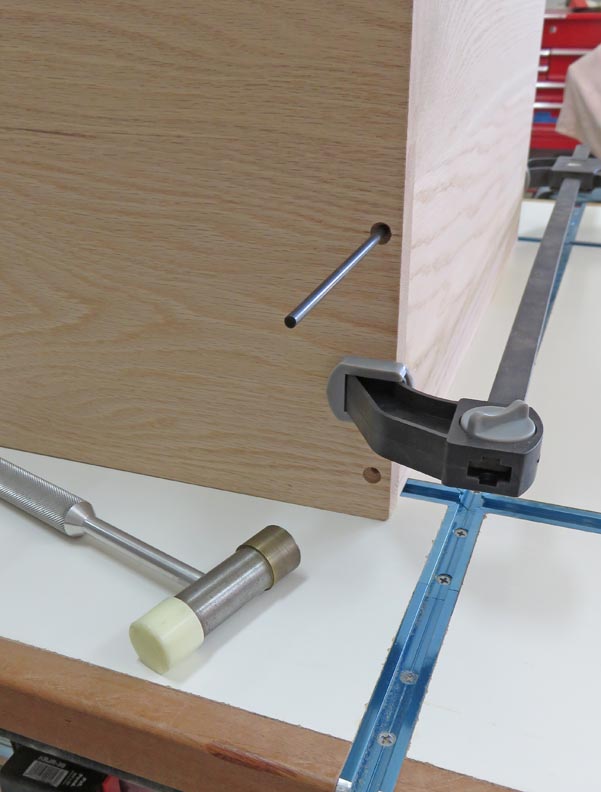
Here I'm transferring all the screw hole locations to
the side pieces. And to make sure all the holes are in the right spot
I'm using a 'transfer punch'. One or two taps with a hammer and the
point on the end puts a dent on the matting part, making it easy to find.
|
|
 |
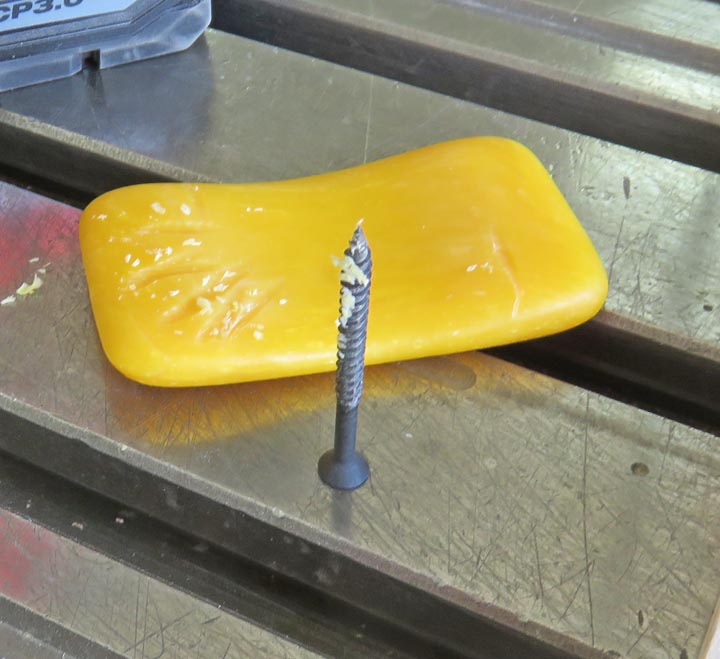
Oak is hard so I put a small amount of soap on the threads to help
lubricate them.
|
|
 |
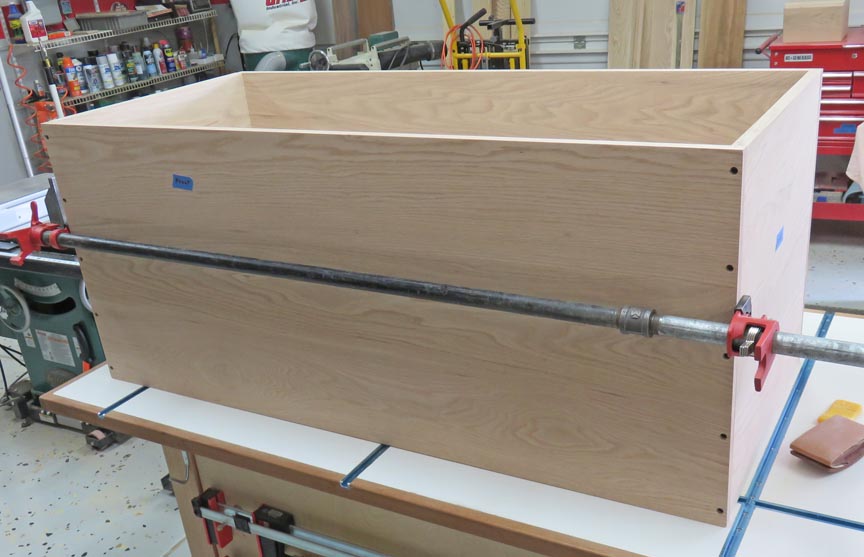
To help me keep things aligned, I used my pipe clamps with a coupler to
add some length. This helps keep things aligned while I screwed the box
together.
|
|
 |
|
1
2
3
4
5
6
7 |