|
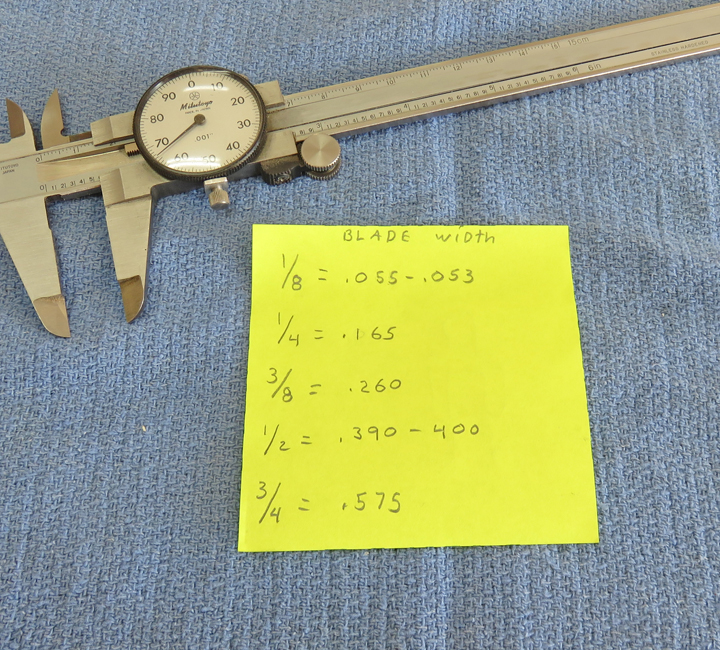
1st. Bandsaw Upgrades Continued
And to take it a step farther, why not make a different shim for all my
different blades?
I removed the 1/4" blade and replaced it with a 3/8" blade, adjusted it, and
then figured out what
that size I had now. The difference between those two blades gave
me enough data to figure out the size for all the different blades
that I own. What I going to do is make five different shims of
various sizes to
accommodate all my blades.
|
|
 |
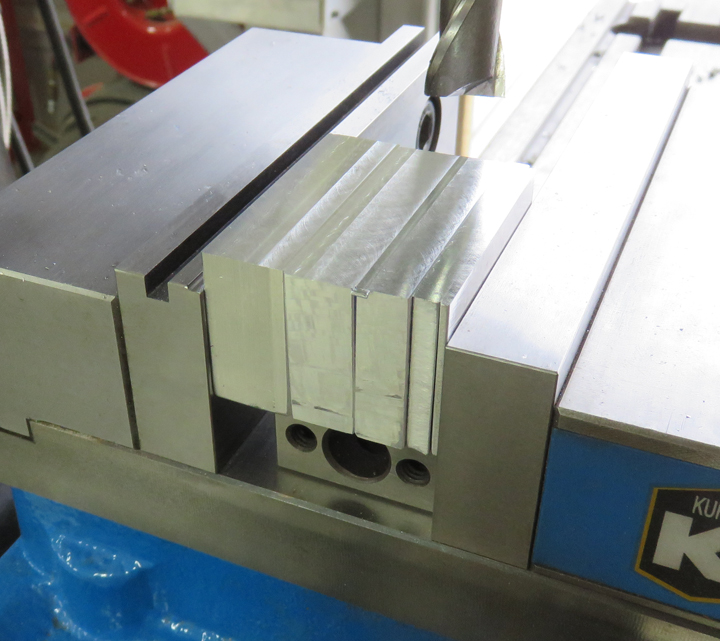
Here I'm squaring all five shims on my
milling machine.
|
|
 |
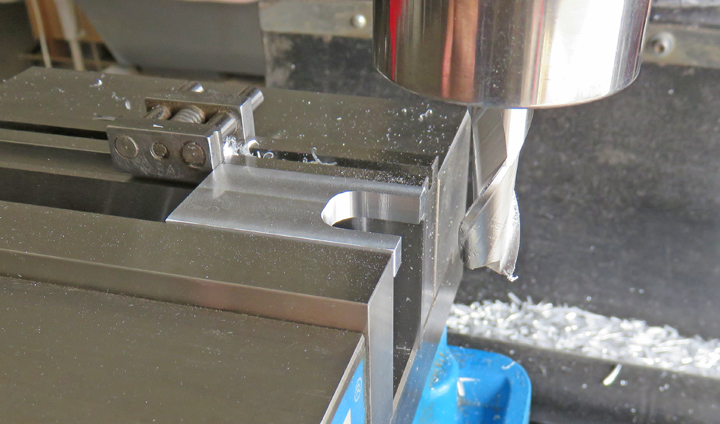
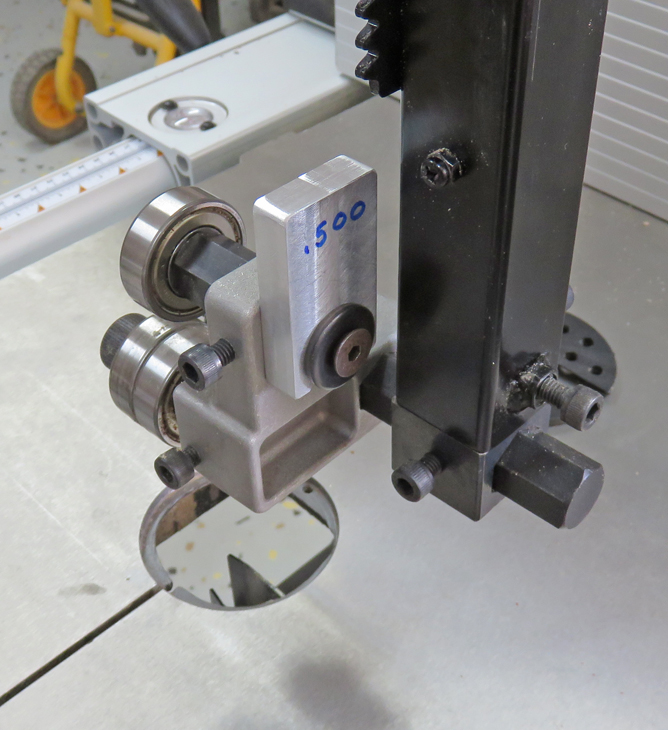
Once all the shims were to the correct thickness and were square, I cut
a slot in each one to clear the hex support shaft.
|
|
 |
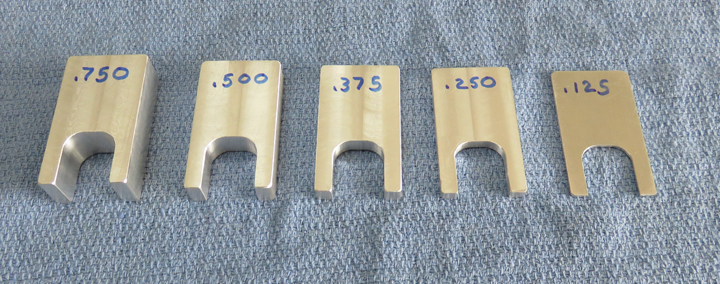
The numbers that you see are for the blade sizes, not the thickness of
each shim.
|
|
 |
|
Now when I want to change blades, I just have to match the proper shim to the
blade size. That means I'll loosen my new screw, move the hex shaft,
insert the proper shim, slid the hex shaft with the shim against the
bracket and tighten the screw again. Very simple and very quick!
|
|
 |
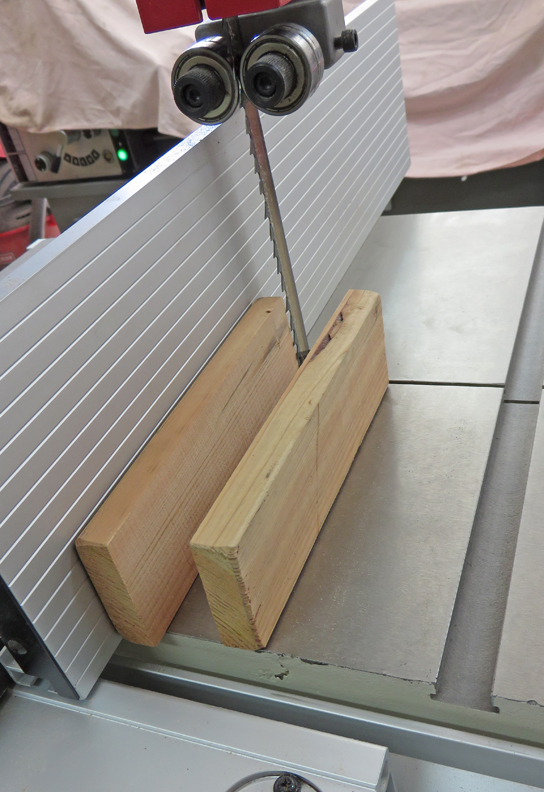
Here I'm testing a 1/2" blade on some scrap wood and the new shim worked
exactly as I wanted.
|
|
 |
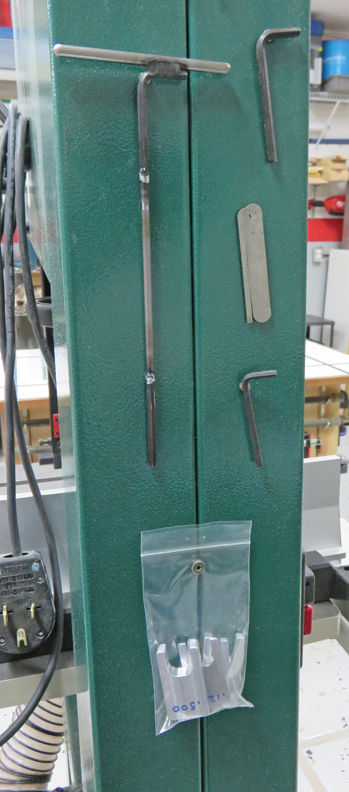
I'm storing the shims on the side of my bandsaw, along with some other
tools. From this point forward changing blades will be no big deal.
|
|
 |
|
2nd. Bandsaw Upgrade
While working on my
daughter's Christmas present,
which was the bandsaw box that I made for her, I was having a hard time
moving and turning my work piece for two reasons. The first problem was
trying to slide and turn my work piece on the cast iron table. When
working with some intricate curves you need complete control but I found
myself forcing the work piece every now and then. This would lead me to
over-shooting my line, which would cause the blade to dig in where I
didn't want it to.
The second thing I found that hindered me was the table
insert that sits just below the surface of the table (in the picture
below I have the table insert removed). Every now and then
my work piece would catch on that small lip, again causing my blade to
go where it wasn't intended. I plan on making a simple fix for both of
these problems.
|
|
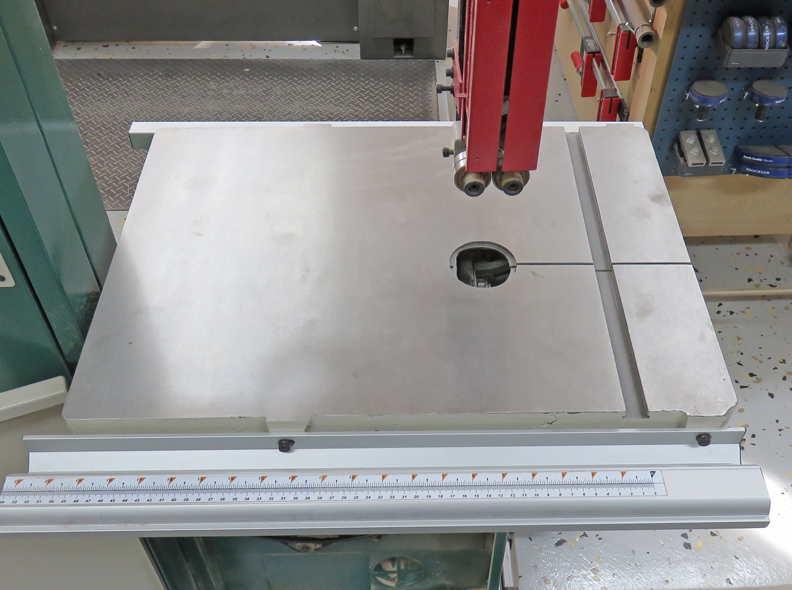 |
This is my table insert, which is made out of plastic. Now this works
fine for rough cutting but not for smaller and fine stuff. However, I
found a simple fix for this.
|

|
|
I found this idea by complete accident while watching some
guy working on a project on a bandsaw. This guy's project included
some very small curves but he was moving his work piece with almost no
effort at all. And then I noticed what he was using that covered his bandsaw
table, it was 'dry eraser board'.
Now we all know how slick dry eraser boards can be, and
at that moment the light bulb went on. Well the next day I went
to the hardware store and was looking for a dry eraser board but they
didn't have the traditional type that hangs on the wall, but they did had
something else which was a 2' X 4' X 1/8" thick piece of wood with one side coated
with some kind of an erasable surface.
I thought I'd try this because it was cheep and would be
easy to work with. I cut a piece that was the same size as my bandsaw
table plus about 1/2" per side.
|
|
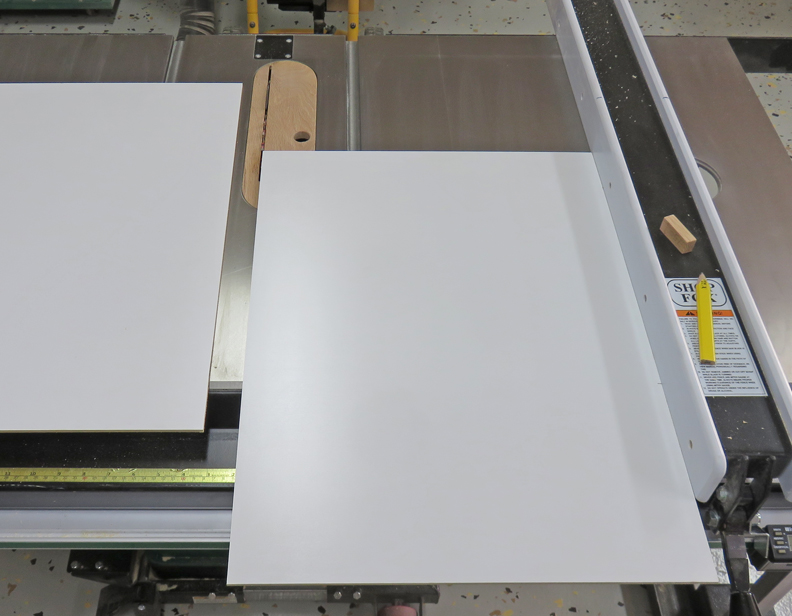 |
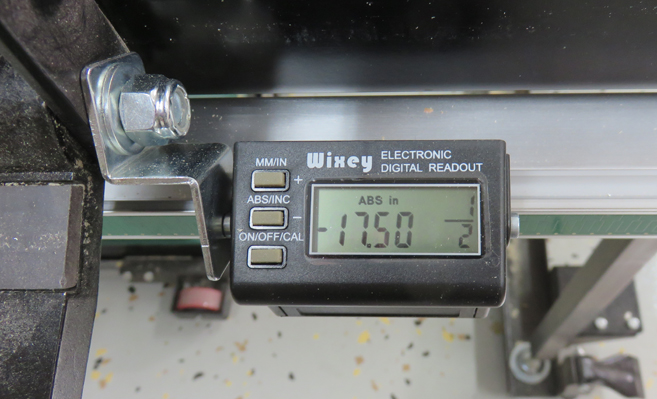
I set me
digital readout for 17.5"
and sure enough it cut my work piece to that exact dimension. This new
unit sure does save time setting my fence these days.
|
|
 |
|
1
2
3
4
5 |