|
3rd. Bandsaw Upgrade Continued
I'm going to make an adapter so I can use the stabilizer
in the same location as the upper blade guide. That means
it's time to use my metal working equipment to make something for my
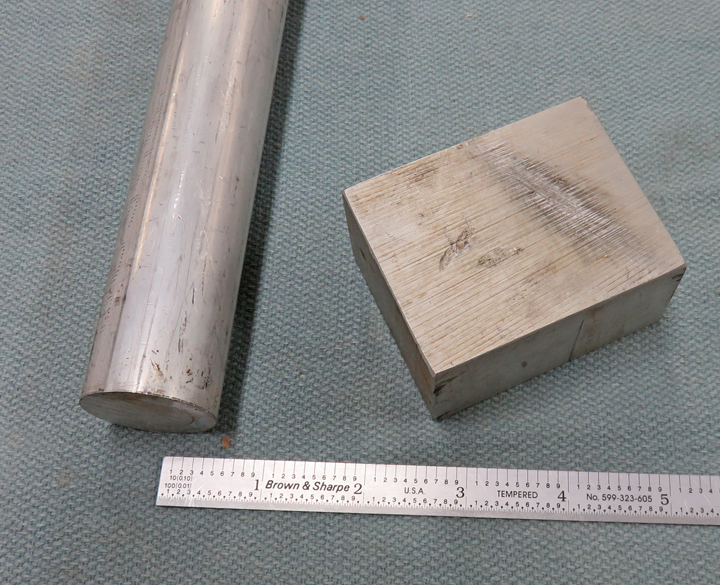
woodworking machine. I'll be using aluminum for this because it's easy
to machine, plus it should work just fine.
|
|
 |
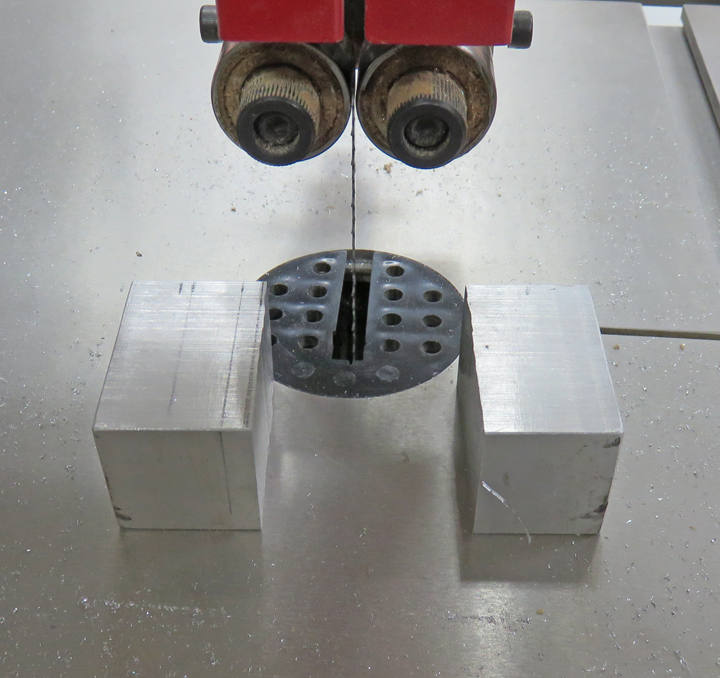
| I used my bandsaw to cut my aluminum block
which worked great.
It's funny, I'm using my bandsaw to make a part for my bandsaw
¯\_(ツ)_/¯
|
|
 |
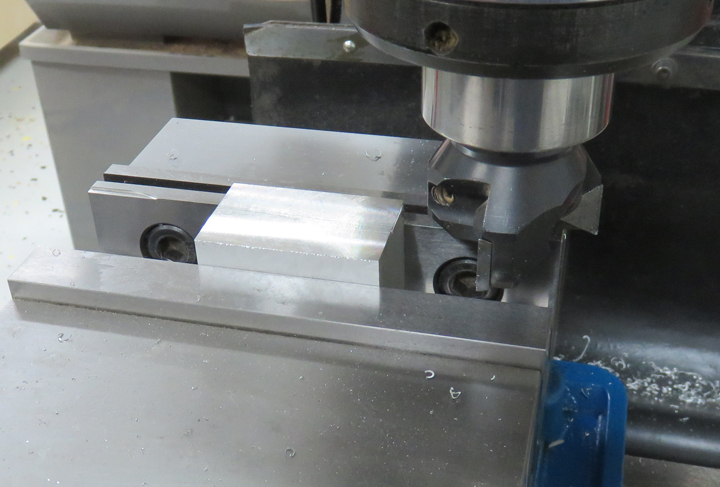
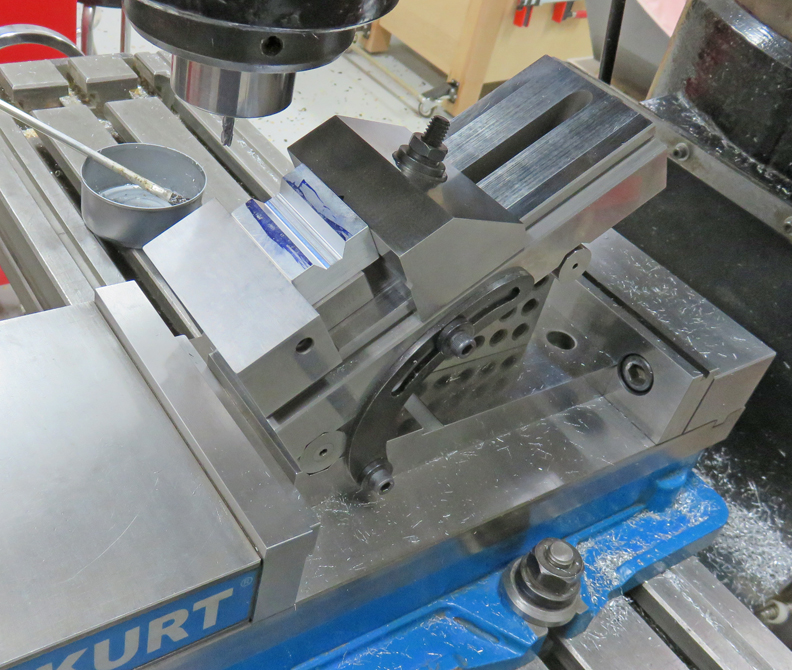
The first step is to square the block so I can work with it.
|
|
 |
|
The adapter block that I'm making will need a hexagon
shape all the way through it, but producing something like that in a
single piece of metal would be very difficult for me to do because I
don't own a broach. In case you don't know, broaching is a process of
producing slots or odd shaped holes through metal or plastic. A good
example would be a slot in a pulley that has a hole in the center. Those
slots have square edges which is made by a special tool, called a
broach. Now this is only one example but you get the idea.
What I'm going to do is make this hexagon shape by using
two pieces of aluminum that will be bolted together. This is something
that is relatively easy for me to do so let's get started.
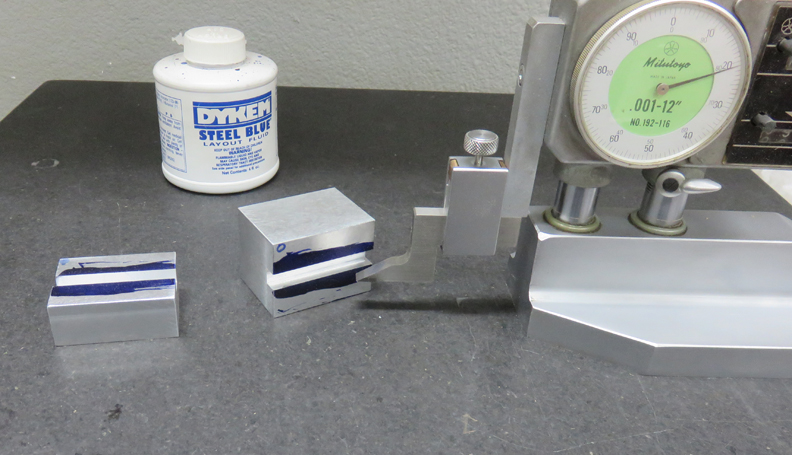
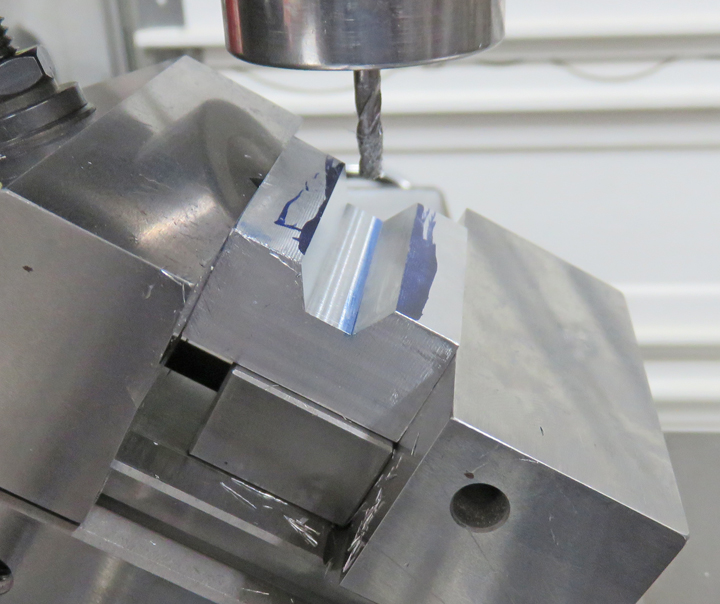
I milled slots in the center of those two blocks and
both are at the correct depth at this point. Next I laid out some lines using my height
gage that represent the tangent points for the hexagon shape.
|
|
 |
|
Here I'm using my sine vice set to 30 degrees to produce
my angle. Now a hexagon has six sides, each one equaling 60 degrees from
one another. But the reciprocating angle of 60 degrees is 30 degrees,
both adding up to 90. This way I can use the side of my end mill to
produce the correct angle that I need.
With the slot in the center of my block, I can work
close to my line, zero out my digital read out, turn the block around,
and then cut the other side so they're both still in the center.
|
|
 |
|
To make sure that my tangent points were in the correct
location, I went slow and checked my work often. Once I had the smaller
of the two blocks (top piece) close to my dimension, I switched to the
larger block. But that meant I had to figure out where my tangent points
were at all over again. No big deal but it does take time.
After cutting both pieces and checking the fit of the
stabilizer, I had to re-cut a small amount from one of the two blocks. I
chose the larger one because that was the last one I was cutting on,
which meant I had all the numbers ready to go.
|
|
 |
|
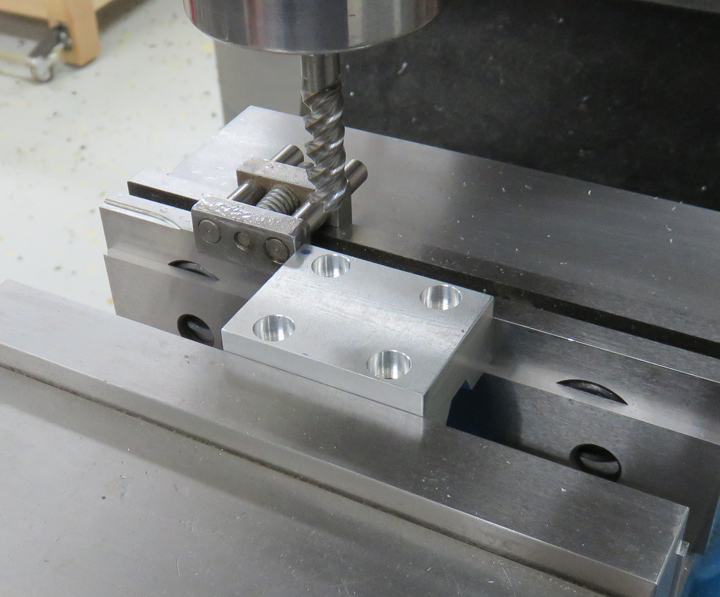
I'm using an end mill to counterbore for some #10
screws. I also drilled and tapped a 10-32 thread in the center of this
block. This screw will be used to adjust and fasten the stabilizer in
the correct position once I have tension on the blade. I'll show it
later.
|
|
 |
|
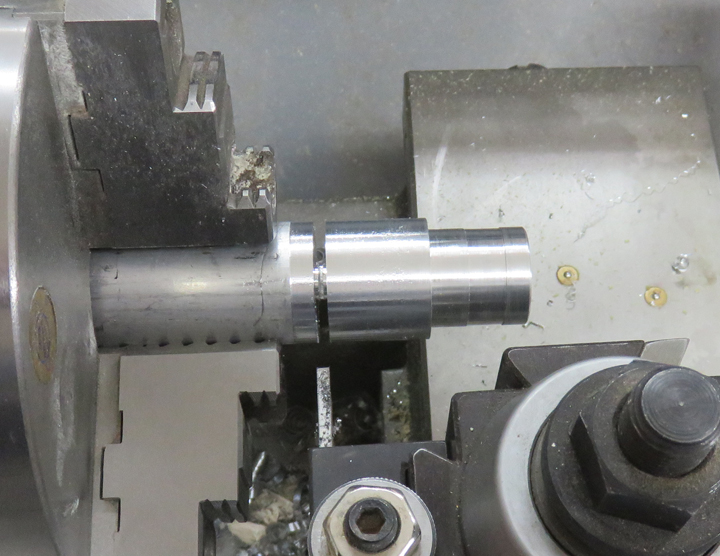
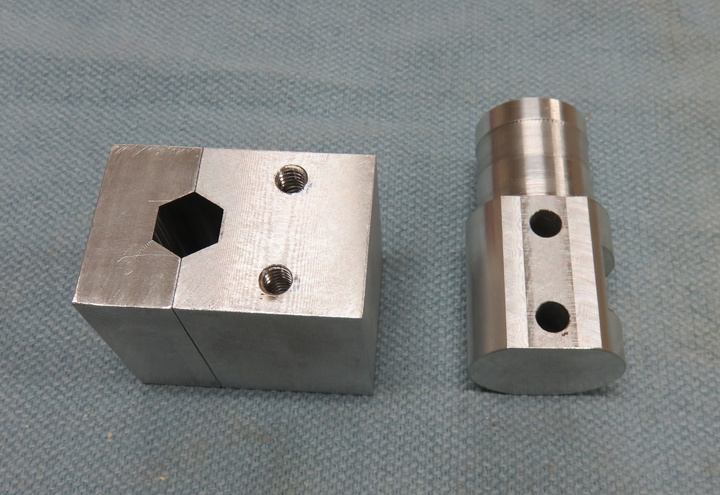
Now it's time to make the piece that will go into the
'guide post' on the bandsaw, which is held in place by two bolts. This
piece will also be fastened to the block I made with two bolts.
What I'm doing here is getting ready to part-off my work
piece now that I have my diameters finished, and then turn it around and clean-up the end.
|
|
 |
|
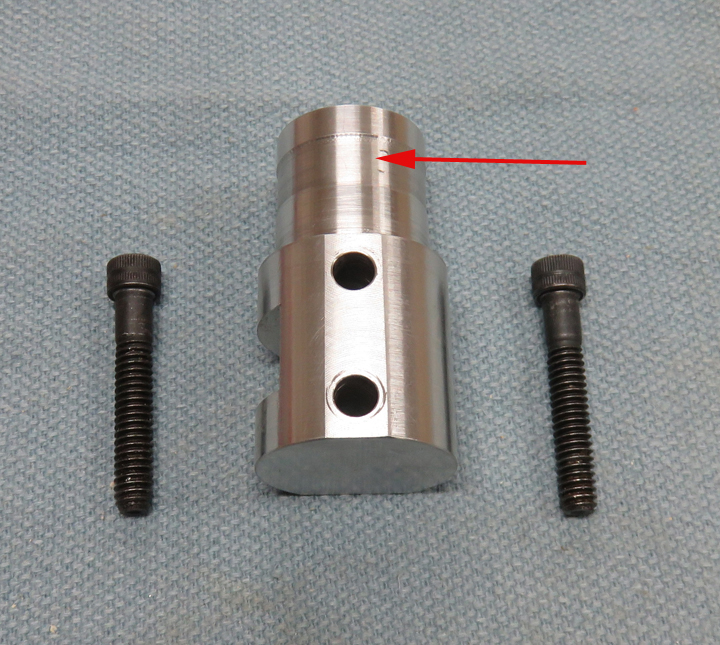
The smaller diameter will go into the guide post and the
screws that hold it in place will lock down on that undercut area
(arrow). You can also see the two1/4-20 bolts that will hold this piece
to the block.
|
|
 |
I drilled and tapped the threads in the block which will hold these two
pieces together.
|
|
 |
|
1
2
3
4
5 |