|
I've been using my tablesaw for a few years now but when
it comes time to do a repeat operation that requires a particular size,
well that can be a challenge. Once I read about some people using a digital
readout on their table saw's, I thought that would help me get that exact
same size time-and-again.
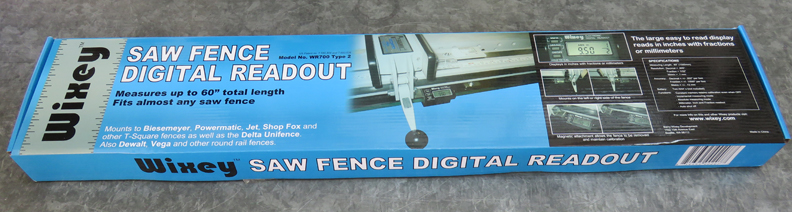
Now there are a few different companies that sell these
units but in the end, I bought this Wixey digital readout or DRO,
because it had some good reviews. And once it's installed I'll let you
know if it works good or not.
|
|
 |
|
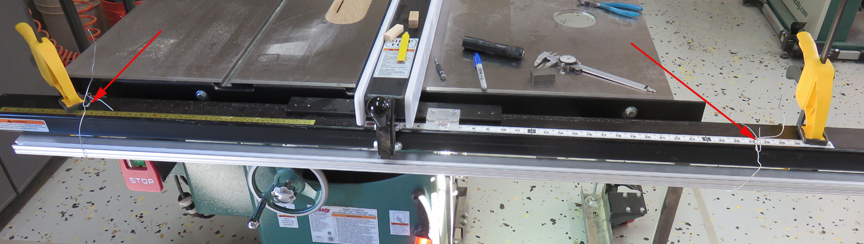
DRO Installation The first thing you do is join the two sections of
aluminum track together using four bolts that go into an oddly shaped
nut that slide inside of the track underneath. Then the whole 60" track needs to be fastened to
your tablesaw fence support with four universal clamps. I placed the
track on my
fence support using some baling wire to hold it temporarily
(arrows). Then I used some squeeze clamps to hold the track in
place.
|
|
 |
|
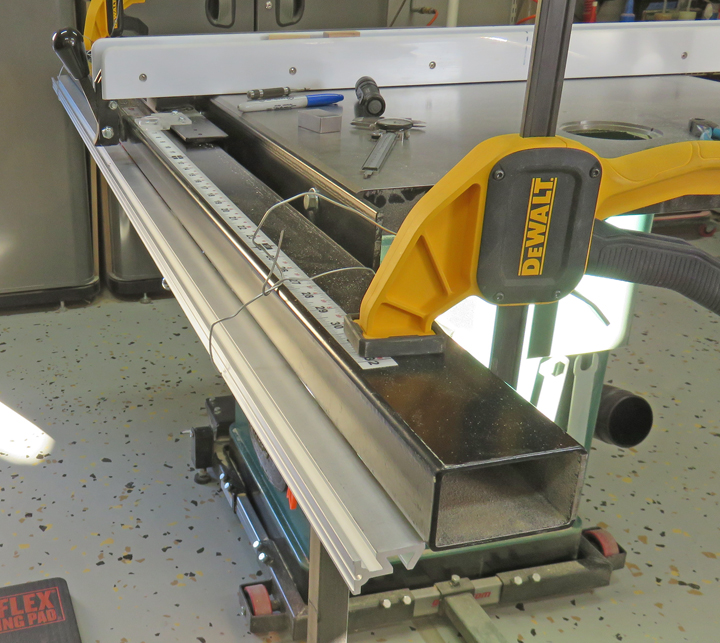
Here's another look at the track, which will also hold the
electronics. I'm getting ready to drill and tap some 1/4-28 threads that
will hold the track to my fence support, but that's not what the instructions called for. Wixey sent some self-tapping screws along with a drill bit to attach the
track with, but I didn't like it because the amount of thread engagement
would be minimum compared to what I'm doing. However, not everyone owns
or knows how to cut threads in metal so I get why the company uses this
method.
|
|
 |
|
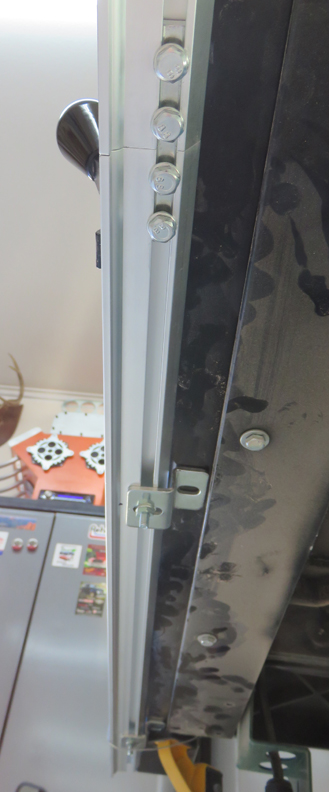
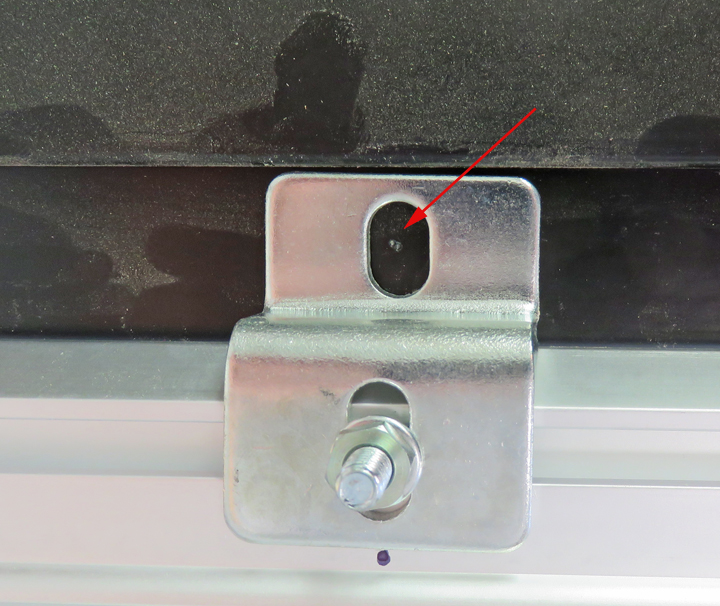
Here you can see the four bolts that hold the two track
sections together along with two of the universal clamps. Depending on
the type of tablesaw that you have, you have the option of installing
the four universal clamps and the track in one of two ways. But the goal is to make
sure the track clears the fence clamp on whatever saw that you have.
|
|
 |
|
I used a center-punch to mark my hole locations and then
followed that up with a smaller drill (3/32) to make sure I had the
exact location. Using a smaller drill first ensures that your drill
stays in the center-punch dimple, then you step up to the final size drill.
Doing it this way, the larger drill should follow the smaller hole
keeping everything in the right spot.
|
|
 |
|
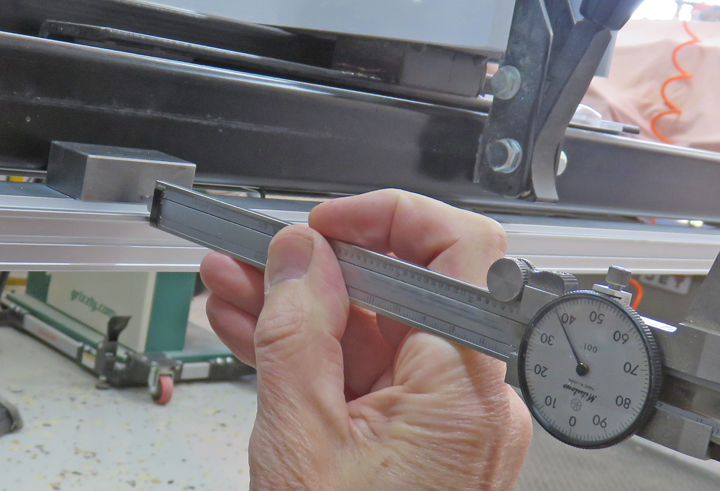
Once I had all the holes threaded, it was time to align
the track with the fence support, making sure they were parallel to each
other. I used a small steel block that I made many years ago that had a
nice smooth finish on it for this. Then I used my calipers to measure in
a few different spots making sure the track was the same distance from
the fence support and then tightened down the four bolts.
|
|
 |
|
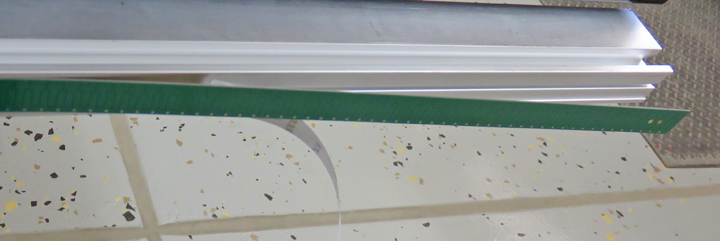
What you see here is a sensor strip that attaches to the
aluminum track. The sensor strip has an adhesive backing which is how it
attaches to the aluminum track. Now this sensor strip is what the DRO
reads while you're moving your fence, delivering information to the
digital readout.
|
|
 |
|
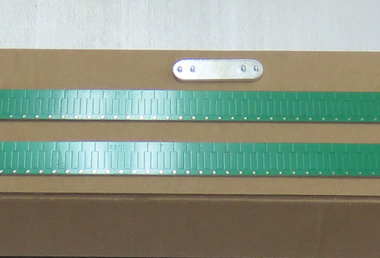
A close-up of the sensor strip. That piece of steel with
the four pins is what you align the two strips with when your attaching
them. Each sensor strips has two small holes at either end, which fits
this alignment gage. Once you have the first strip in place, you place
the alignment gage into that strip, then you place the second strip
onto this gage and continue to attach your strip.
|
|
 |
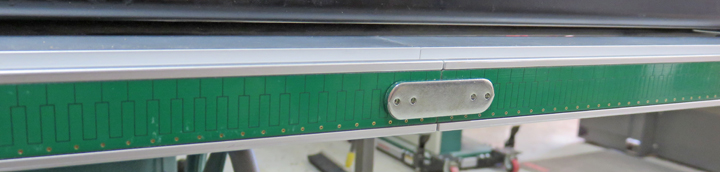
This is what the sensor strips should look like when you're finished.
|
|
 |
|
To help make sure everything stayed in alignment, I
removed a small amount of adhesive backing at a time. Then I would peel
a small amount more and press it into place. Notice the adhesive backing
hanging down in the center below. I worked slowly to make sure I had this
sensor strip in the right place the first time because that adhesive is
very sticky.
|
|
 |
|
1
2 |