|
3rd. Bandsaw Upgrade Continued
I bolted the two halves together and then put a small chamfer on each
edge. This isn't necessary but it is much easier on the hands while
working with it. Plus it looks nice as well.
|
|
 |
|
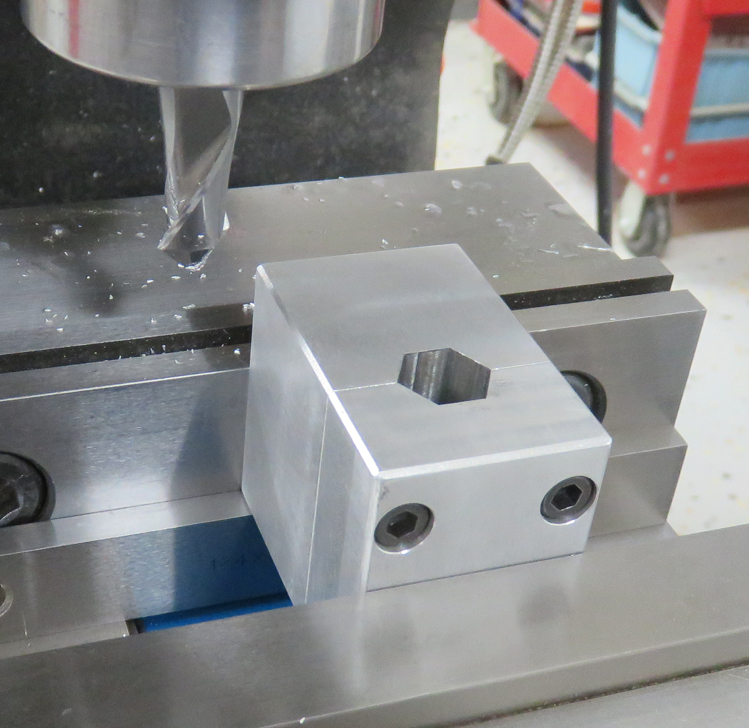
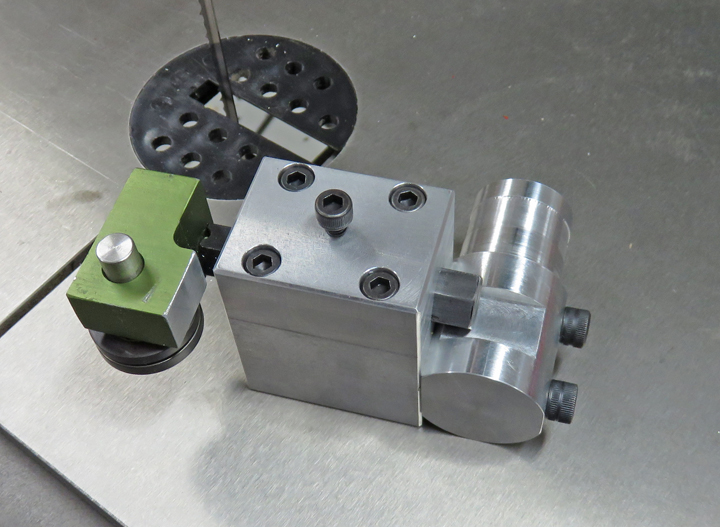
Here you can see the adapter all put together. And now
you can see the adjustment screw I mentioned earlier that is in the
center of the block. Also notice the slot I put in the round piece to clear the hex
shank.
|
|
 |
|
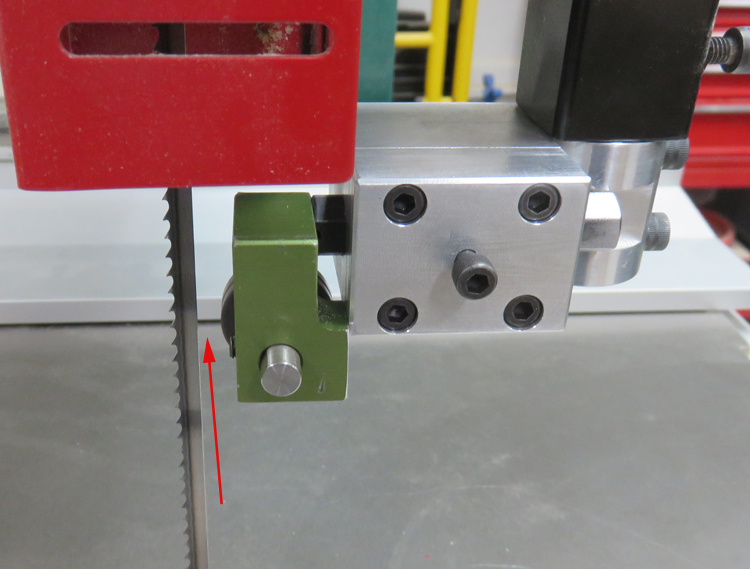
Here you can see what it looks like installed on the
saw. With the stabilizer in the rearward position, I still have about
5/16" of adjustment (arrow). What you need to do is preload the blade by
1/8" and then tighten the stabilizer down, then you're ready to start
cutting.
|
|
 |
|
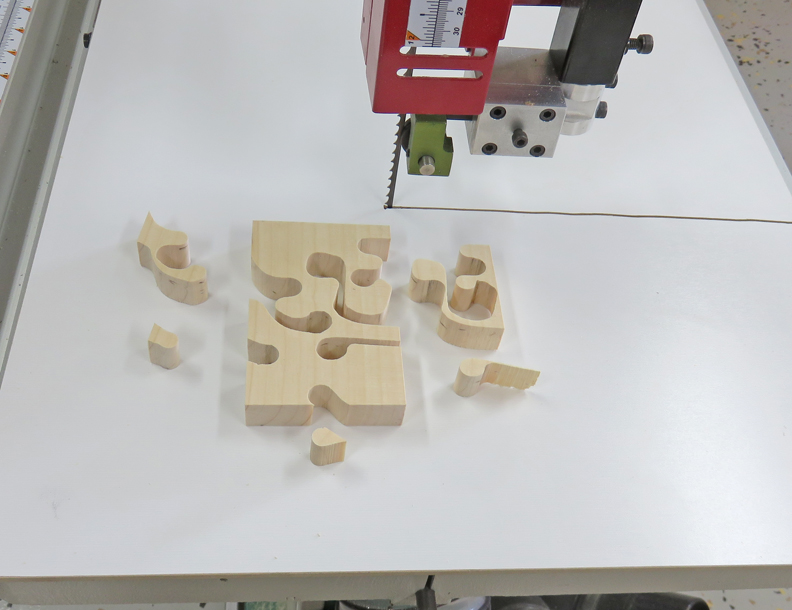
These cuts were made in less than 30 seconds with a
3/16" blade. The smallest diameter is 1/2" which isn't to bad so I'm
happy with the results. I can't wait to make another box and I have one
in mind so stay tuned.
|
|
 |
|
4th. Bandsaw Upgrade 2-2023
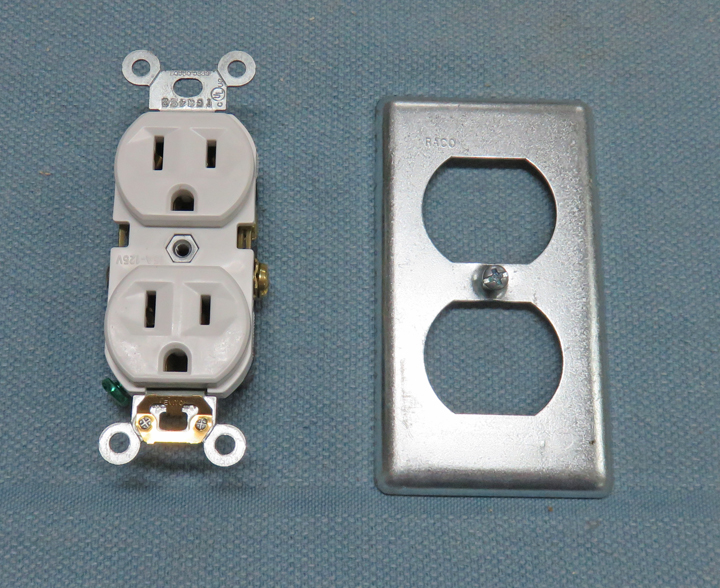
The last upgrade I'll be doing is adding a receptacle
for 110 volt power on the frame of the saw. This way I can plug in a
work
light without a cord hanging down or being in my way.
|
|
 |
|
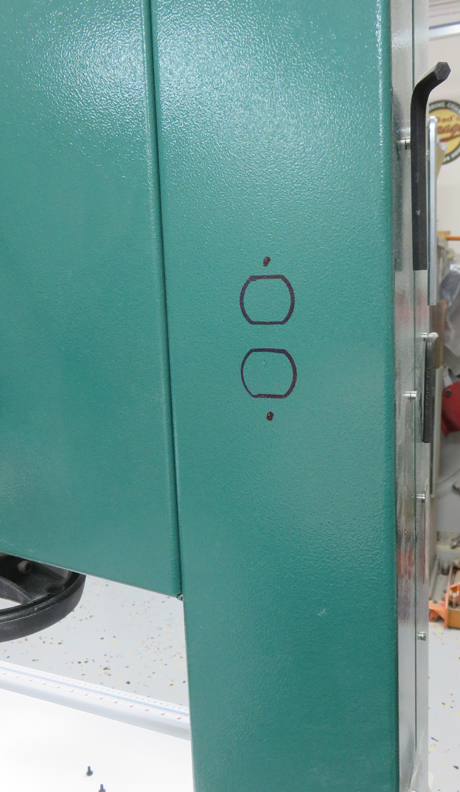
This is the back of the saw which should be a good spot
for my new plug. I plan on making the receptacle flush mounted, like you
would see inside of your house. This will require me to make a cutout
for the receptacle to set in, which is a lot more work
than just attaching an electrical box to the outside of the saw. BTW,
the thickness of the metal here is almost 1/8" making it challenging for
my hole-saw.
|
|
 |
|
I tapped some 6-32 threads at the top and bottom first,
then I drilled two 1/4" diameter holes for my 1 1/2" hole-saw to follow.
These two holes will overlap but as long as the drill in the center of
the hole-saw is being guided then it will cut just fine.
|
|
 |
|
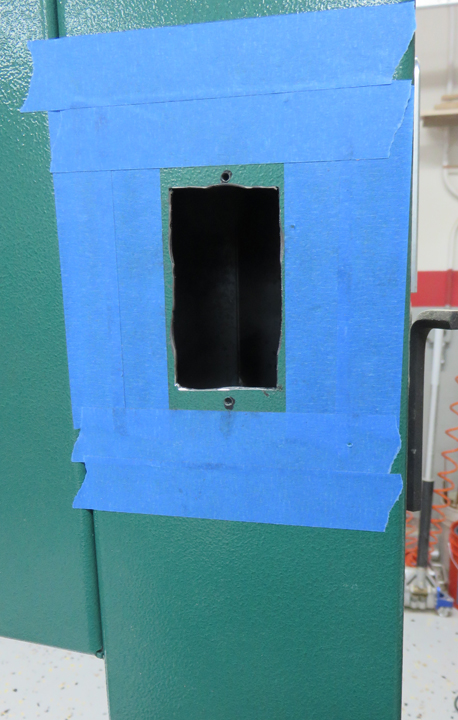
After using the hole-saw, I had to use my jigsaw to cut the
remainder. Now this hole doesn't look that nice but it will work and
once I'm done you won't know the difference. The blue tape is so the
jigsaw didn't scratch the paint.
|
|
 |
|
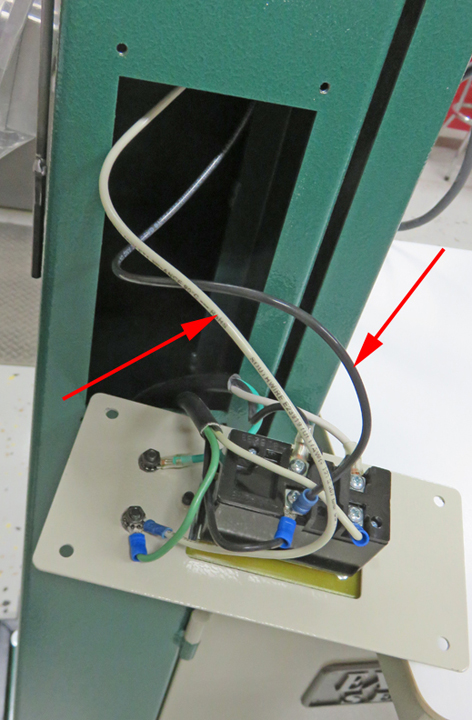
My saw runs on 220 volts but I only need 110. That which
means I'll be using only one wire for the hot side (either black or
white wire) and the neutral wire will be attached to the green wire
(arrows), giving me the correct voltage.
|
|
 |
|
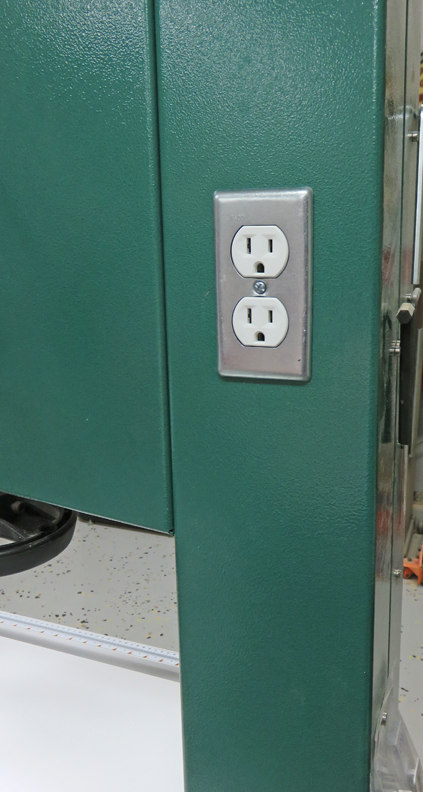
This worked out great and I'm very happy with the results of my new plug
and it's location.
But this should have come from the factory this way. Take note Grizzly.
So there you have it, four upgrades that should make working on
things that much easier from now on.
|
 |
|
1
2
3
4
5 |