Bandsaw Upgrades  1                                                1-2023


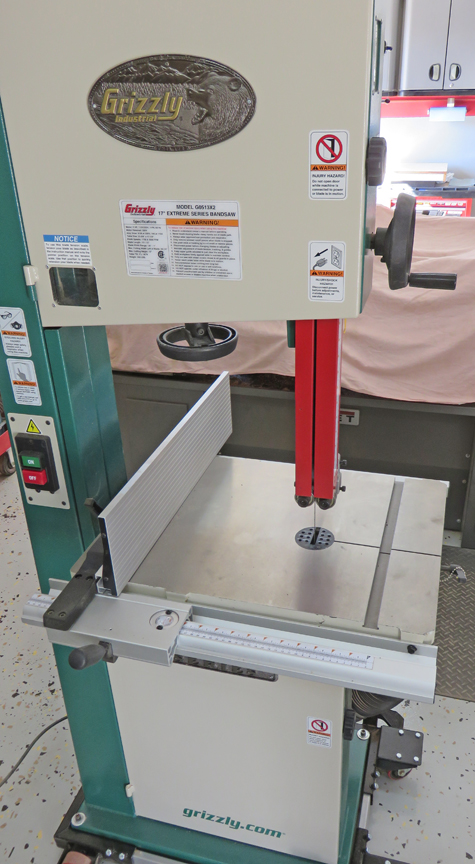
I've had my bandsaw for almost a year now and it works really well. But you know how it is, sometimes things could work even better; for instance...say if it had "this", or it would be nice if it had "that". And the only way to figure this out is by using it for awhile, which I've been doing for the past several months.

With that being said, I made a list of things that could be better:

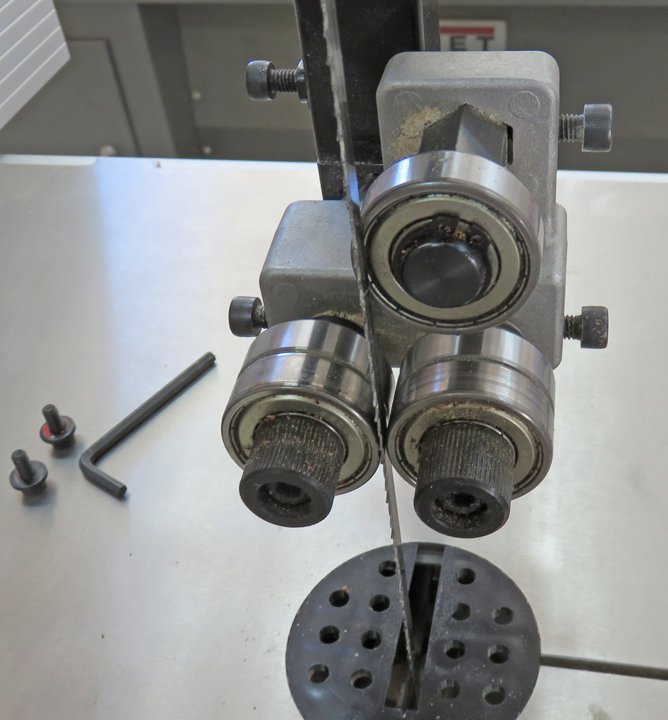
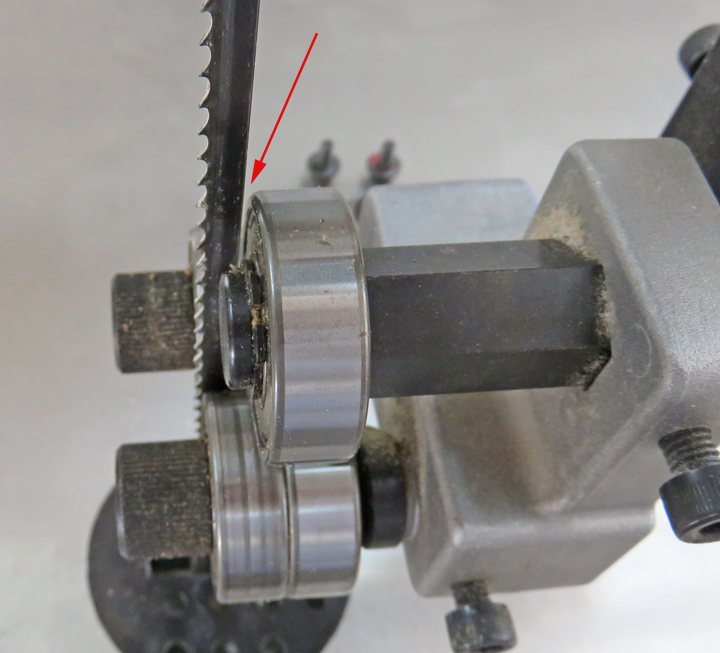
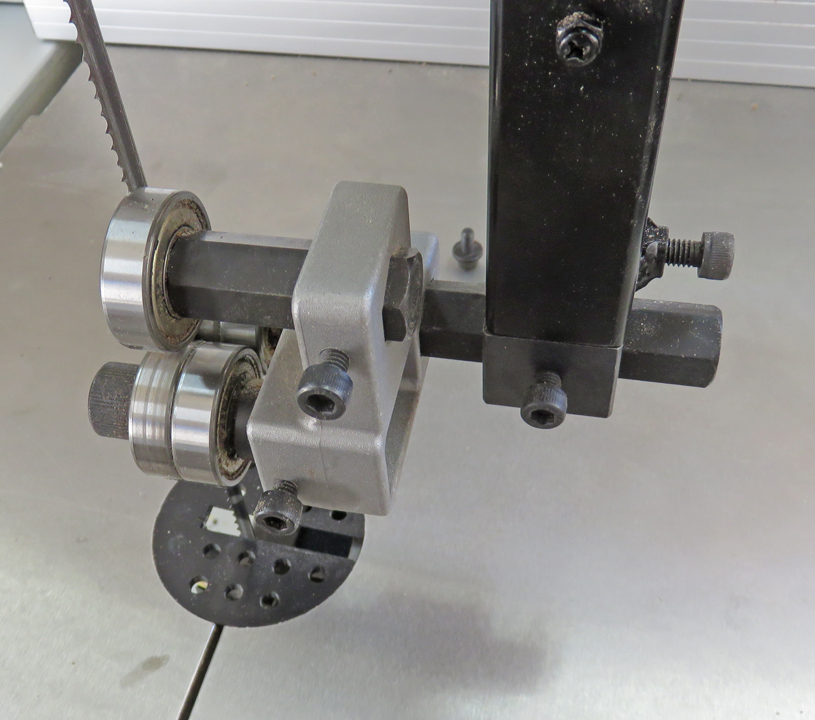
1. Changing to a different blade width. This requires adjusting the guide bearings on top and bottom, which can be time consuming.

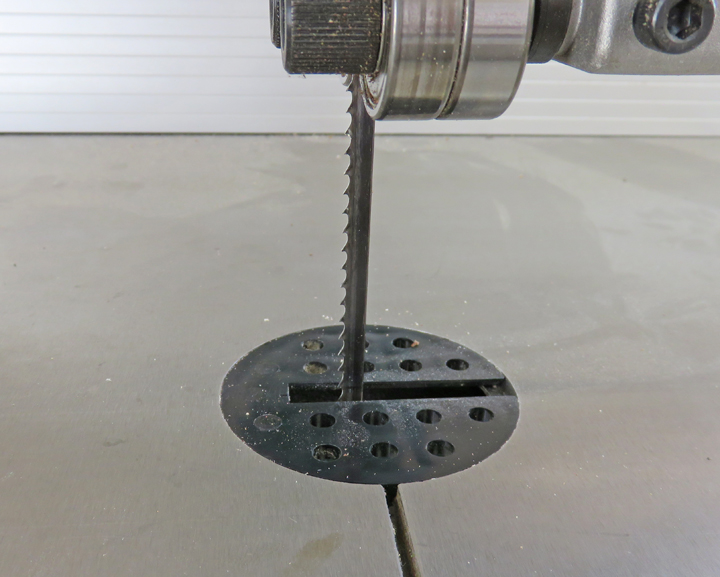
2. While I was trying to move my work piece around for my daughters Christmas present , I had a tough time because my project didn't slide very easily, and it was getting caught on the table insert.

3. I also discovered (while making my daughters Christmas present) that using a blade to cut a smaller radius didn't let me actually cut what I really wanted.

4. I like using a light while doing intricate work but I don't have an outlet on the machine.

Well, that's about to change because I plan on addressing all of these things on this project.


Bandsaw Guides


All bandsaws have some kind of blade guide system and my Grizzly has bearings by which the blade is guided. Below is the upper blade guide assembly, and the lower guide (under the table) looks very close to this one. To make sure the blade doesn't move too far rearward there is what's called a support bearing. Once pressure is on the blade while cutting, it makes contact with this support bearing, keeping the blade where it needs to be.

And to make sure the blade doesn't flex left or right, there are bearings on either side of the blade. All of these bearings are adjustable to accommodate a different thickness and different blade widths.

Now this type of guide system works great and I'm very familiar with it coming from the metal working industry, which is one reason I bought this bandsaw.


Here is the amount of clearance that you want for the support bearing, which is about .010" to .016" (arrow). And if you look close you can see the teeth are in front of the blade guides below, which should be about the same amount.


This is a 1/4" blade (width) and my blade guides are adjusted for it. Notice the teeth sticking out beyond the guide rollers like I mentioned before. This is what your blade should look like before you start it up. If the teeth were flush with the ends of the rollers that would mean the kerf of the blade is too far back and would wear it out prematurely.

While adjusting this blade, it occurred to me that I would need this same amount of clearance every time I placed this blade in the machine. So if that's the case, why not make a shim of some kind to accommodate this?


In this view you can see the upper support bearing attached to the upper support shaft. That hex shaft can be adjusted fore and aft by loosening a single cap screw using a hex wrench. But when it comes time to use a different size blade you have to loosen that screw, move the support shaft and guide roller assembly, make sure the teeth of the blade are sticking out the exact amount, then tighten the screw back down.

Now all this is all normal stuff but I decided to make my life easier by modifying this support shaft which will make blade changes that much easier.


1st. Bandsaw Upgrade


What I'm doing is measuring the distance from the end of the hex support shaft to the bracket that it's attached to. If I used the end of the support shaft as my zero point and made a shim that would go between the end of said shaft and the bracket, that distance would be the thickness of my shim to be used for a 1/4" blade.


I removed the support shaft and then removed the bearing so I could place it in my lathe.


I faced the end of the hex shaft just to clean it up to make sure it was square. Then I drilled and tapped 1/4-20 threads in it.


By using a washer and bolt on the end of the shaft, this will create a given space and a stop for my new shim.


The distance between those two arrows is the size shim I'll need for my 1/4" blade, which is .165 thousandths, which is what I measured with calipers above.

But wait...there's more!!


1     2     3     4     5