|
Nose Continued
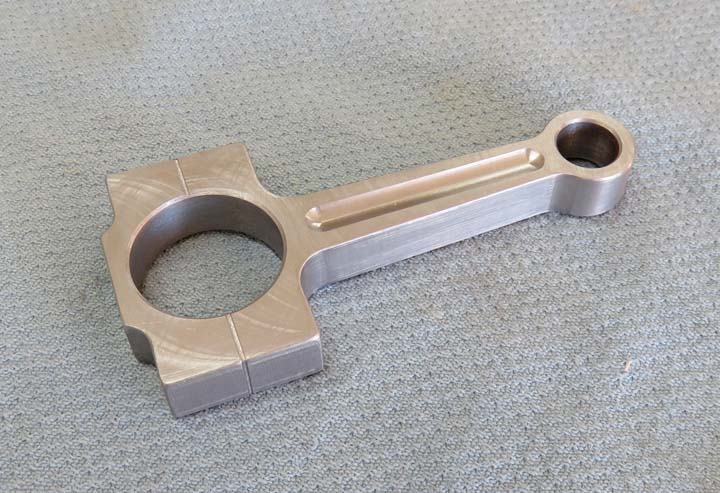
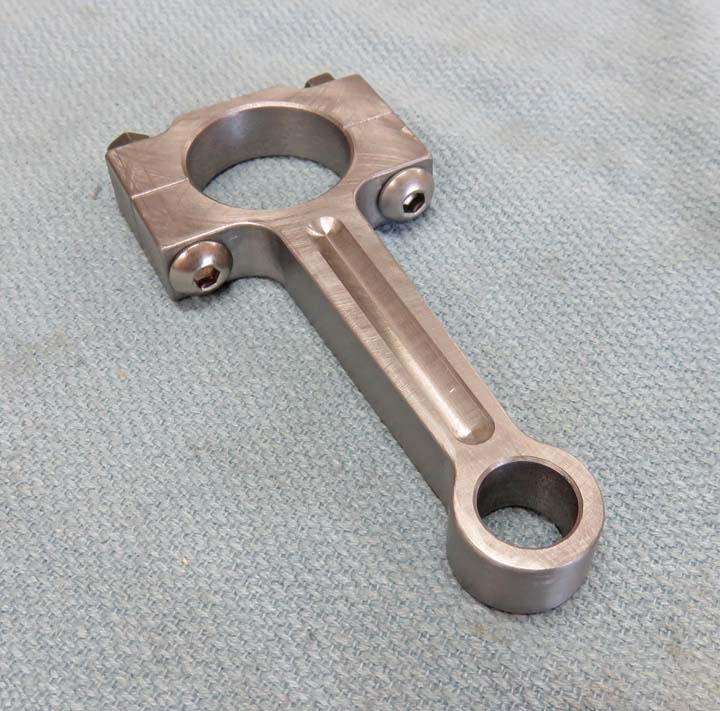
And there you go, the connecting rod machining is finished.
|
|
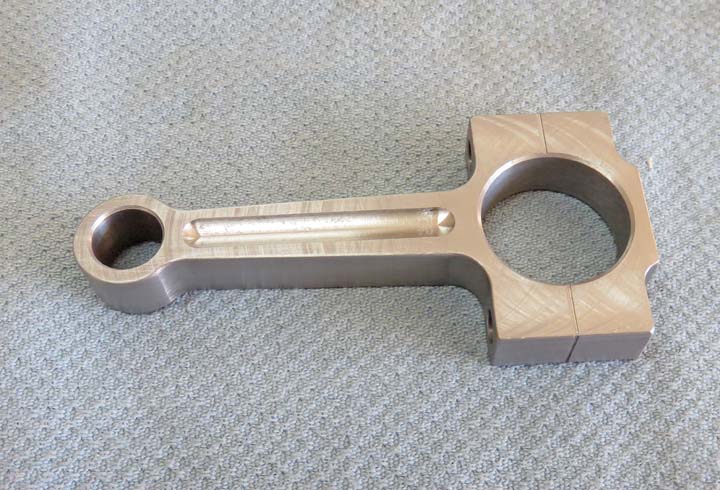 |
Now it's time to add the final touch to
this 'nose' so it looks that much better.
|
|
 |
|
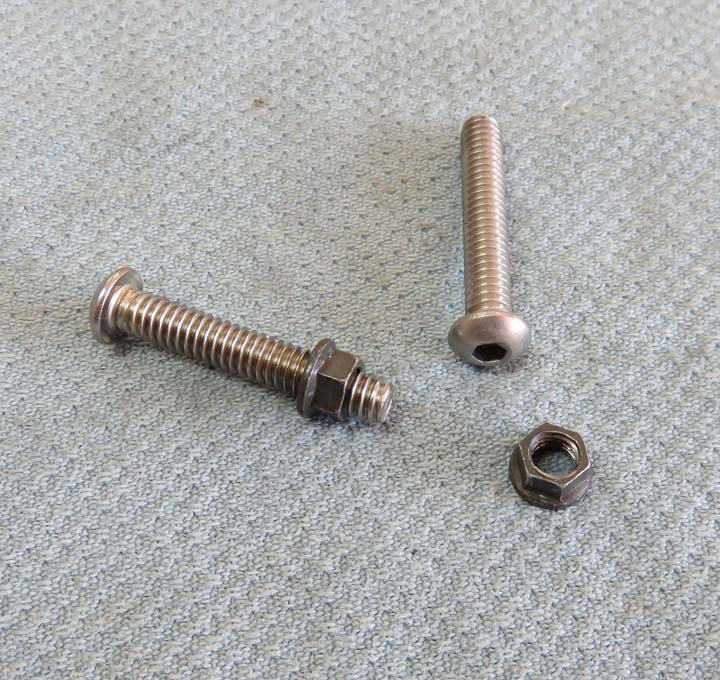
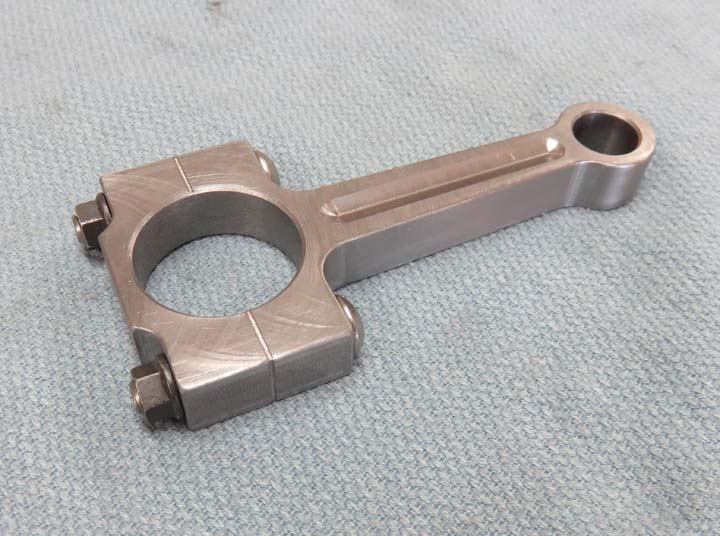
I'm going to use some 1/4-20 stainless steel button head
cap screws for the rod bolts and I found some nuts that resemble the
real thing too. However, those nuts had fine threads in them when I found
them. So how did I get them to fit the bolt?
|
|
 |
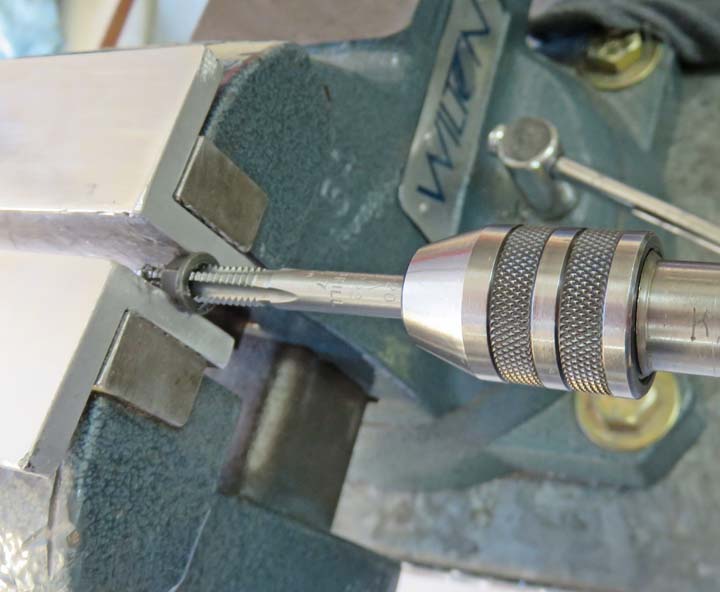
All I did was use a 1/4-20 tap and just made some new threads. I didn't
even drill it, I just dabbed on some cutting oil on the tap and went for it. They
don't have to have any strength, they just have to look the part.
|
|
 |
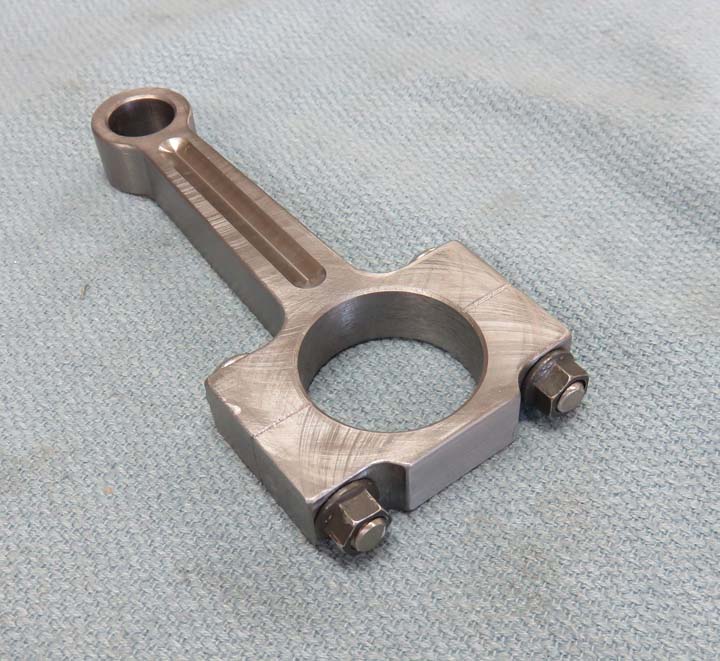
Much better don't you think? And if you didn't know better you would
think there were two pieces on the big end.
|
|
 |
I had to shorten the bolts a small amount so it would look right.
|
|
 |
One connecting rod...er...I mean...one nose all finished!!
|
|
 |
|
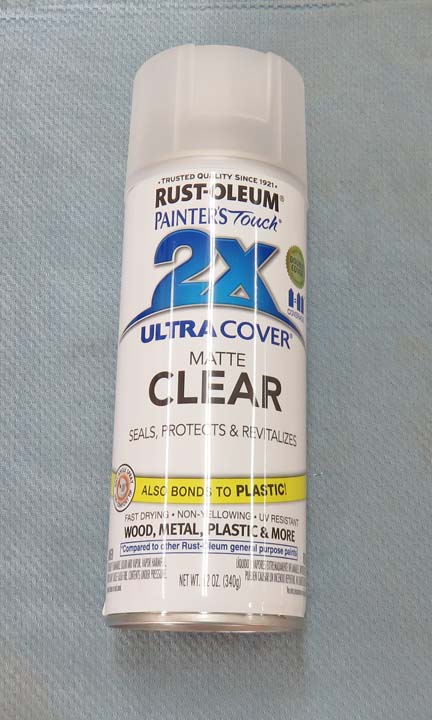
I started to think about all the welds that I've made,
along with all the raw steel that I've used and decided to spray
everything with some clear. I mean the last thing I wanted is any rust
to start eating away on it. Now I didn't want the project to be glossy
so I chose a matte finish here. It says that you can use it on a variety of
materials, with one of them being metal. And after using it I'll have to
say that I really like this stuff. I sprayed on two coats (both sides)
and it goes on heavy but dried pretty fast. I highly recommend this
stuff if you have a metal or wood project.
|
|
 |
|
It's Finished
Here it is all finished. And that last piece really made the
difference if you ask me. It's 22" from top to bottom.
|
|
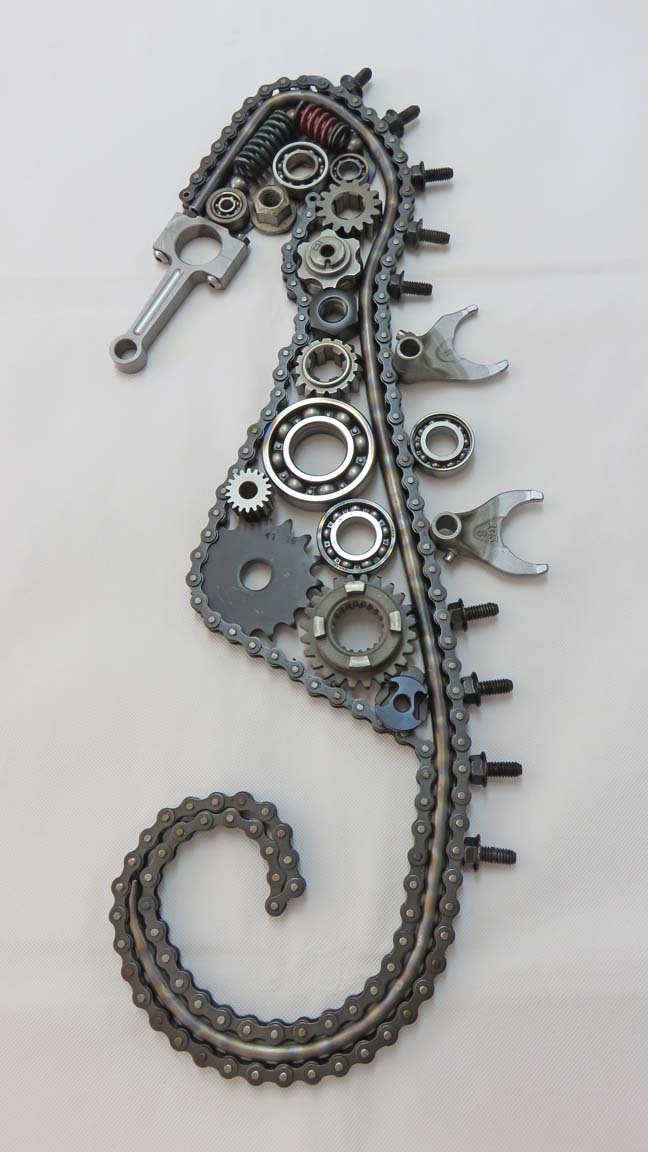 |
I think I made the right choice with the matte finish because you can't
even tell there's anything on it by looking at it.
|
|
 |
|
1
2
3
4
5
6 |