|
More Welding
Here are some more pieces that will get welded on. Those are 5/16" body
bolts along with a 1 1/4" diameter bearing. This should all make more
sense when you see it later.
|
|
 |
|
I fastened the chain to the tubing with wire so it wouldn't move.
Whatever works you know. I welded every other link to the tubing.
|
|
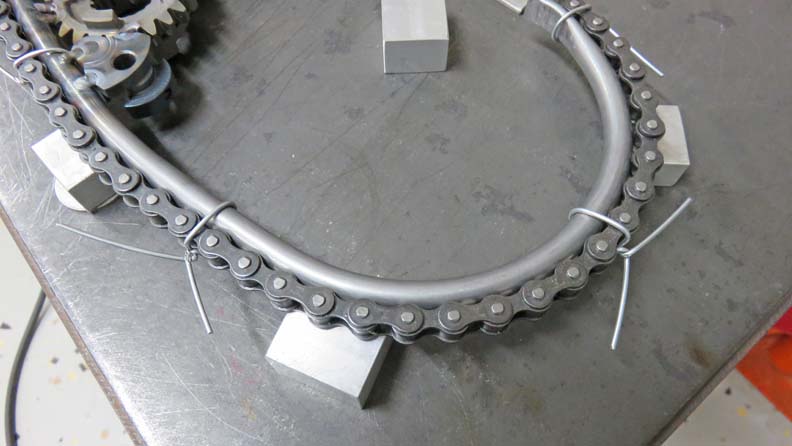 |
At this point it's getting close to being done. And I'm sure you can
tell what I'm making by now...right?
|
|
 |
|
Time For A Nose
What I need now is a nose for our little buddy but I
didn't have any luck finding one. I want to use a small 'connecting
rod', the kind you would find in an internal combustion engine that
burns gasoline. I looked online and found the perfect size but it was
made out of aluminum. And I want it to be made out of steel because I
can't weld aluminum to steel. I also emailed a company that sold small
engine parts and asked them what material his connecting rods were made
out of. They never got back to me so now what? Looks like I'll be making
one.
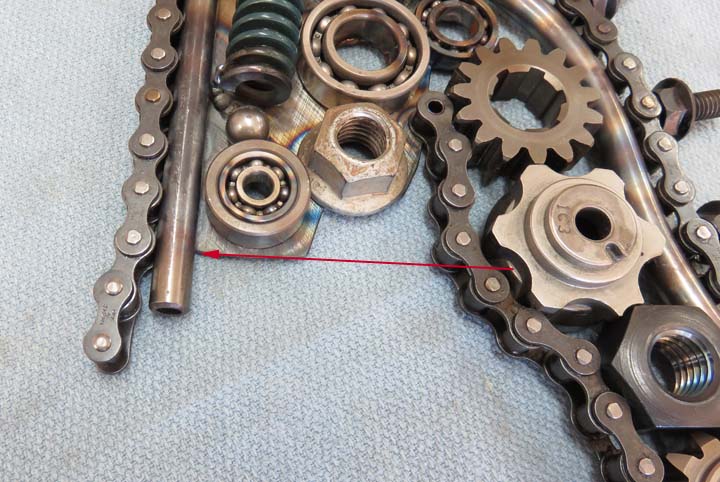
What I need to do is make some room for this new piece
so I'll need to cut the tubing and chain where the arrow is pointing.
That way the nose will be centered a little better and should look
right.
|
|
 |
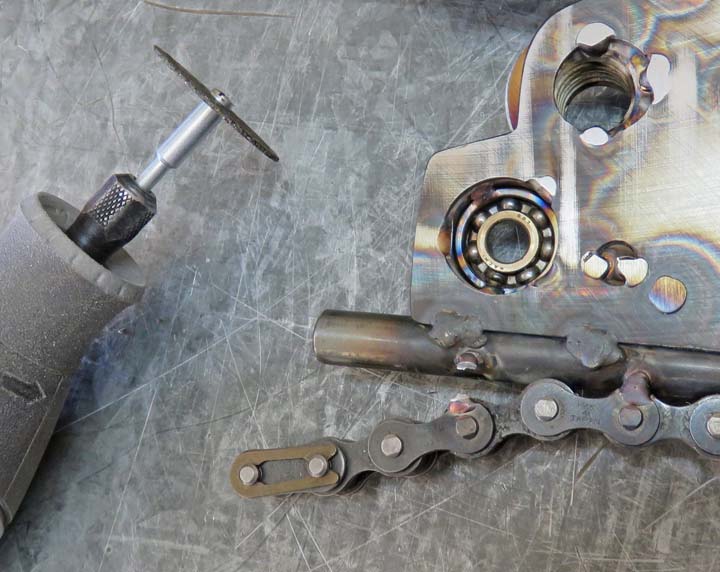
I used my Dremel to cut through the weld and the tubing. This tool works
great for this kind of thing. Now it's time to use my milling machine.
|
|
 |
|
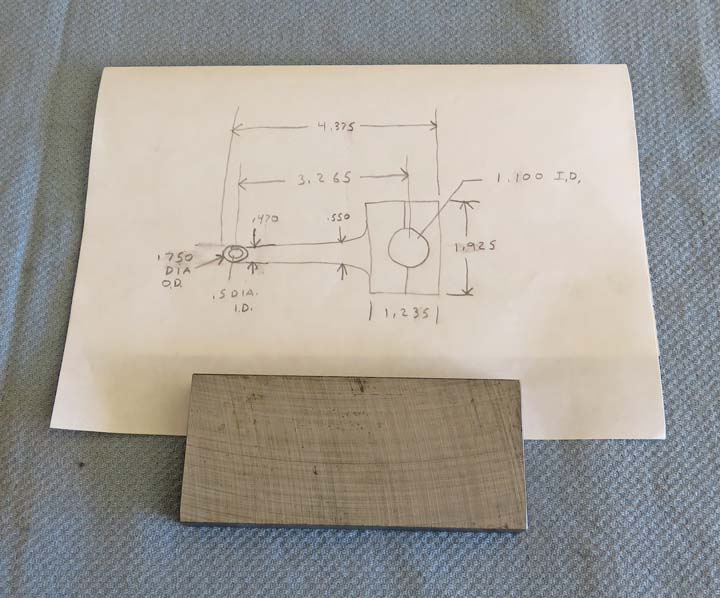
I made a sketch of what I'm going to make below. Just n
case you don't know what it is, I'm making a 'connecting rod'. Yeah I
know.... it looks like a kid drew it :-] See that
piece of steel on the paper, this is what I'll be using to extract the
connecting rod out of. All I have to do now is remove it from that chunk
of metal (machinist humor).
|
|
 |
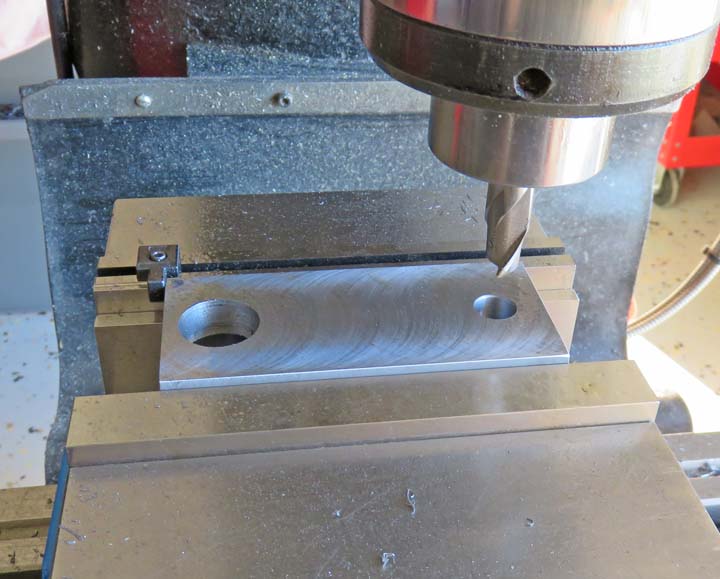
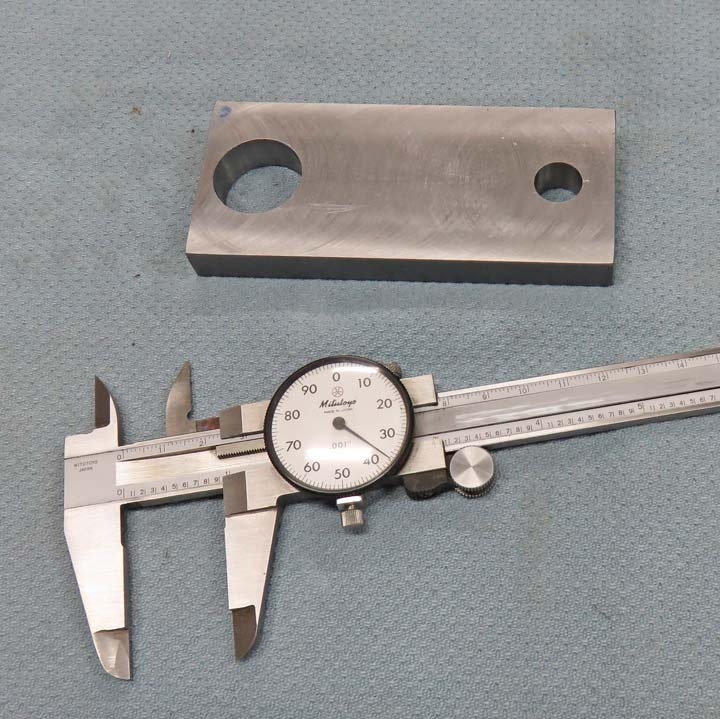
First I squared the block of material and then I drilled two
holes in it. The small one is 1/2" diameter but the other one is 1.100
diameter, so I had to use my boring head for the larger one.
|
|
 |
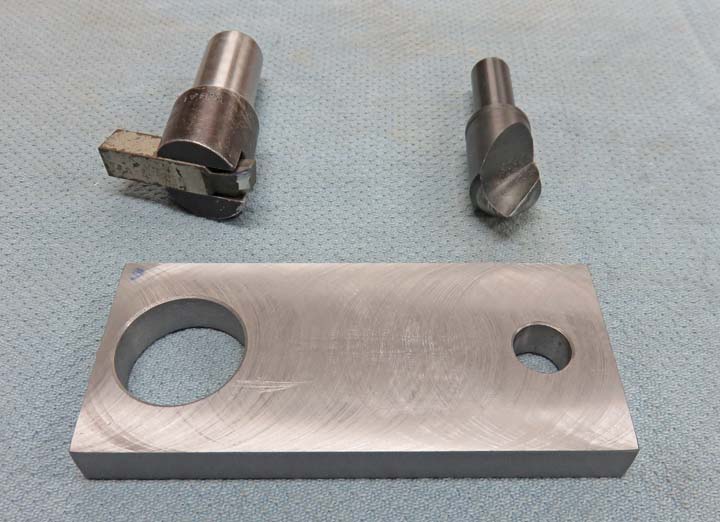
I want to put a chamfer on each hole but I don't have one larger enough
for the bigger hole so I'll need to improvise.
|
|
 |
Using a countersink for the small one is easy but the larger one I used
my fly cutter. I used a short lathe tool, put a 45 degree angle on the
cutting edge and cut the chamfer. Whatever works!
|
|
 |
|
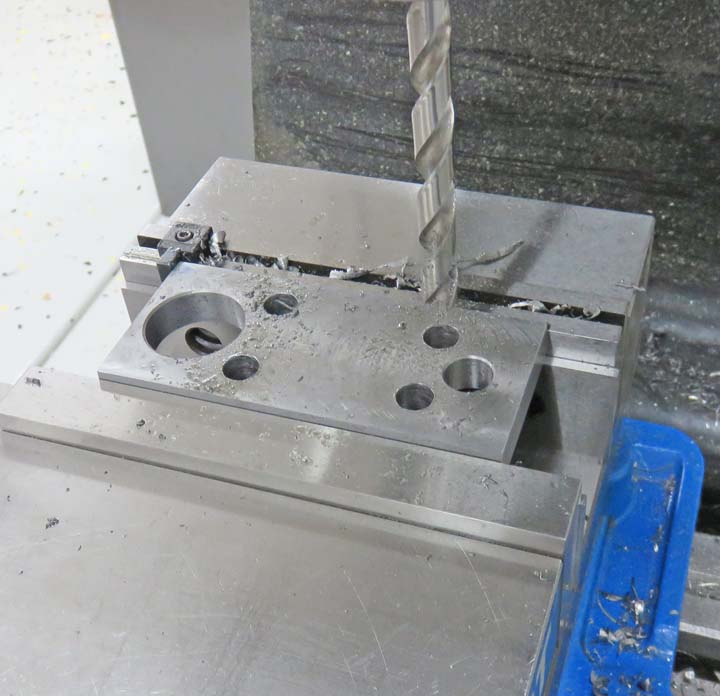
What I'm doing next is putting in four holes using a
7/16" drill (to rough with) and then a 1/2" end mill to finish with.
These four holes are going to be tangent points that will blend into an
angle along with another radius. Hang in there, it will make sense soon
enough.
|
|
 |
|
1
2
3
4
5
6 |