|
Let's Do Some Welding
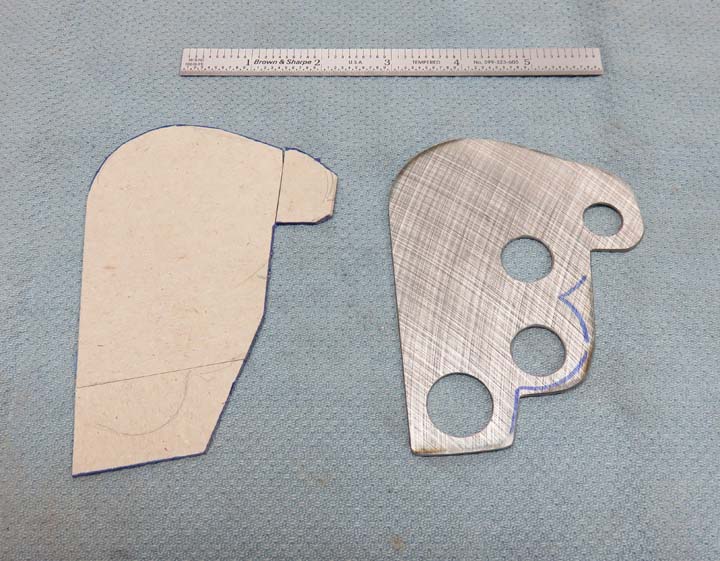
Here is the plate that I made and I've drilled a few
holes in it so you can see through the pieces I'll be welding to it. The
steel is .050" thick and should work great for this area of the project.
|
|
 |
|
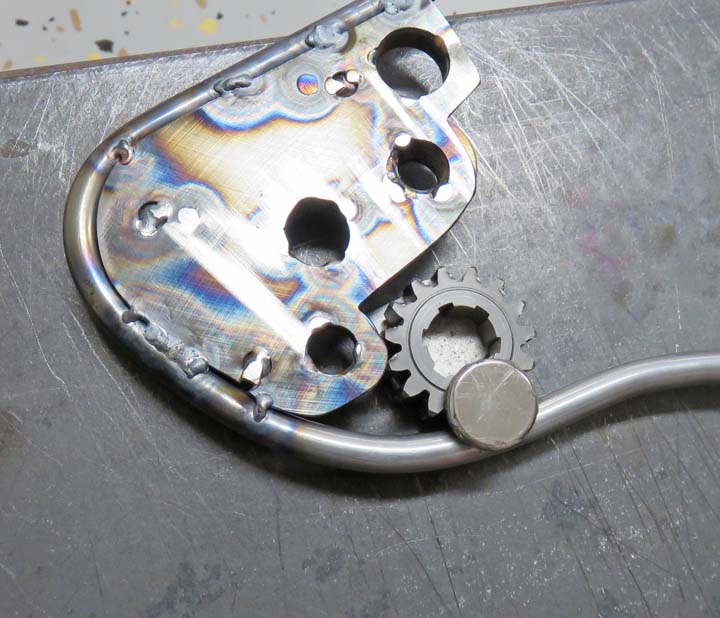
This is the back and most of the welding will be done
from this side. This way the front will look much cleaner...at least
that's the plan. The round piece sitting on the gear is a magnet. And
come to find out these strong neodymium magnets don't play well with my welder. Once I had
this gear in the position that I wanted, I went to strike my arc and
then I saw a wild and weird light show. Along with some weird noise too!! It didn't
take me long to realize that I couldn't use this magnet any longer.
|
|
 |
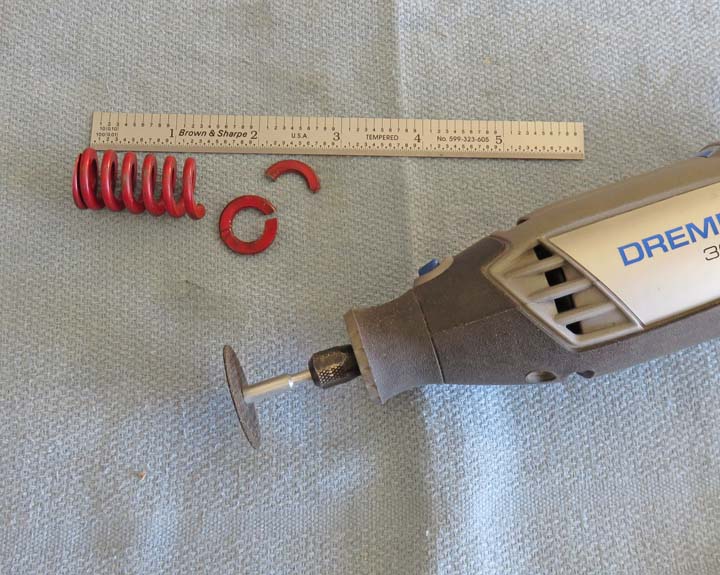
This is a really strong spring and I needed it a little shorter so I
used my Dremel along with a cut-off wheel to remove a small amount. This
worked great and was went quick.
|
|
 |
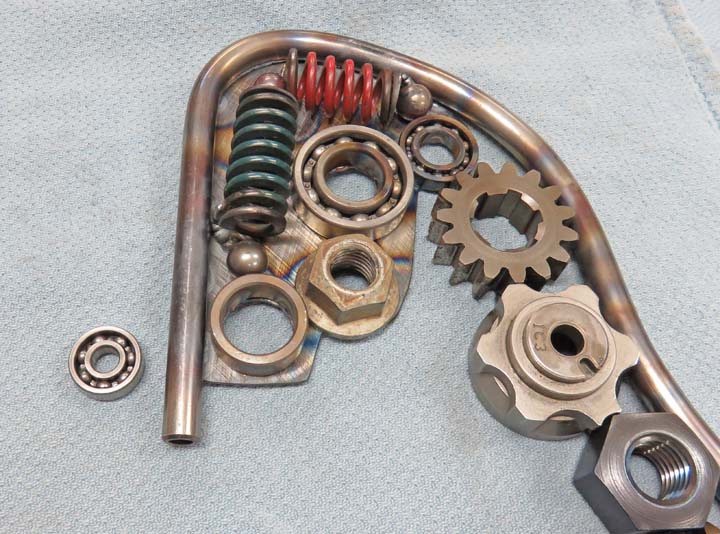
Here is what I have so far. That small bearing on the left will go into that round
piece later. So....do you know what I'm making yet??
|
|
 |
|
New Parts
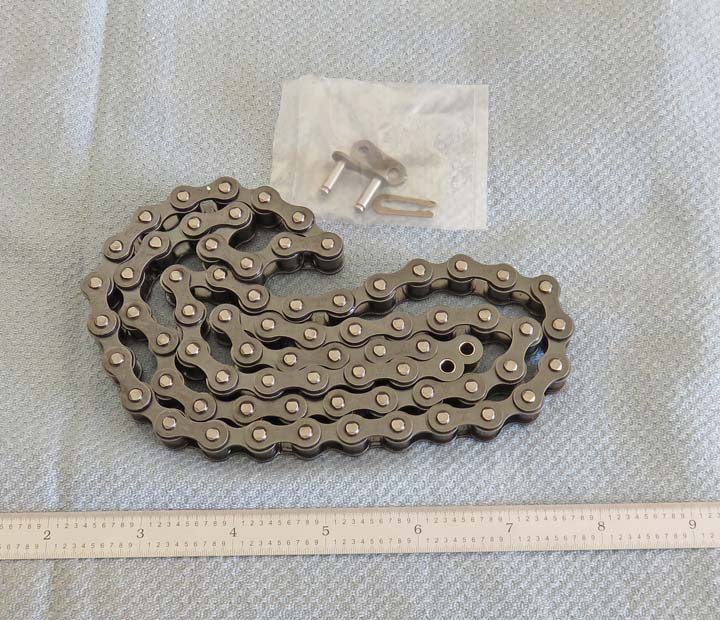
This is another one of the new parts that I bought, a 400 series
chain. I'll be using six feet of this once I'm finished but first I'll
need to remove the chain lube (oil) that it was shipped with. This
product (chain lube) is something that I know all to well because I used
it on my motorcycle way back in the day too.
|
|
 |
|
The first thing I tried was 'brake cleaner' that comes in
an aerosol can. Now this stuff is a very aggressive solvent and I thought
it would remove all of the chain lube but I was wrong. After spraying a
large amount of this stuff on the chain, it was still very sticky.
Time for plan B. I took the chain down to my work and
used their solvent tank. The stuff at my work is a water based product
that we've used for a long time now for most things, with very good results. I let the chain
soak for about 30 minutes and then blew it off with compressed air only
to find myself saying, "strike two".
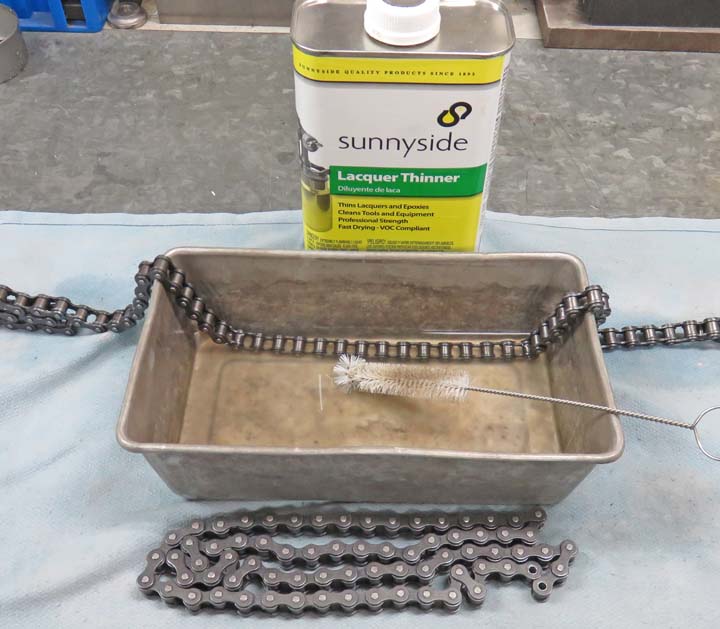
The main reason I wanted to have the chain clean is
because I'd be welding on it and I didn't want to breath all that oil
that would be burning off. Once I was back at home I decided to use some
Lacquer Thinner to clean it with. I poured it in that metal pan, placed
a piece of sheet metal over it (so it wouldn't evaporate) and let it
soak over night. When I came back the next day I blew it off with some
air again and wouldn't you know it, "I struck out".
While I had it in the pan, I used a brush to help remove
some of this sticky lube but it only helped a small amount. At this
point I told myself... "I tried", so I guess it's time to breath some
fumes.
|
|
 |
|
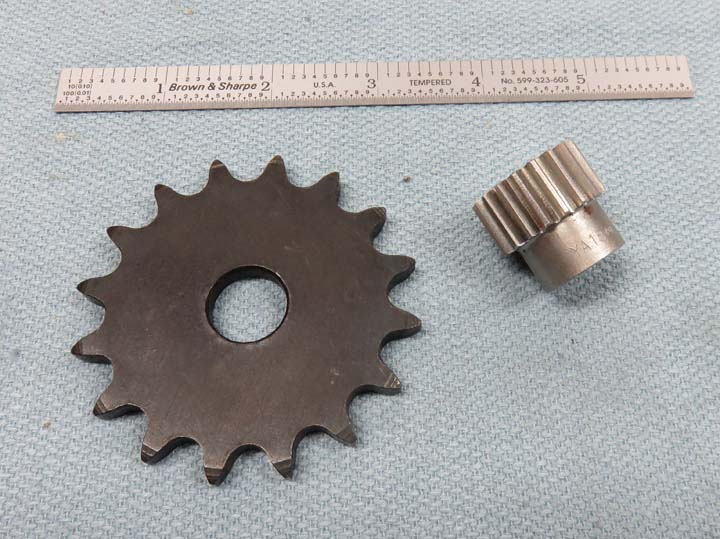
Here are two more new parts that I'll be using, a
sprocket, which has the same pitch as the chain and a random gear that I
thought would look good. The diameter of the gear is one inch across the
gear teeth.
|
|
 |
|
Metal Removal
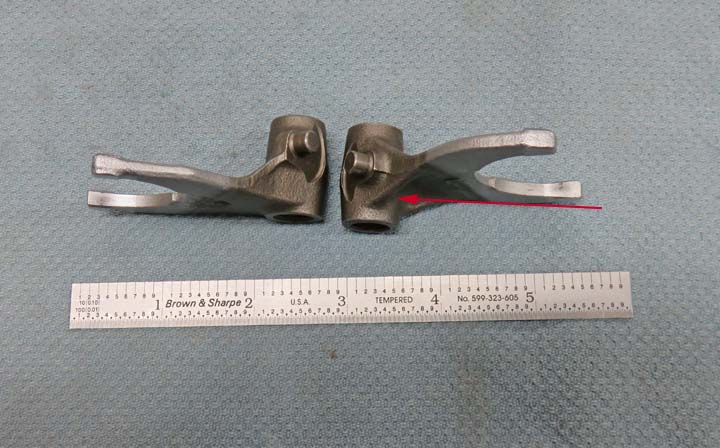
These two pieces are called shifting forks. They came
out a motorcycle and the one on the right needs some attention. See how
the left one has very little material on the bottom? That's what I need
the other one to look like. The arrow is pointing to the area that I
want the metal removed but these pieces are heat treated. As a matter
of fact, just about everything inside a motorcycle gearbox is heat
treated. And I mean really hard.
|
|
 |
|
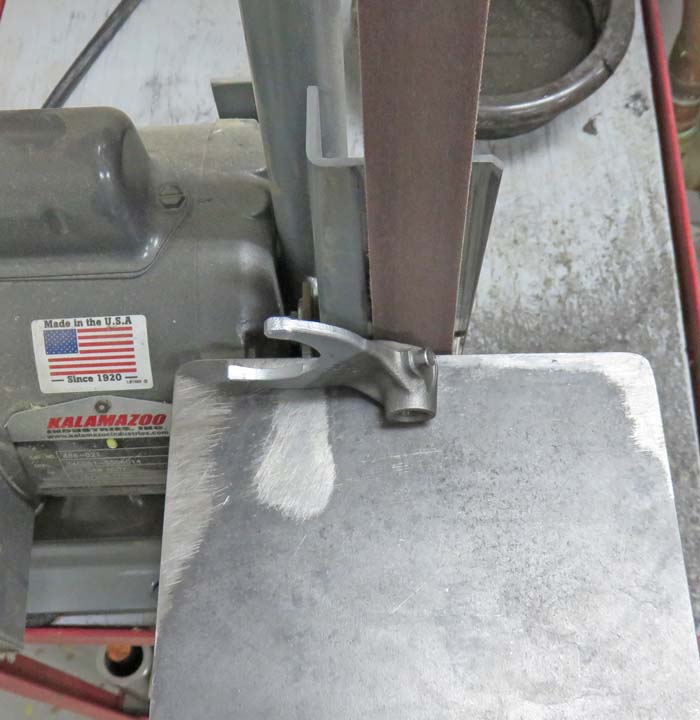
The one nice thing about using abrasives is they don't
care what they're cutting compared to a milling machine cutting tool. If
I were to use some kind of carbide to remove that material it would dull
that tool really quick. However, sanding or grinding does a great job
here but it takes a little longer. I used a new 80 grit sanding belt and
made sure to keep the part cool with that dish of water. Why keep the
part cool if I'm going to weld it you ask? It's so I can hold the part
while sanding because it gets plenty hot.
|
|
 |
|
This took about 15 minutes and wiped out the belt but
it's now close to matching the other one. The reason I wanted it this
way is because the area that was sanded will be facing the bottom. And I
wanted it to look similar to the other one, that's all.
|
|
 |
|
1
2
3
4
5
6 |