|
As most of you know, I love making things. And it really
doesn't matter what it is, as long as I'm keeping busy is what really
matters. Well, this time around I'll be making more of and 'Art Project'
than anything else. However, there will be one item that will require
some machining, along with making sure those dimensions come out right.
But other than that, this should be a fun project to make that won't
require any close tolerance work.
The idea for this art project comes from my daughter,
Tracey. She sent me a picture about six months ago without any words
next to it. However, it looked really cool however, I don't know where she
found it or where it came from. But now that I have some extra time on
my hands with the holydays behind me, I decided to make it now.
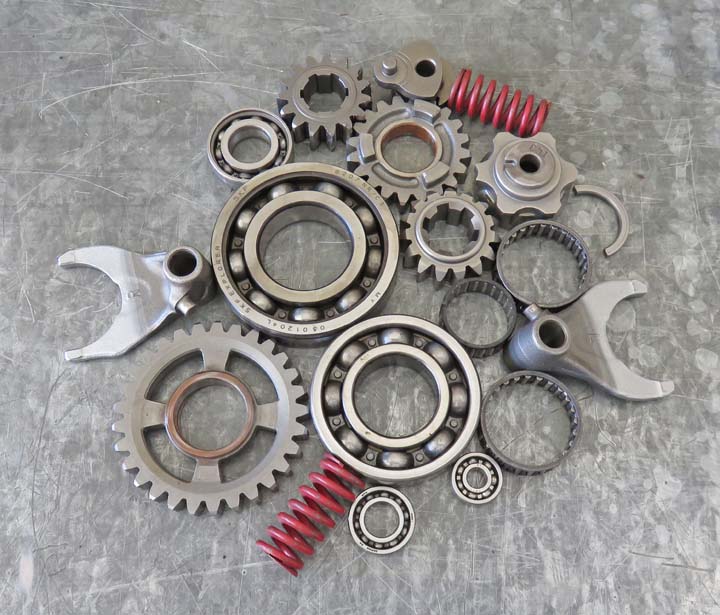
What you see below are mostly motorcycle parts, which
also came from Tracey when she worked at a motorcycle shop in Arizona.
She quit there in November, 2018 because she was moving, but was able
to acquire some old scrap parts before she left there. I have many more
parts that she gave me, and even made
a lamp for her with some of them,
but these parts in particular will be used for this project, along with a few
other parts that I'll have to buy or make or find in some of my old
junk, they will all get welded together.
So.....what exactly am I going to make? To answer that
question I'll let you decide because if I do my part, you'll know right
away. But if I don't do a good job, then who knows what it might look
like.
|
| Let's Do Some Bending
The first thing I needed to do was find out how large
this project will be. In other words, the scale of the project. What I
mean is, I don't have any idea how large 'anything' really is because all
I have to work with is a picture. And after printing the picture out, I
need to come up with a 'constant' that will work for me. What do I mean
by 'constant'? This constant will be a number that I'll use to
multiply with when I'm measuring the picture. And to measure the
picture, I'll just use my 6" or 12" metal scale (a ruler to those who
don't know what a scale is). Once I have a number that works for me,
that will determine how large each piece will be. Simple right? Well....
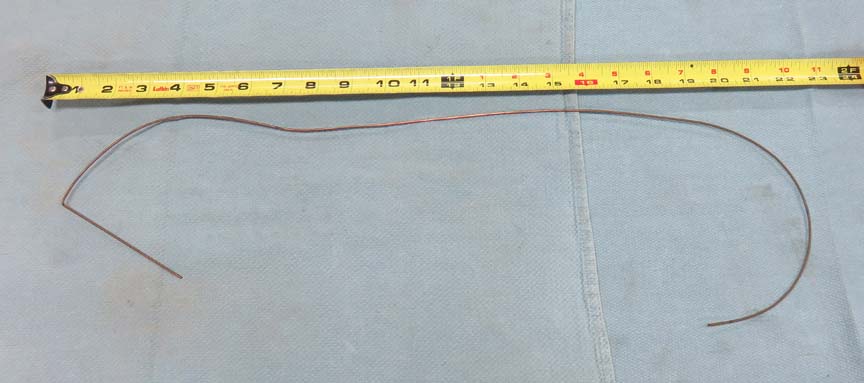
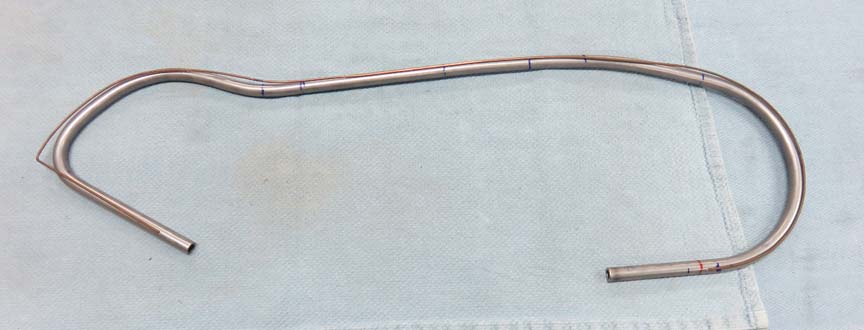
let's see what happens... What you see below is a piece
of welding rod that I've bent into the shape that I'll be working with.
As you can see, it will be almost two feet long. Now this will be one of
the few pieces that I'll be buying because I didn't have anything close.
|
|
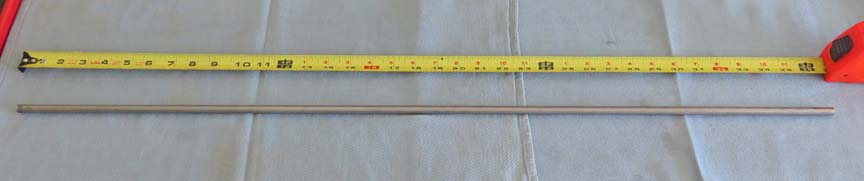
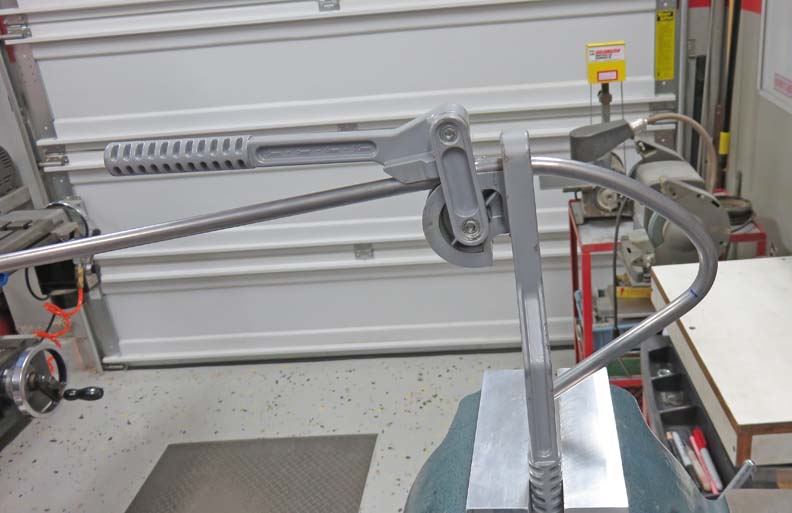
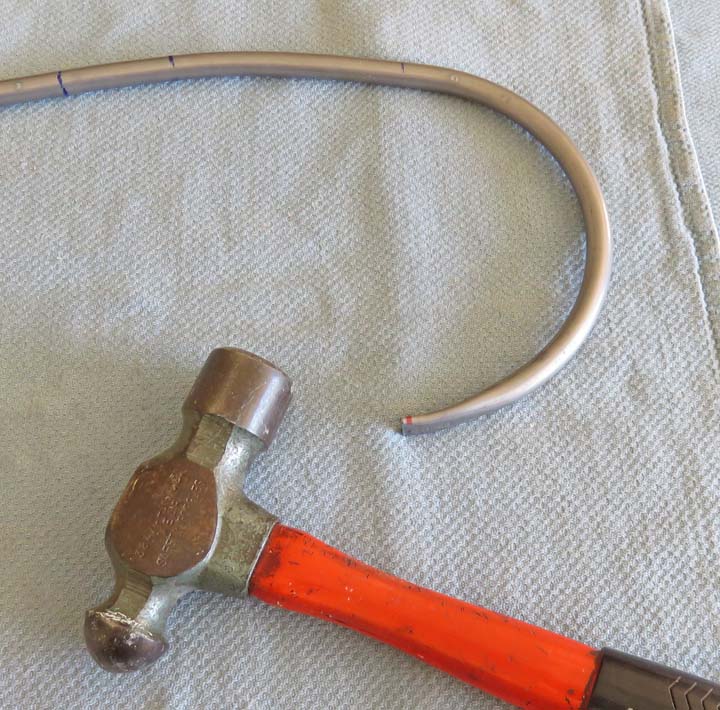
I started thinking about what I needed and I decided on
some 3/8" diameter tubing, which will be in place of the welding
rod. This tubing will have all kinds of stuff
welded to it, ranging from very thick gears or bearings to some smaller
parts that are much thinner. With that in mind, I bought this tubing
with a wall thickness of .065" (just over 1/16). This should work good
for the welding part but will be a little harder to bend. However, I'm
using mild steel here so it shouldn't be that hard to work with.
|
|
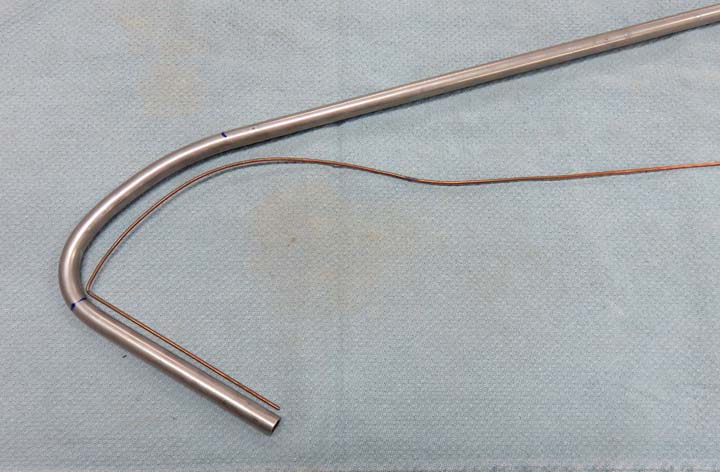
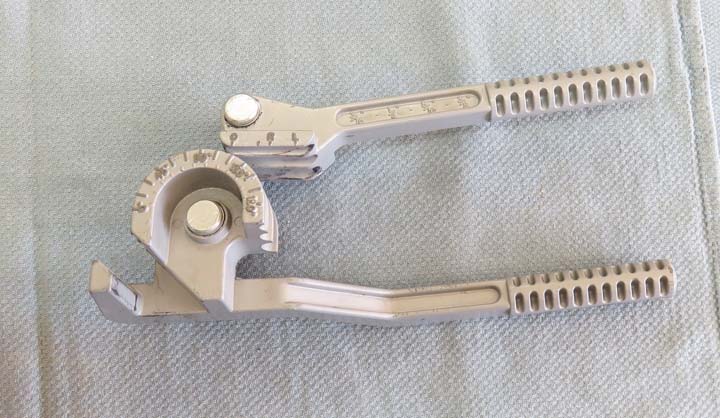
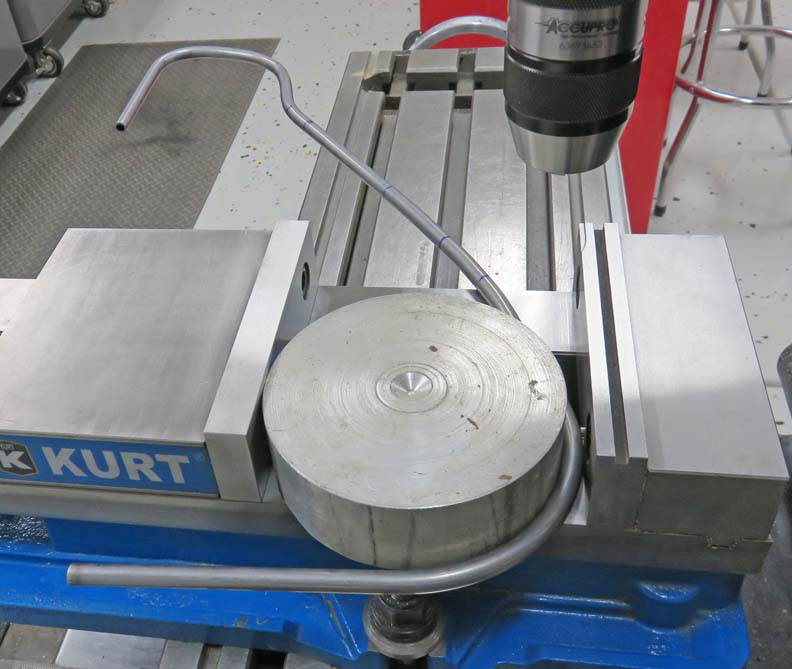
To help me do some of the bending, I'll be
using my small 3-in 1 tubing bender that I bought when I was building my
33 Ford. This bender can
handle 1/4, 5/16 and 3/8 diameter tubing, and was the deciding factor in
determining my 'constant' for this project. Once I dug this out of my
toolbox and saw the largest diameter it could handle, that's when
everything fell into place for me.
|