33 Coupe Before Paint 13
5/29/05
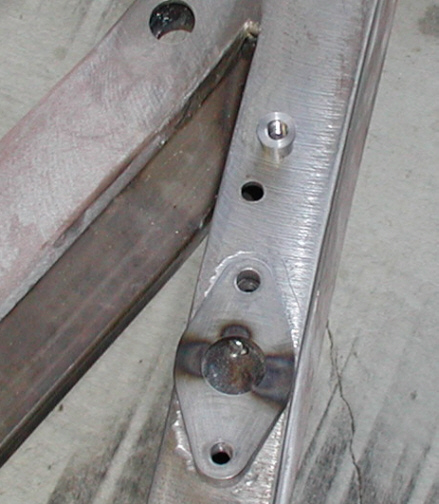
When I was building my rollcage awhile
ago, I ran into a small problem (again). What happened was that one of
the bolts that holds the body to the chassis ended up right where the
front adapter plates for the rollcage was going to be. What I decided to
do was drill a new hole about 2" forward of the the existing one
and later once the body was off, fix it then. Now the new hole that I
drilled was only 5/16" diameter and my bolts were 3/8" but
what I had in mind was to enlarge the hole and put a threaded insert in
there. The 5/16" hole was drilled with the body on and I drilled
through the body and chassis at that time. Once I had the body off, I
now had the hole in the right location which was critical. At the time
of drilling these holes, I started a list of things that needed to be
done once I had the body off.
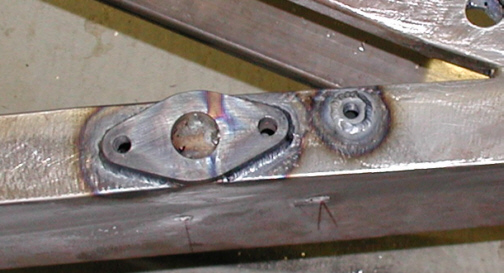
I opened the hole up to .550" diameter which was
the size of the threaded inserts that I made (which is sitting next to
the hole). I left a small shoulder on the threaded inserts so it
wouldn't slide through and it's also a place where I can weld it to the
chassis.
|
|
|
One of the other things on my list of
things to do once the body was off was to weld the rollcage adapters
(six in all) to the chassis along with the threaded inserts (one on each
side). I'll also have to enlarge the 5/16" holes in the body to
clear the 3/8" bolts later on.
|
|
|
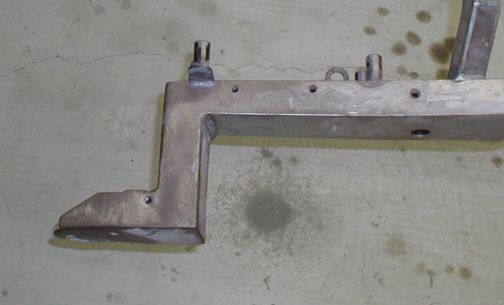
The rear of the chassis was going to
get a different look, similar to how the front did. What I was going to
do was remove the "L" section on the ends. Again, if I was
going to be using a bumper, or if I was using a stock gas tank, I would
need this area of the chassis but being that I'm not, it's time to do
more cutting. I used my hacksaw again for this and all I can say is, I
need a Sawzall. I guess using the hacksaw will keep me in shape a little
better but the next time I plan on doing this much cutting, I'm buying a
new saw.
|
|
|
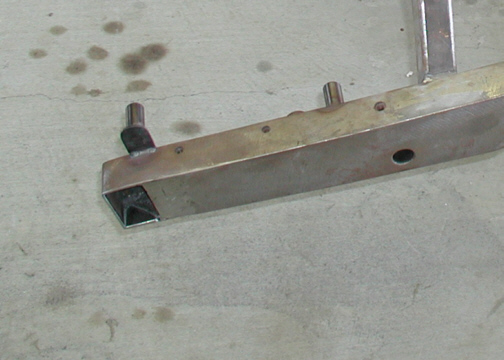
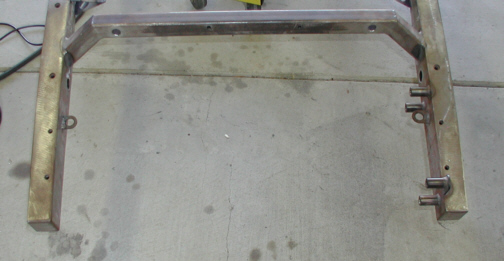
This is how it looks now with the ends
cut off. I'm going to leave the ends open just in case I need to pass
anything through the chassis in the future.
|
|
|
|
It sure does give it a different look
now that the ends are gone and I think it looks much cleaner. I removed
about five pounds of material by cutting off the front and rear pieces.
At this point, the chassis is ready for some paint and I hope I didn't
forget anything.....
|
|
|
|
1 2
3 4
5 6
7 8
9 10
11 12
13 14 |
|