|
Working With Steel Continued
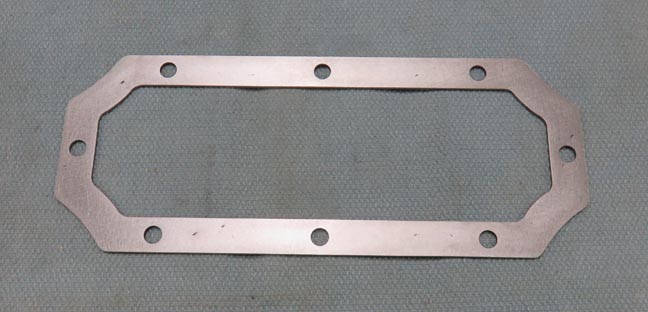
I removed all the blue and now my metal trim piece is finished.
What I'll be doing later is using gun bluing to make this piece, along
with the bolts and washers, a very dark blue color. This will match the
previous project which should look nice together. Now it's time
to do more wood working.
|
|
 |
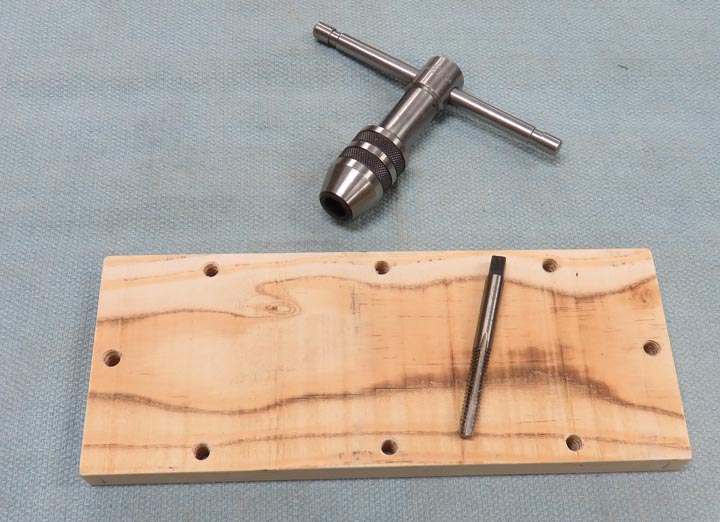
| Working With Wood Again
I drilled and tapped the two holes at the ends so now
all the threaded holes are done. If you're shaking your head wondering
about this operation, it works great if you don't put too much of a load
on the threads. And in my case, I won't be.
|
|
 |
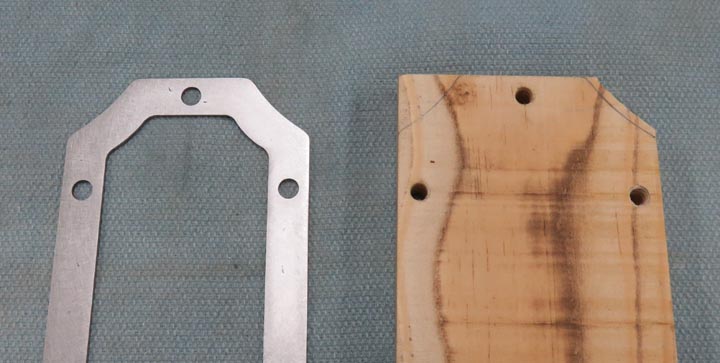
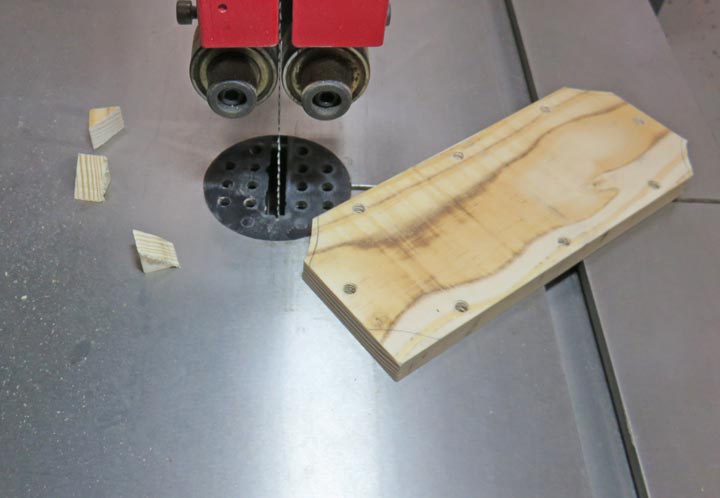
I used my metal trim piece to layout the corners with a pencil. Then I used
my bandsaw to cut away the waste but stayed away from the lines.
|
|
 |
This goes very fast and was easy.
|
|
 |
|
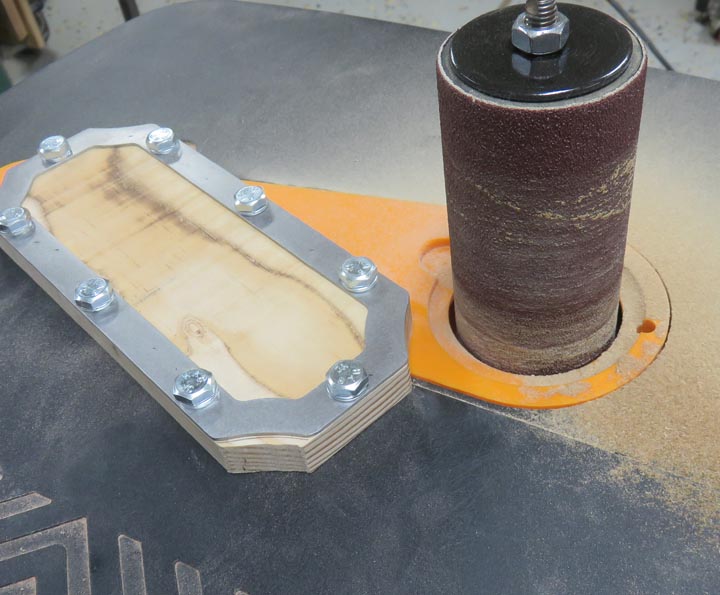
On my
pervious project, I used
my router table with a flush cut trim bit to cut each corner. However,
two of those corners had a little tear-out so I'm playing it safe here
and I'm using my spindle sander. This method works great but you have to
be careful when you get close to the metal trim piece and not sand it.
As you can see, I have all of my 1/4" bolts holding the
trim piece to the base. But those bolts are not exactly what I'm looking
for. What I want is to have 'square headed' bolts so they match my
pervious project. That means it time to do more machining.
|
|
 |
|
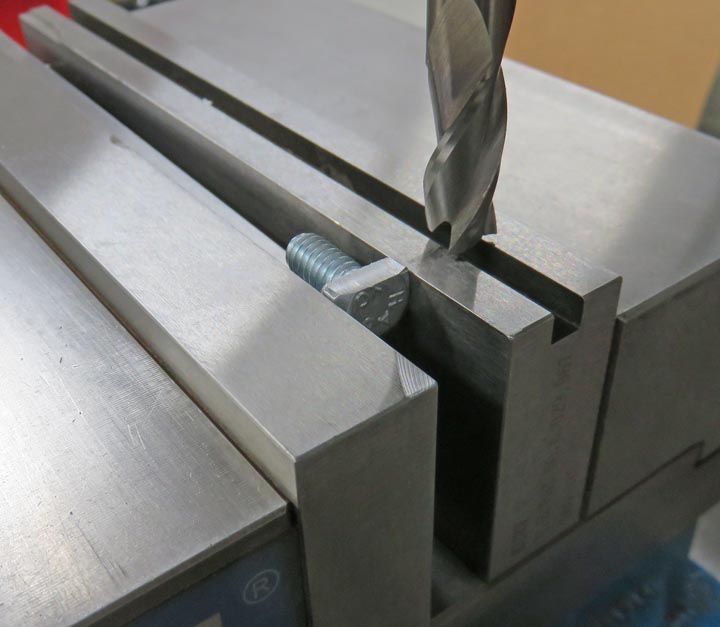
Working With Steel Again
Back over at the mill, I'm going to cut each bolt head
into a square. I placed a parallel under the threads to locate my bolt.
Then I machined one side, deburred it, turned it over and machined the
other side. Once that side was deburred, I clamped onto my newly machined
surfaces and machined the remainder of my bolt heads.
|
|
 |
|
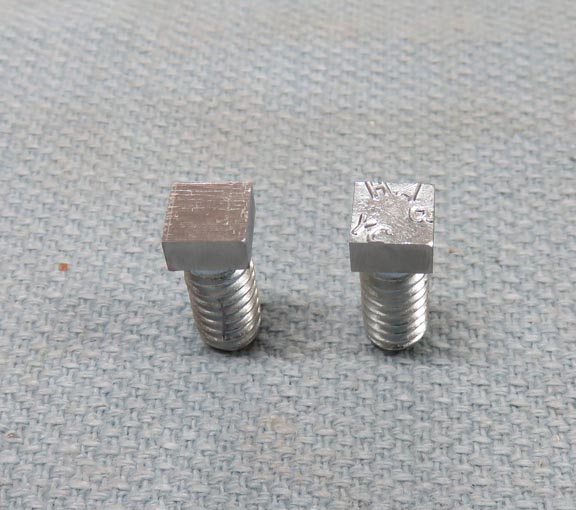
I also machined the tops of each bolt so it doesn't have any markings on
it. And last I used my belt sander with a well used belt and removed all
the burrs from it. Now it's time to work on the washers that go with
these bolts.
|
|
 |
|
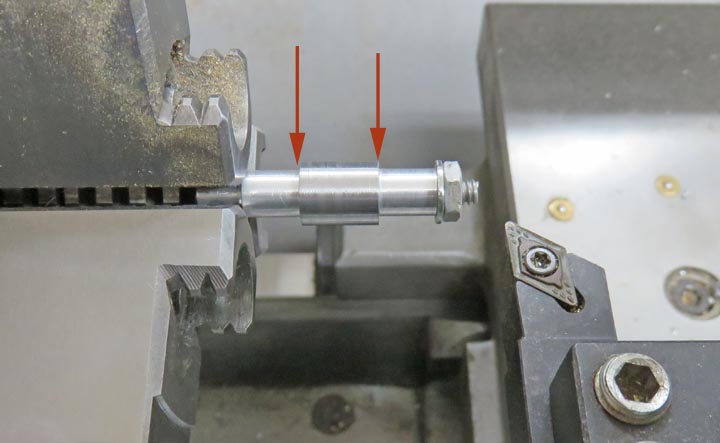
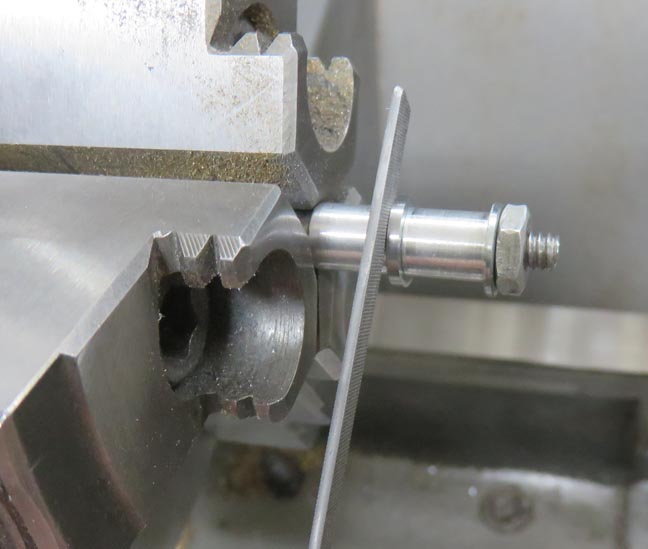
What you see between the arrows are a stack of 4mm
washers. What I'm doing is using my lathe to remove the galvanized
plating so the gun bluing sticks better.
|
|
 |
Now that all the outside diameters has been machined, it's time to deburr
each one using that small file. And to do that I'll be using the same
tooling as I did to turn the O.D.
|
|
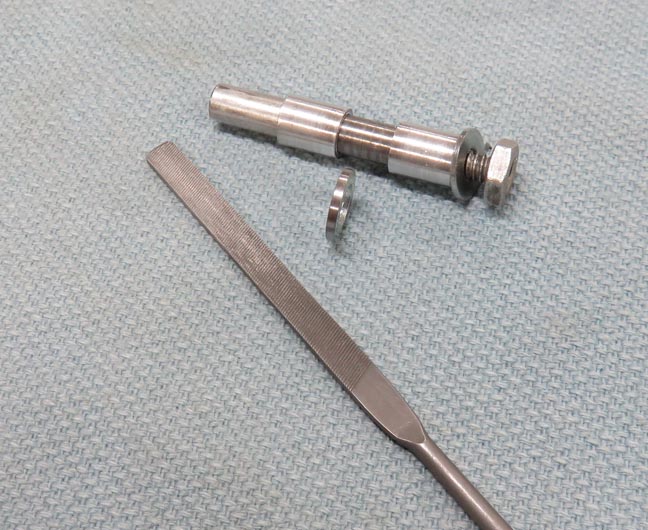 |
I had to deburr the washers one at a time. This was no big deal because
there were only eight of them.
|
|
 |
|
1
2
3
4
5
6
7
8
9 |