|
Working With Steel Continued
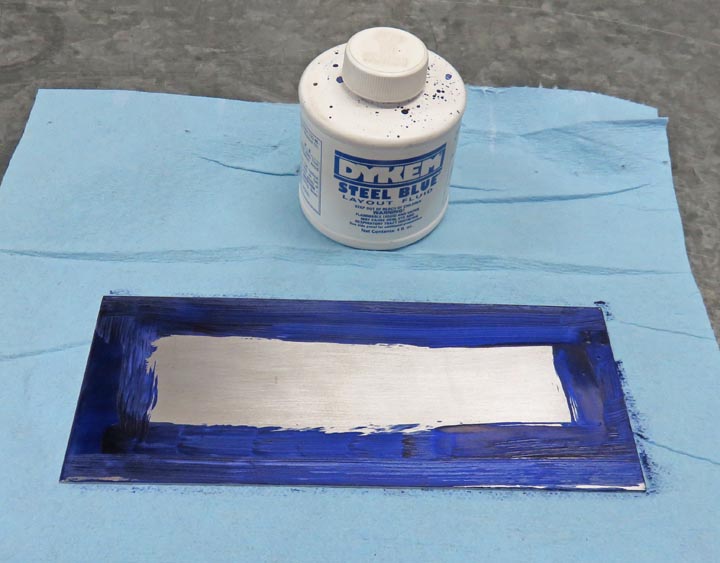
I painted on some layout dye (Dykem) because later I'm going to
scribe two sizes of radii at the corners.
|
|
 |
|
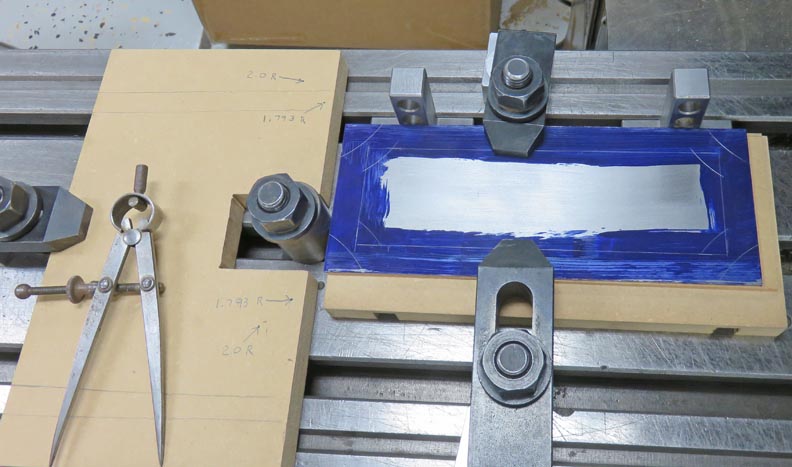
I have my work piece clamped on my milling machine,
found the center of it and then zeroed out my digital readout. Next I
moved over to the left where that larger piece of wood is and used a pin
that has a point to mark four places. These marks, or dents, will help
my dividers stay in this dented spots while I scribe each corner with
the appropriate radius size.
|
|
 |
|
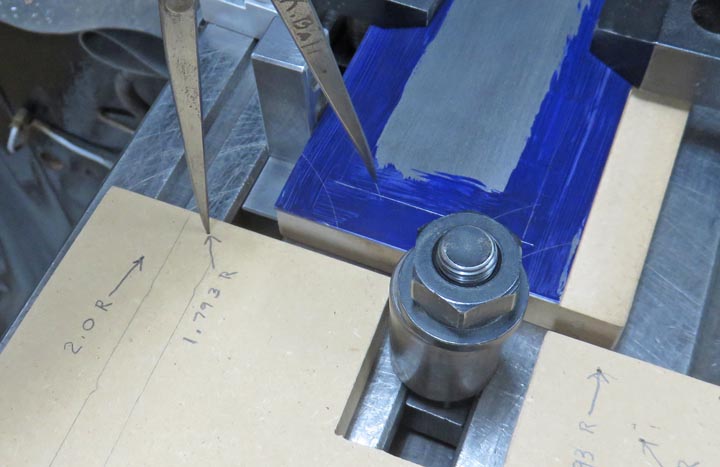
Here you can see what I mean a little better. Once I had
my dividers set, I placed one end in the dented spot on the wood, and
then scribed my lines at each corner. Once this side was done, I
unclamped my work piece, turned it around, clamped it back down and
repeated the process. I'll revisit these marks later but now it's time
to machine some holes.
|
|
 |
|
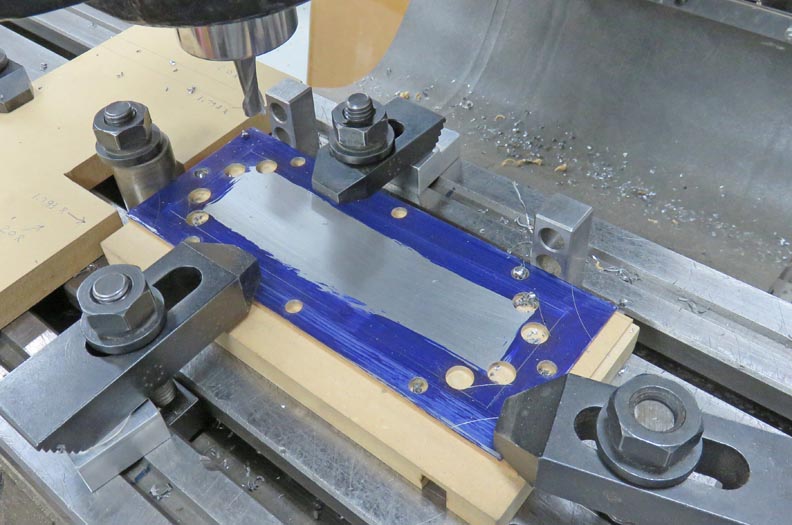
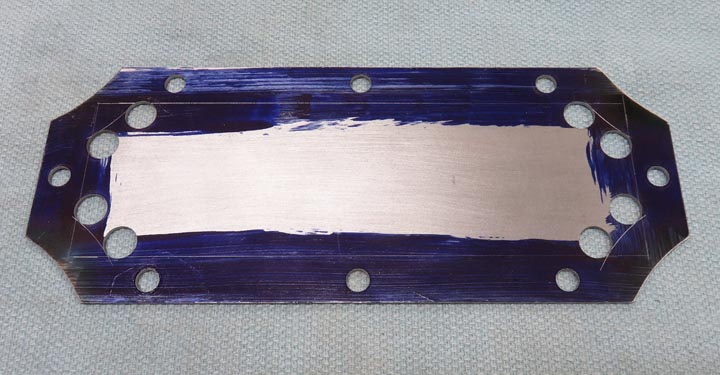
I have two holes sizes below. The smaller outer holes
are 1/4" diameter and will be used for the bolt holes that will match up
with the ones on the wood base. The larger holes are 3/8" diameter and
will be my tangent points when I cut out the center. More on the 3/8"
holes later,
but now it's time to machine the 2.0" radii at each corner.
|
|
 |
|
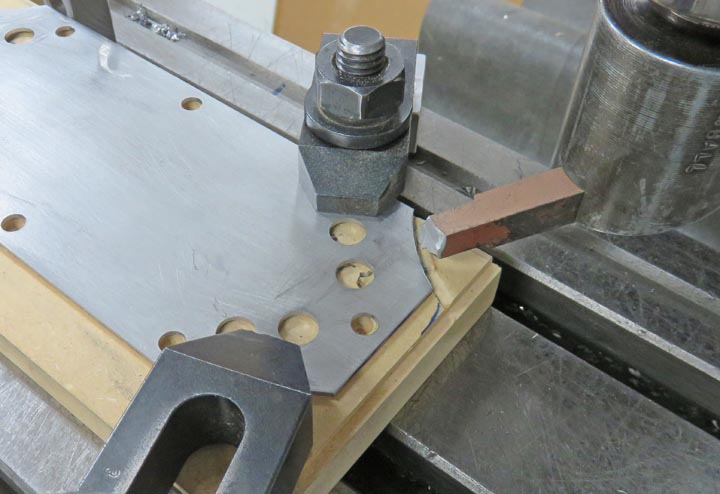
I using a flycutter to machine each radius below. I set
the cutter to a 2.0" radius and then moved to the location I needed.
What I didn't show you was that I used a hacksaw to remove most of the
corner before using my milling machine. This process worked good because
if you didn't remove the bulk of the material first, this machining
process won't play nice.
What I did was machine one corner, deburr it, flip it
over, and then machine the next corner. I did this for each one and
feeding the cutter by hand very slowly.
|
|
 |
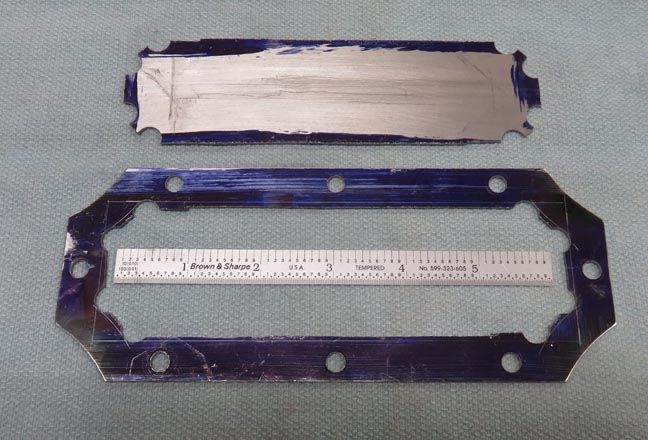
There we go, all four corners are finished. Now it's time to cut out the
center.
|
|
 |
I used my jigsaw (with a metal cutting blade) to cut out the middle
which worked out great. I had to move my clamps a few times as I got
near them but that was no big deal.
|
|
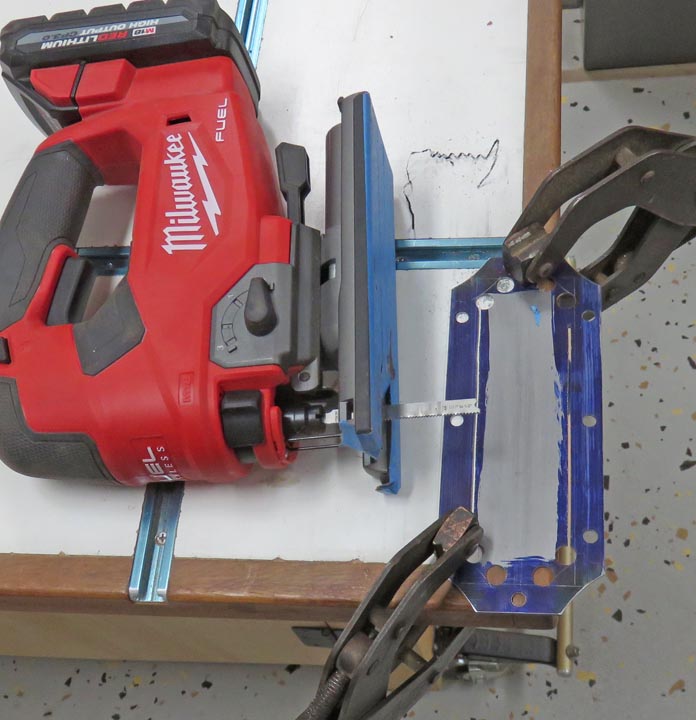 |
I stayed away from the line so I could come back and machine everything
to size using my milling machine.
|
|
 |
|
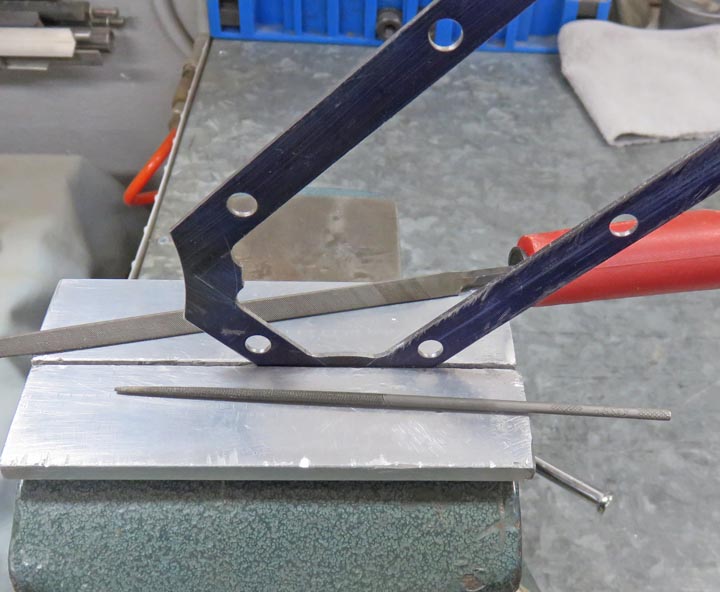
Once I had all four sides to size, I deburred those
edges and started to work on my inside radii. I placed my work piece in
my bench vise and used a file to remove the excess material.
|
|
 |
|
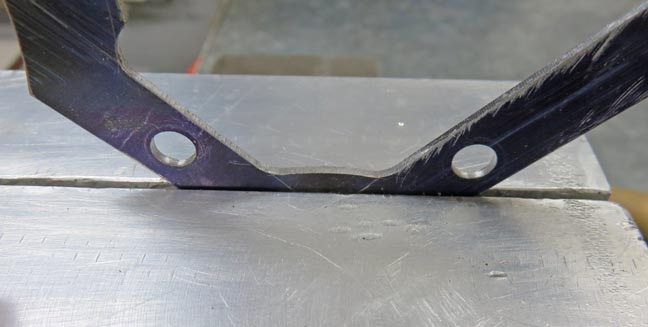
Remember those scribed lines I did earlier? That's
what these scribed lines were for, so I could file right up to the line creating
the inside radius that I needed. This process doesn't take that long and
it worked out great.
|
|
 |
|
1
2
3
4
5
6
7
8
9 |