|
My daughter, Tracey, got married in October of 2024 and
is happier than I've ever seen her. Tracey and her husband, Jon. are living
out of state, just bought their first house together and are doing
great. One thing she wanted was a place to store her wedding ring when
she's working around the house, because she feared that she might loose
it. Anyways, this is what I'll be making this time, a ring box so
she can store it safely.
Working With Wood
What you see below is a leftover practice piece from a
previous project that I made
for my daughter, which was a
Scroll Holder. That project was made
one year ago and was really fun to do. What I plan to do for this
project is to keep the same theme as I did for the scroll holder, which
loosely resembles the renaissance era.
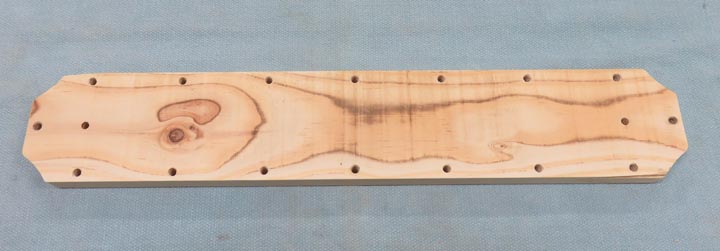
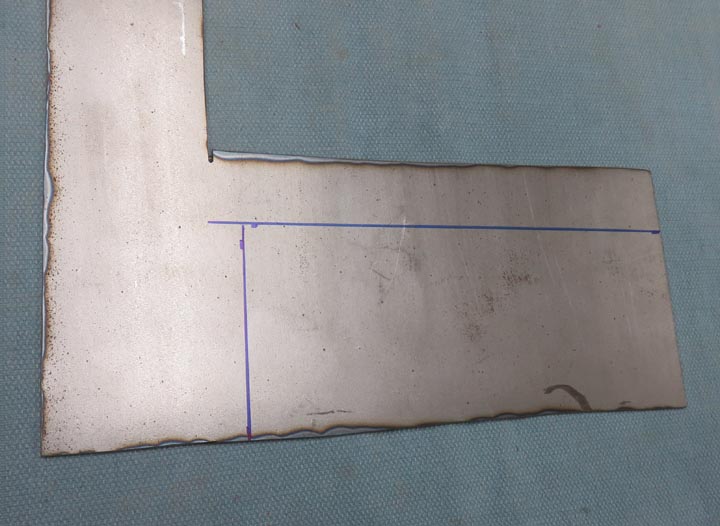
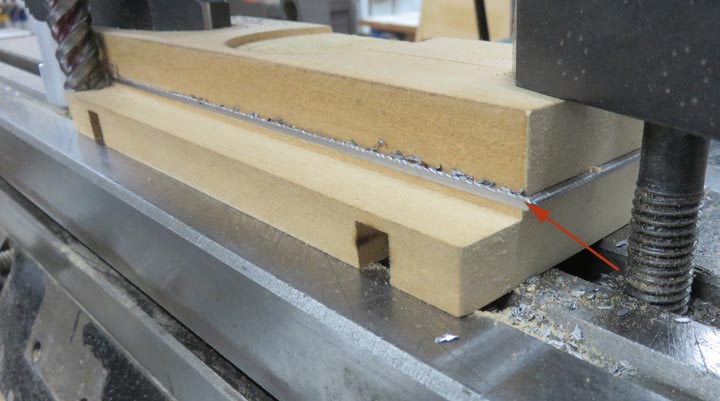
The wood species that you see below is douglas fir,
which came from a common 2" X 4". The size of this base below is 17" X
3", but I only need a small portion of it. And once I apply some stain
to it, the results should look pretty good. This project will have two
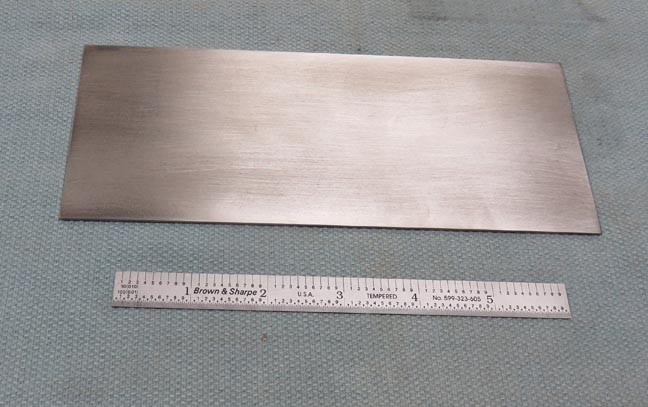
main pieces, a base and the ring box itself. And I'm going to add some
metal to the base and a small amount to the box as well.
|
|
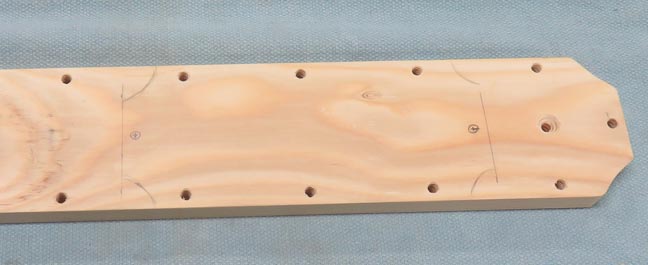
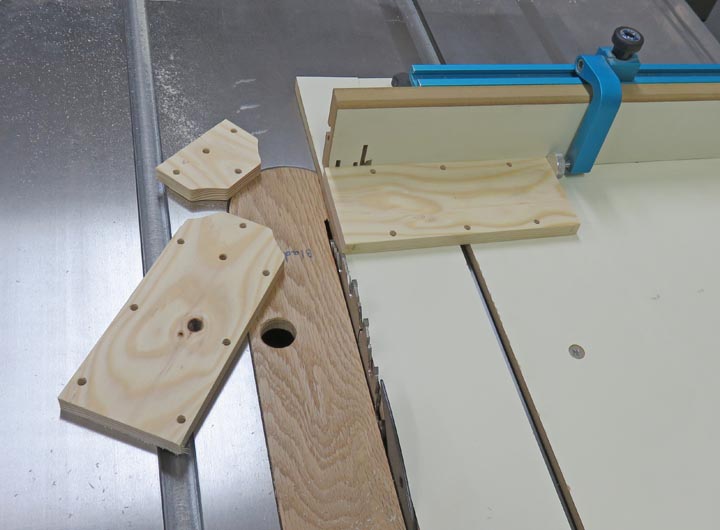
The shape that you see in pencil is approximately what
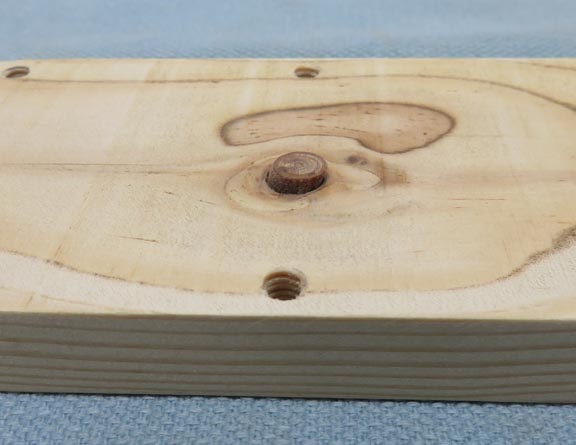
I'll be making the base look like. The holes that you see here are
threaded for 1/4-20 bolts, which worked out great for the other project
so I know they'll work for this one. But I'll explain more about these
threaded holes later.
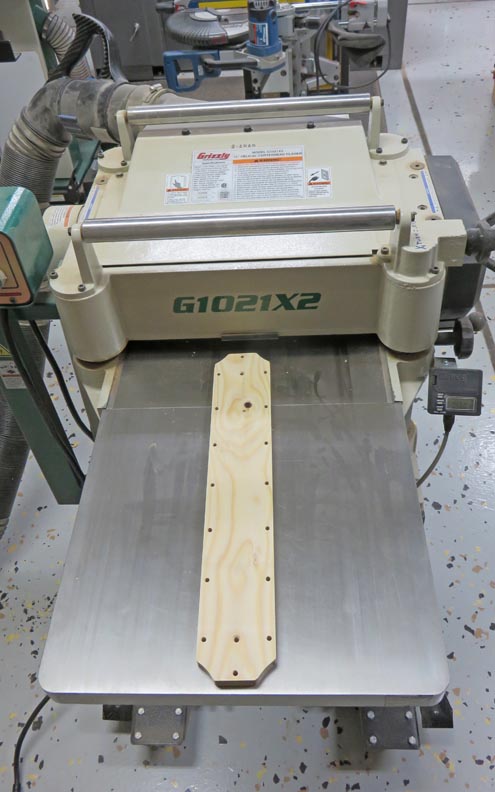
Now the first thing I'll need to do here is to reduce
the thickness from about 5/8" down to 1/2" so it matches the previous
project.
|