|
Re-Work Continued
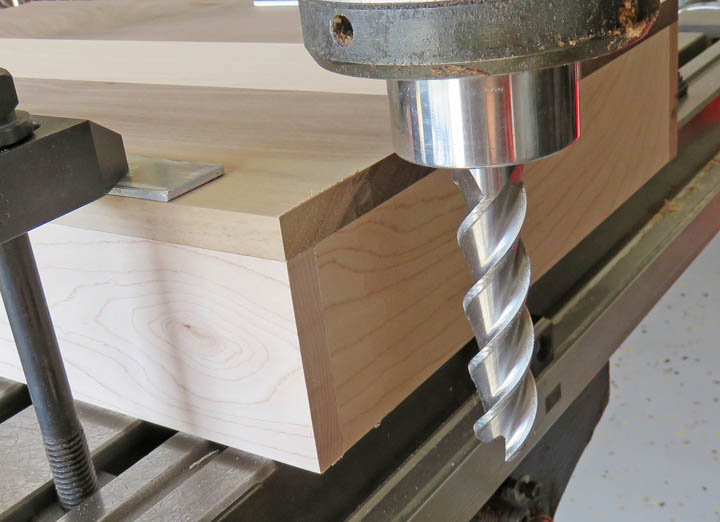
Here is the box clamped upside-down and the step is now blended. This
way I don't risk splitting the ends as the cutter exits. I did this on
all four sides.
|
|
 |
|
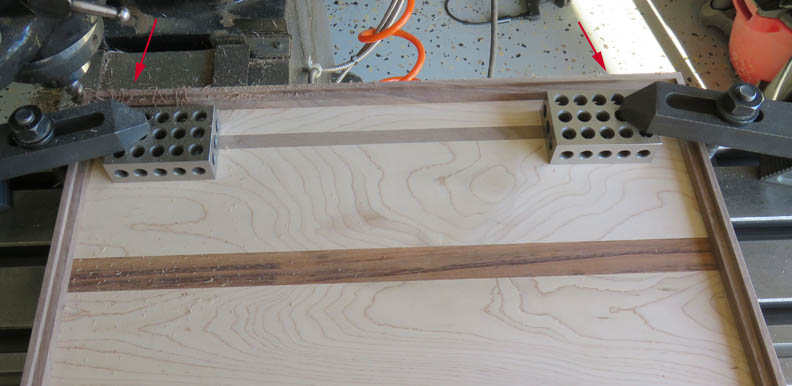
Now that the bottom looks good again, it's time to make
the top match...again. First I centered the top on the bottom that I just
machined, took some measurements, clamped it to mill and then machined
each side so it was flush with the bottom again (arrows). Yeah....lots
of extra time here...
|
|
 |
|
Finishing
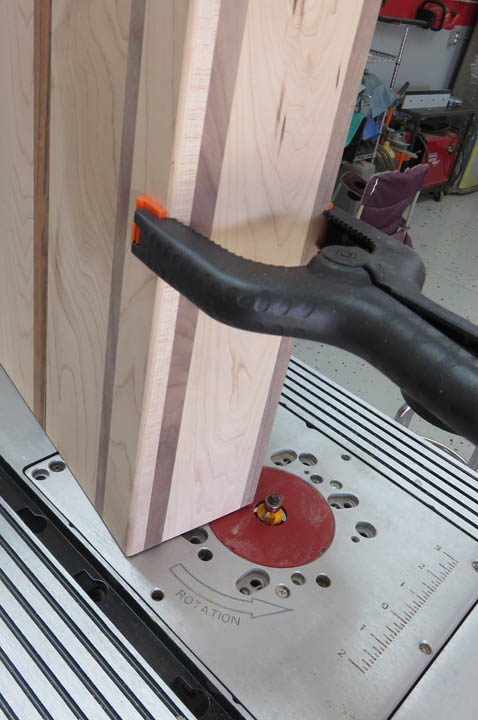
I'm finally on the home stretch after a couple of
stressful days doing re-work. Why was it stressful? Because I shouldn't
have to do any re-work in the first place. Anyways, I'm putting a
radius on most of the corners here and I used a 3/16 roundover bit for
the top and sides. I clamped the lid to the bottom, made a cut, moved
the clamp and repeated.
|
|
 |
|
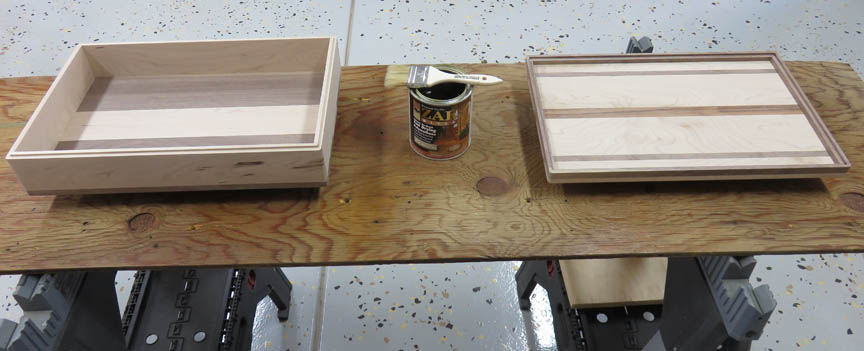
Now it's time to put a nice clear finish on the box. I'm
using a product from Zar which is an oil based semi-gloss polyurethane
that I've used on many projects in the past. I brush on two coats total
letting them dry at least two hours between each coat. I did all of the
surfaces except the top-side of the top (lid) and the bottom-side of the
bottom in one shot. I'll show you why next.
|
|
 |
|
I wanted to add something extra to the lid so this is
why I didn't put any clear on it yet. I'm using a stencil that my
daughter Tracey sent me for
Audrey's project here.
This all came about when Tracey sent me two stencils each for Audrey's
project but I only used one. So with an extra just sitting around, I
thought I'd put it to good use here.
|
|
|
|
1
2
3
4
5
6
7 |