|
Machining Continued
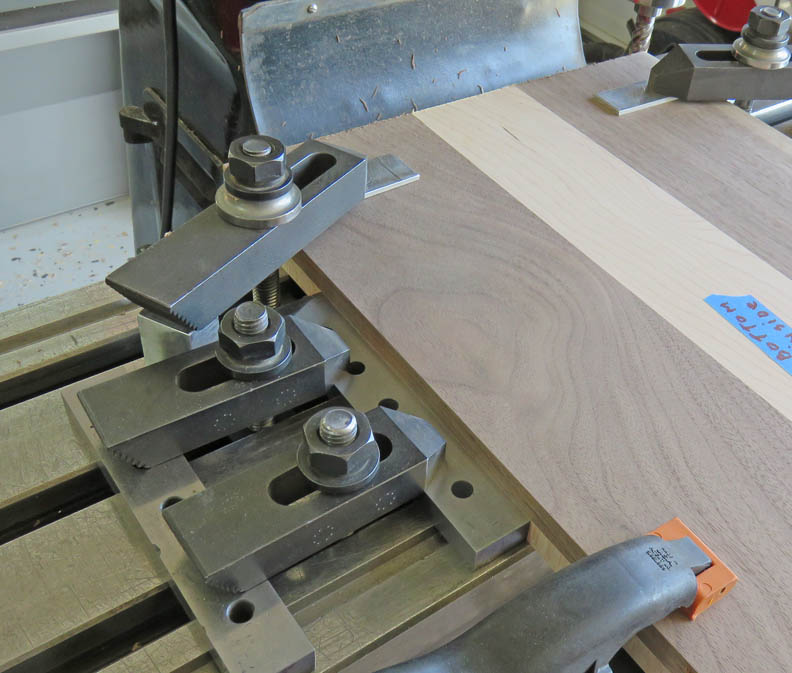
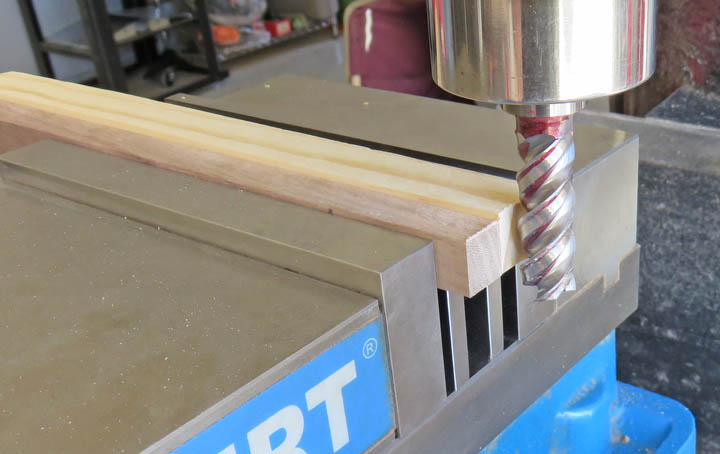
After the long sides were finished, I worked on the
short sides. Notice the clamps holding the parallel against the side. I indicated the
parallel zero to the Y axis and then placed my work piece against. This
way I know my work piece will come out square as I rotate it to work on
each side.
|
|
 |
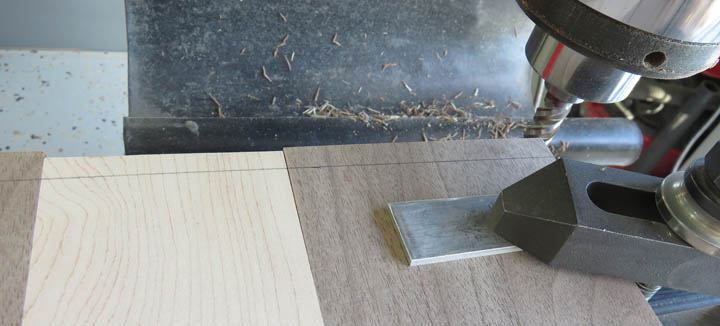
You can see I have a little extra material
to remove on the other end.
|
|
 |
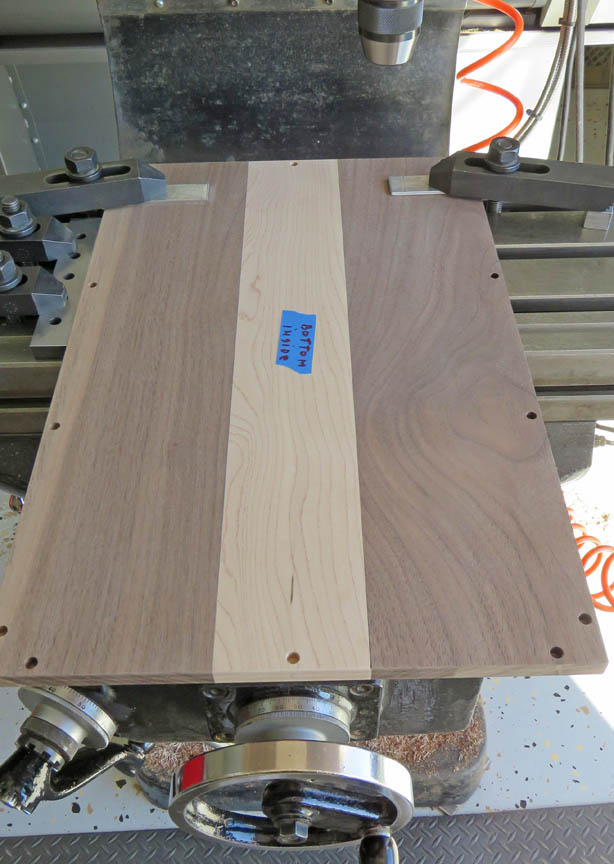
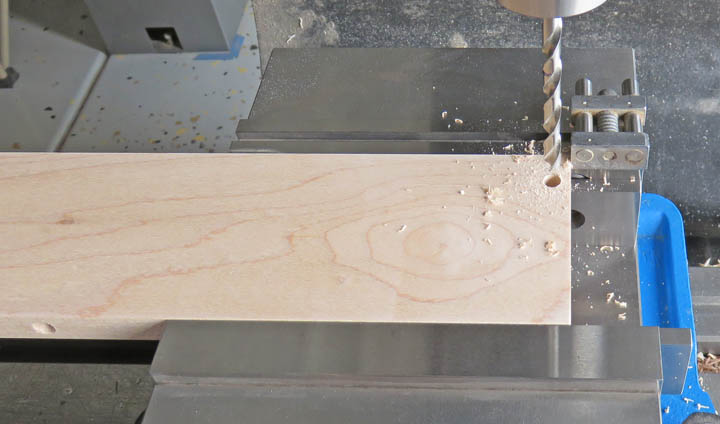
I'm putting in all the dowel holes on both top and bottom pieces, but
not at the same time because I didn't want any of the holes showing on
the other side.
|
|
 |
|
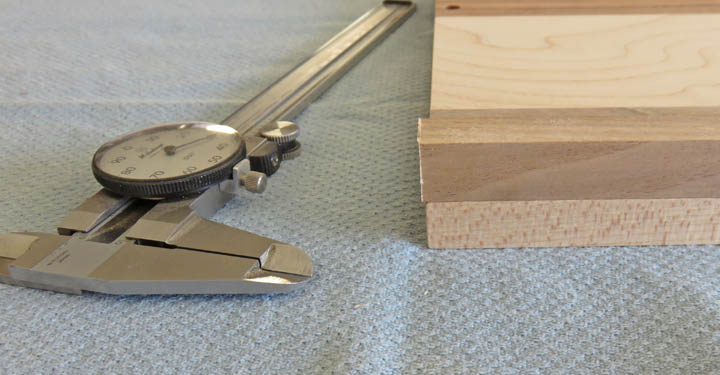
Now that all the dowel holes are in, it's time to
machine the side pieces to length. And to do that I've made the holes in
the side pieces end up overhanging by a small amount. The reason for
this is because I don't have calipers large enough to measure something
18" long. By doing it this way I can use my six inch calipers to measure
the overhang amount and then cut it to length.
|
|
 |
I made all the side pieces this way, which worked out good. And yes this
is a slow process but it works for me.
|
|
 |
I did the same for the shorter end pieces too. Here I'm test fitting the
pieces for the top.
|
|
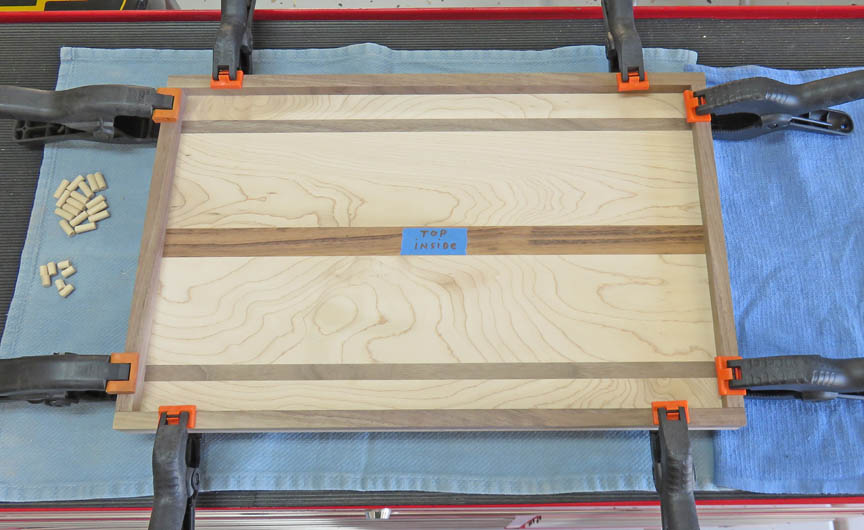 |
And there we go, it fits!!
|
|
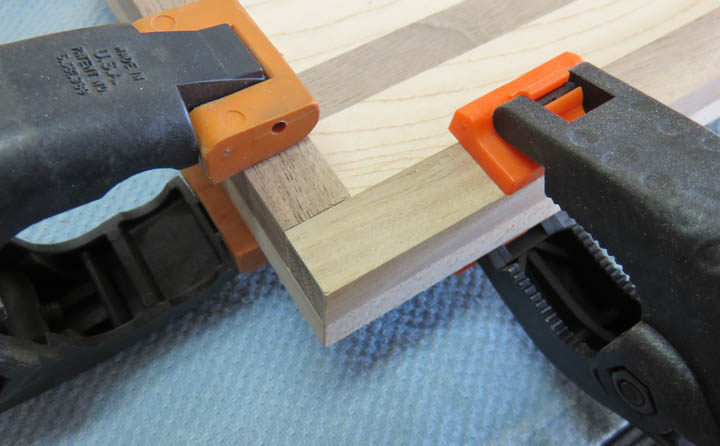 |
I'm going to add some dowels near the top of all the side pieces. I had
trouble with my last box not fitting like I wanted so I thought this
might help keep things in alignment when I start gluing.
|
|
 |
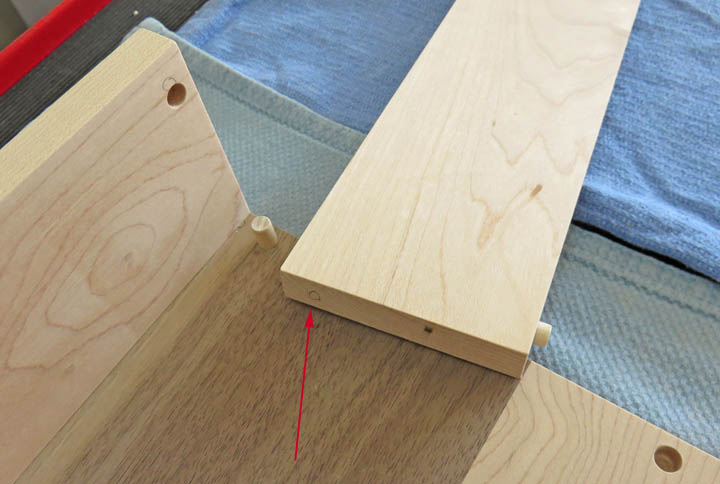
Here you can see what I'm talking about. The arrow is
pointing to a future hole that will line-up with the other side piece.
|
|
 |
|
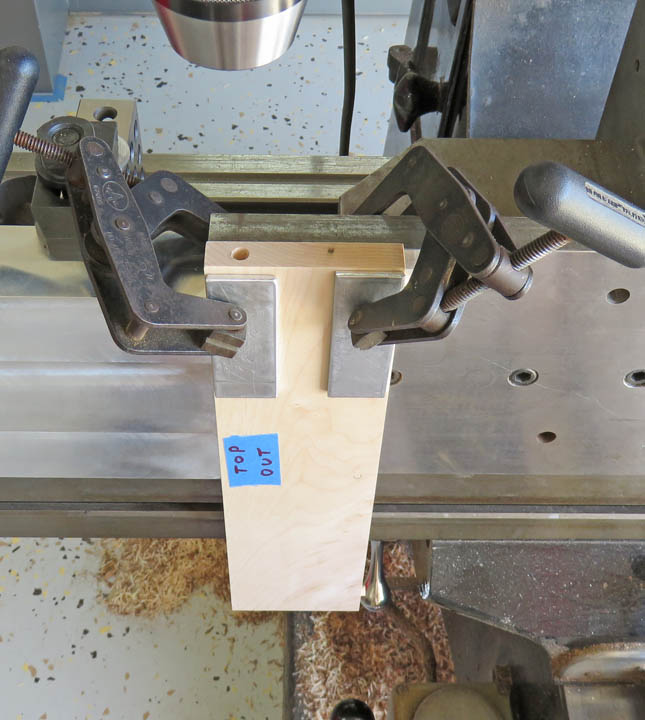
Those two holes were easy (the one above) but the other two
needed a special setup. I'm hanging the piece over the edge of my mill
table and my work piece is clamped to an angle plate.
|
|
 |
|
1
2
3
4
5
6
7 |