|
My son Tony asked if I could make him a display case,
which would display three fixed bladed knives that he
already owns. So I told him sure, I can do that for you. One thing lead
to another and I decided to make this as a Christmas present.
Now I like making things for people because it
gives me' joy' in doing so, and it benefits them as well. However, this
project is very similar to
Audrey's and
Tracey's presents (with both of
them being boxes) so the process would be similar.
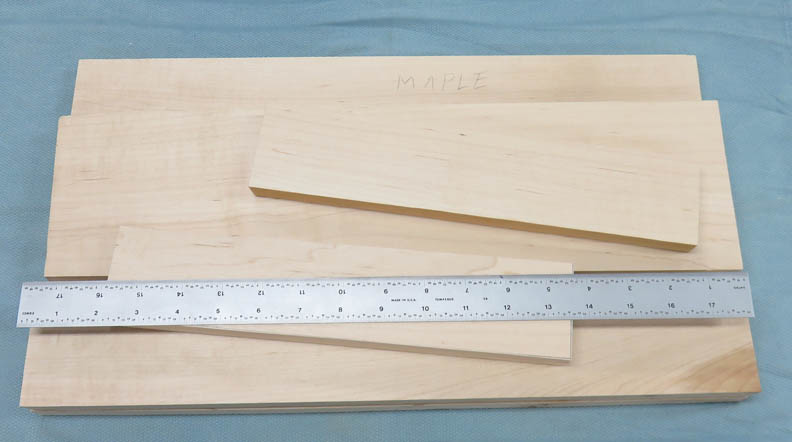
The wood for the display case would be made from hard
maple. I like working with this species of wood because it cuts clean
and if you need to do intricate work, it works great for that to. The
size of the case will be 17.5" long X 11.5" wide X 2.5" tall, which was
based on his largest knife.
|
|
 |
| Machining
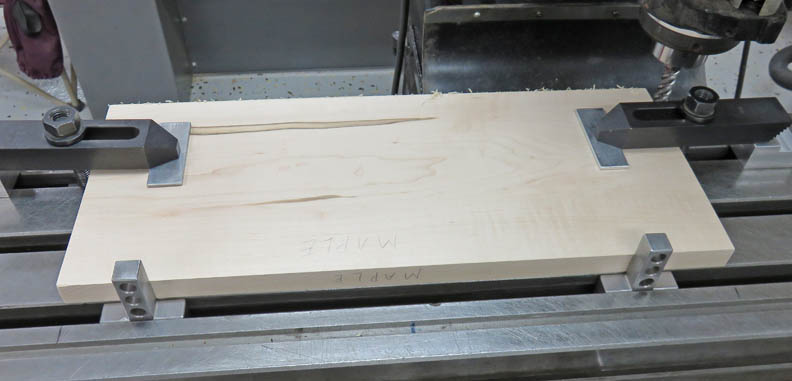
The first thing I'll be doing is gluing two pieces together to make
the bottom. Here I'm machining the surfaces so they are nice and
parallel.
|
|
 |
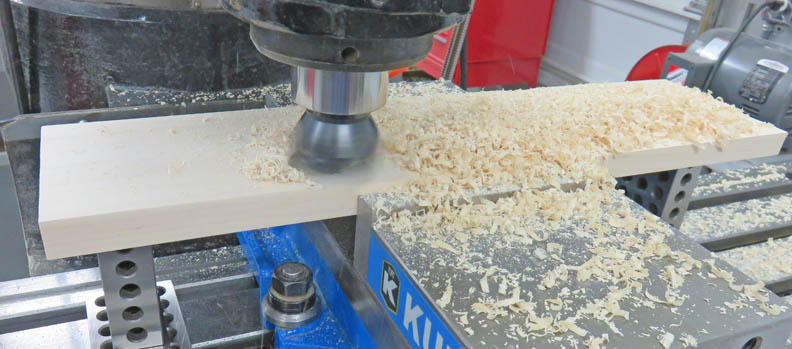
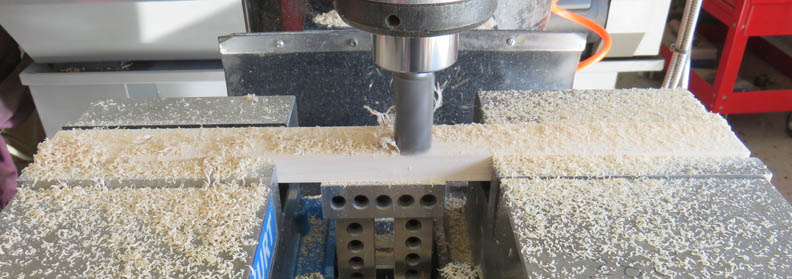
The hard maple is 3/4" thick but I want it to end up at 1/2". What I'm
doing here is roughing it down close to that size before using my planer
to finish it with.
|
|
 |
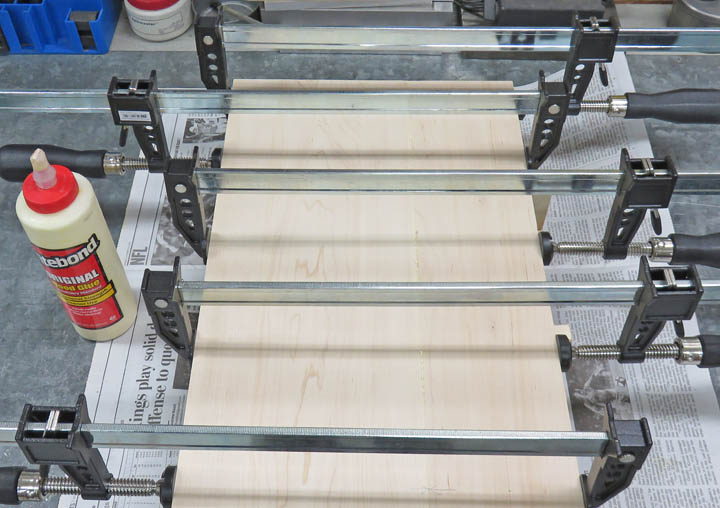
With the two pieces still oversize on the thickness, I'm using 1/4" diameter dowels to keep
them in alignment while it's being glued.
|
|
 |
Gluing things together can be stressful because if you have a problem
while doing so, it's very hard to get thing apart while the glue is
drying. Taking your time is key here...but not too much time.
|
|
 |
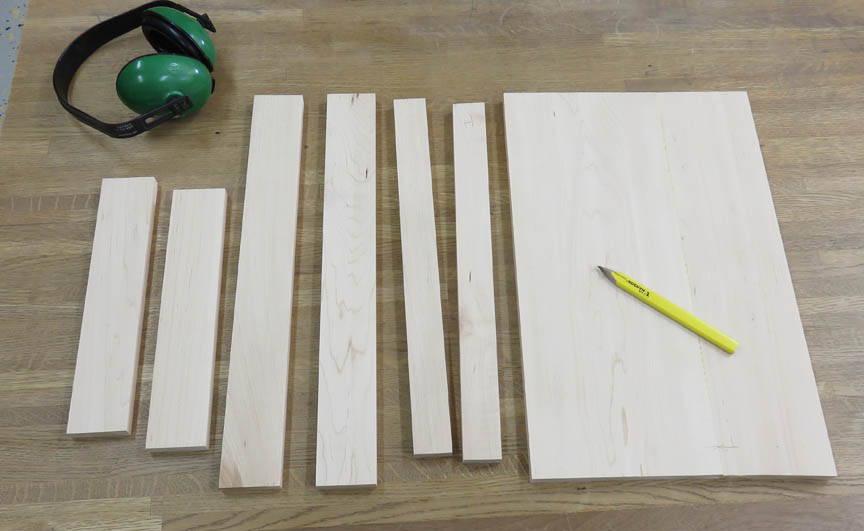
This is one of four side pieces that I'm roughing down, just
like I did before. And there will be two pieces that will go inside the
case to separate the knives as well.
|
|
 |
|
Here are all the pieces that I put thought my DeWalt
planer. It does a pretty good job but the hard maple dulls the knives pretty fast. That's why I remove most of the material on my milling
machine beforehand.
|
|
 |
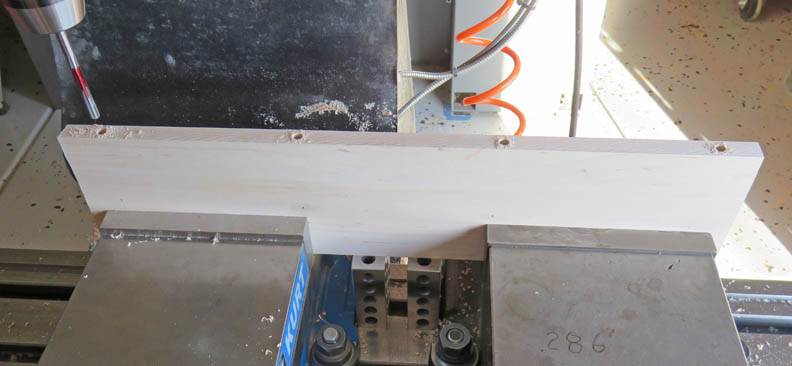
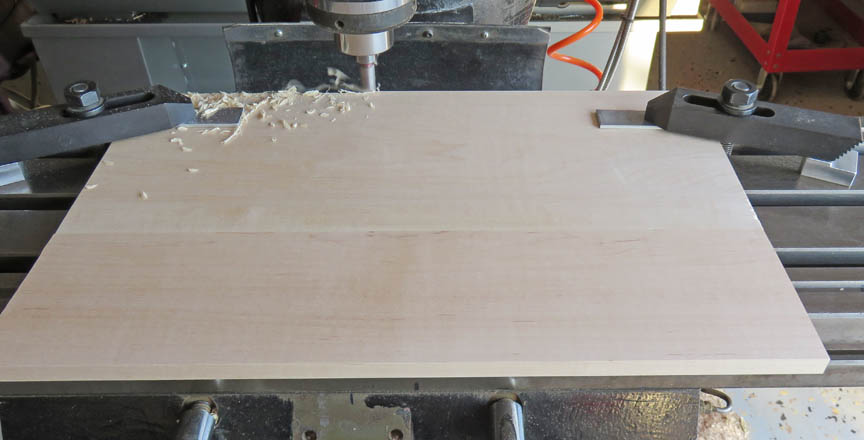
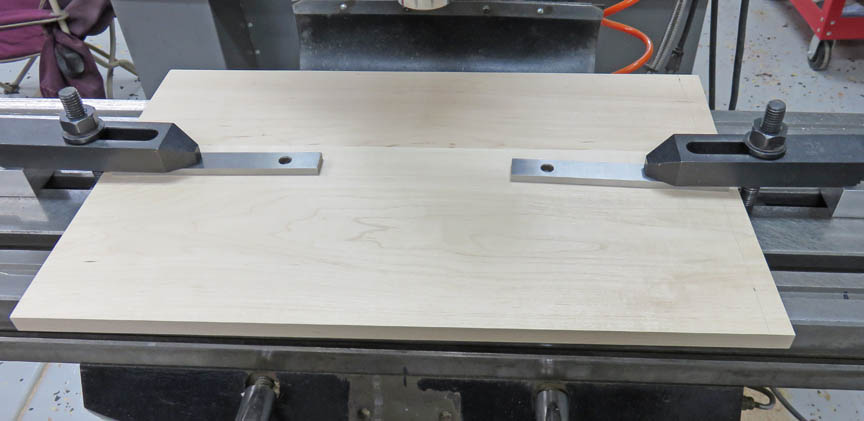
Now that the thickness is at my desired size of 1/2", it's time to
square all the sides and bring them to the right dimension.
|
|
 |
|
Problems
After machining the width that I wanted, something
caught my eye. My work piece had a 'bow' in it. And the same thing
happened to my daughter Tracey's project...but why? All I know is a couple days after using my planer, both projects had this bow in
them.
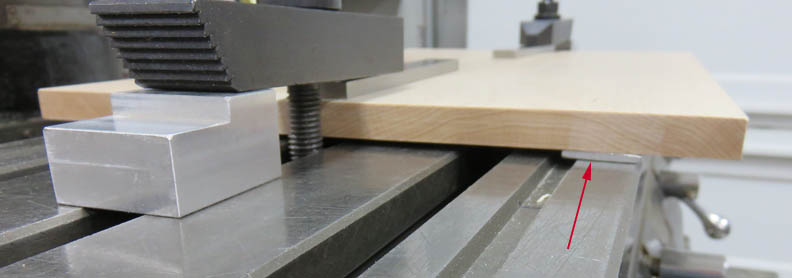
What I'm doing below is clamping on the crown of the bow
to reduce said bow. I figure it can't hurt so I left it like this for
two days (yeah...I was mad...)
|
|
 |
Here you can see I've placed shims under my work piece while I'm
clamping it (arrow). I tightened the clamps down till I heard a creaking
sound and then stopped. I mean....why not!!
|
|
 |
|
1
2
3
4
5
6
7 |