|
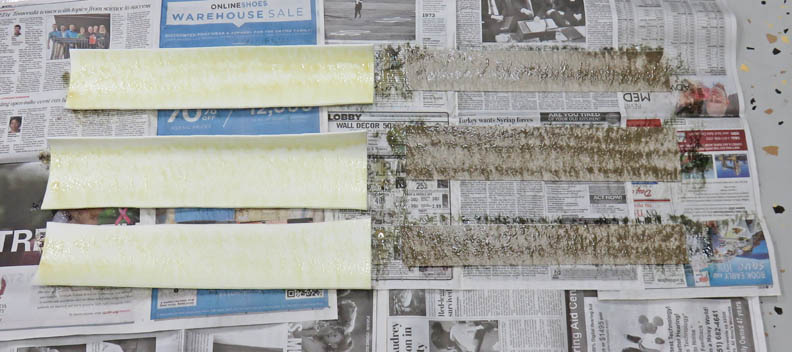
Interior Continued On the left is
the foam I'll be using, which is 1/8" thick and on the right is my cardboard.
As you can see I've sprayed glue on them, then you wait at least five minutes and stick them
together.
|
|
 |
| After about 10 minutes, I'm able to start
trimming away the excess foam. |
|
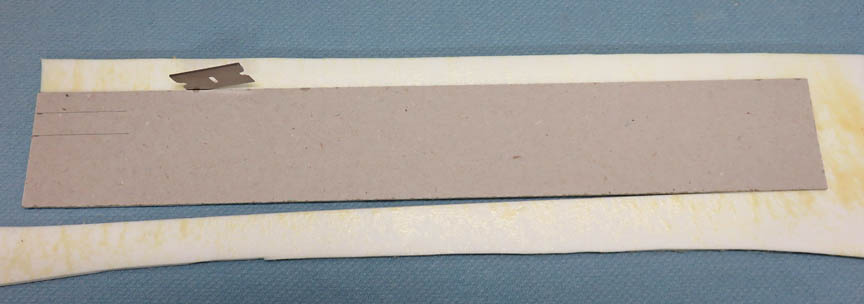 |
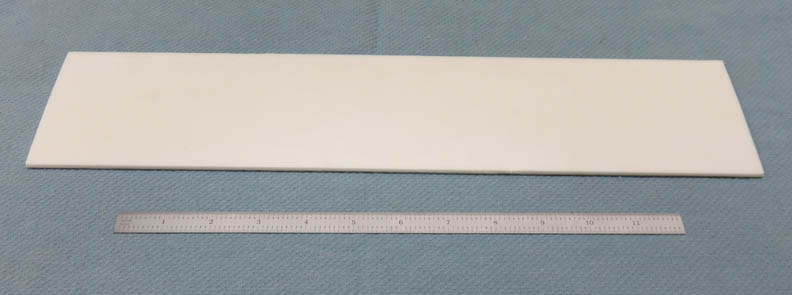
This is what I'm left with and now it's time to glue on the velvet.
|
|
 |
|
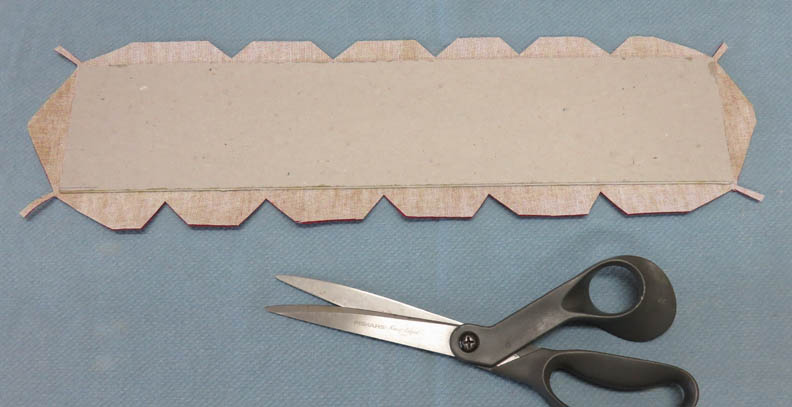
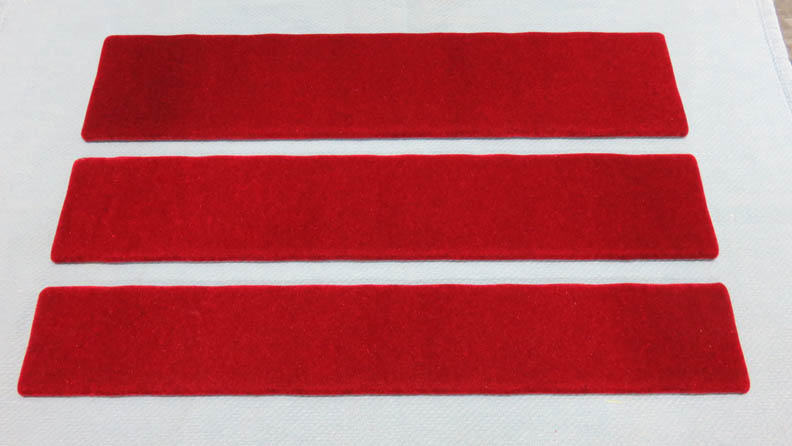
This is a two-step process: first you glue the velvet on
while it's a rectangular shape, which is the easier part. Next you need
to cut the excess off and then cut and notch it like you see below. Now
it's ready for more glue to stick everything to the cardboard.
|
|
 |
|
The trick here is not cutting too far on the backside,
otherwise you'll see it on the front side. I've done a lot of this while
doing the interior on my 33 Ford Coupe, which brought back some good
memories.
|
|
 |
|
I've placed one of the interior pieces inside the box here and the box
is on it's side.
I don't know if Tony wants to lay the display on it's
back or on it's side (never got that info) so I made it so he can use it
either way. If he wants to place the case on it's side, then he won't
want the knives to fall over so there needs to be a way to prevent that.
What I came up with is to cut some notches in the dividers, unique for
each knife. This way they will stay in place without sliding around.
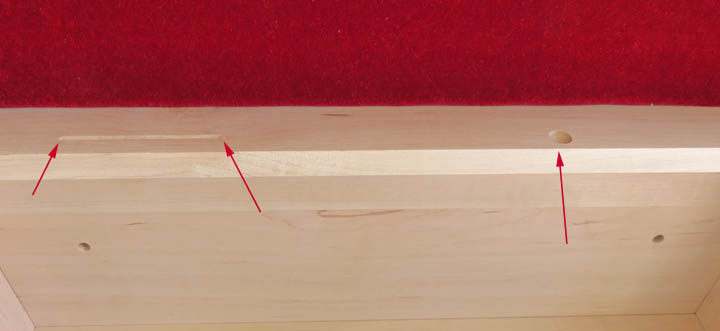
I plan on putting the largest knife at the top (what you
see below) and figure out exactly where each notch or cut needs to be
(arrows). This was easy because nothing is glued yet so I can take each
divider out, machine it and then check my progress.
|
|
 |
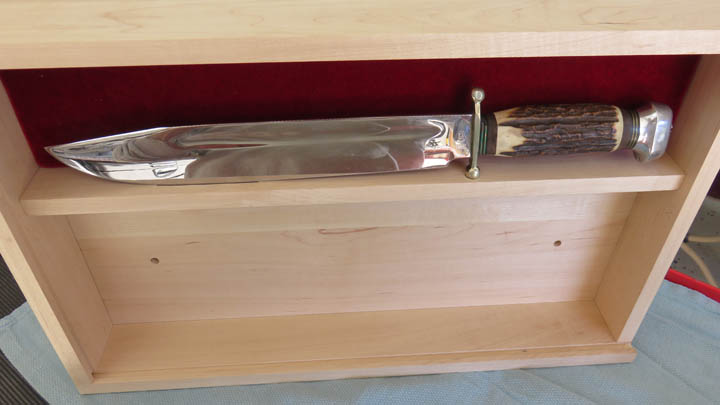
This worked out great for this knife and I did something similar for the
others.
|
|
 |
|
Latch and Hasp
I plan on putting a small paddle lock on this display
case but nothing too large. I did some searching and found a lock
that should work pretty good. But I'm pretty sure I won't be able to
find a latch or hasp that would fit my application, so I'll make my own.
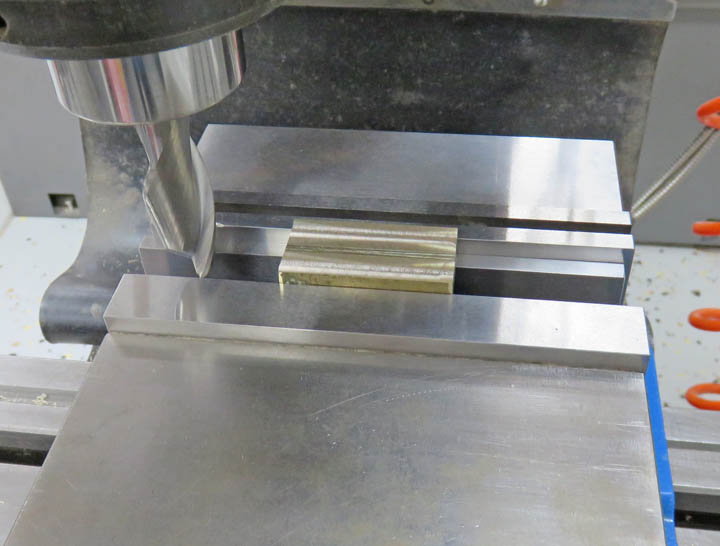
What you see below is an old piece of brass that I've
had for years. I figure this should work great for one of the pieces
that I'll need.
|
|
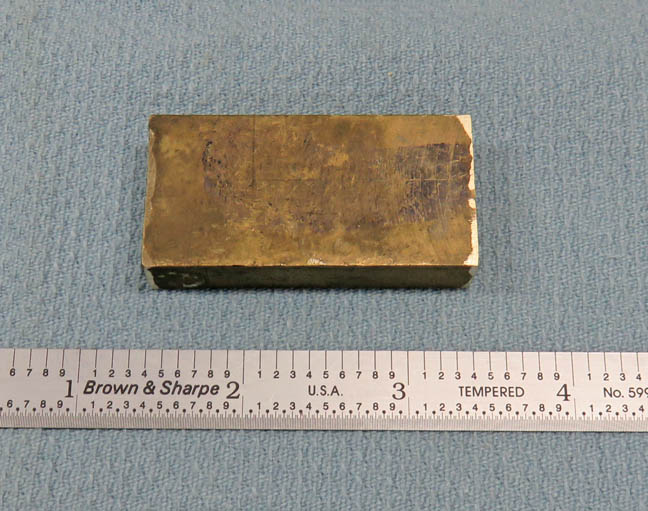 |
The first thing I did was square the block and bring down the thickness
to .400". The reason for this odd number is the block was already under
1/2"
|
|
 |
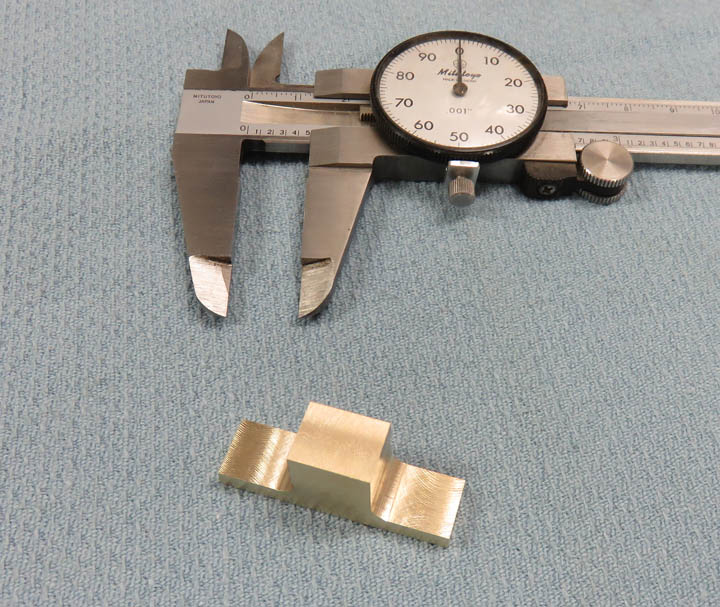
Next I cut the length to 1 1/2" X .500" and put two steps in it. The
center area is 1/2".
|
|
 |
|
1
2
3
4
5
6
7 |