|
Machining Continued
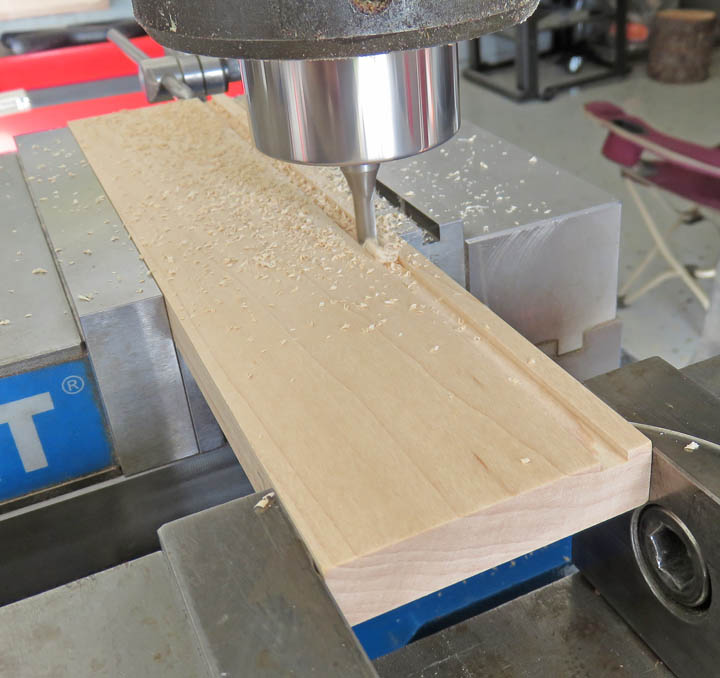
Now that the sides are the correct length, it's time to
cut a channel for the plastic top. My plastic measures .212" thick so
I'm making my channel about 1/16" larger. Why this much? Well, when the
time comes to put a clear finish on the display case, there will be some
buildup in this area so I want to make sure I have enough clearance. Plus,
with the bottom piece being bowed, I'm not sure what will happen once all
the side pieces are glued in place.
|
|
 |
|
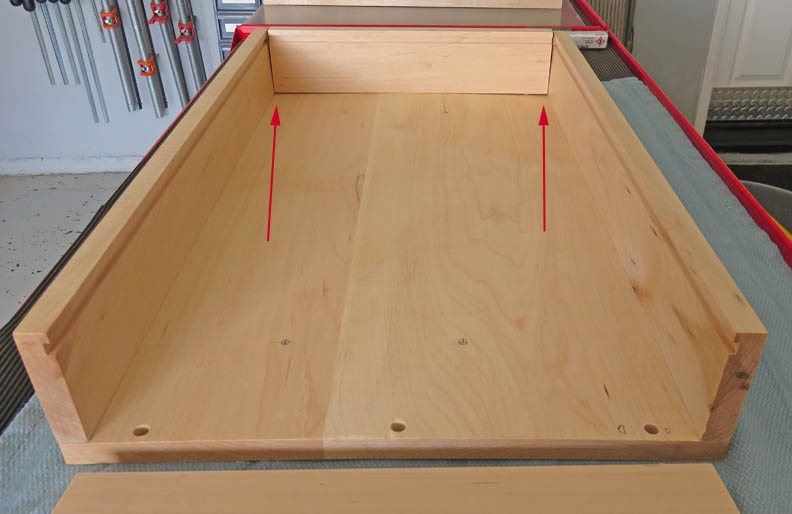
The Bow is Back
See what I mean, the bowing condition is easy to see
here but I think some of that will go away once I glue things together.
When I clamp the sides to the bottom, almost all of the gaps are gone,
which is a good thing. However, what I don't know is, what if the glue
fails in the future making this channel uneven?
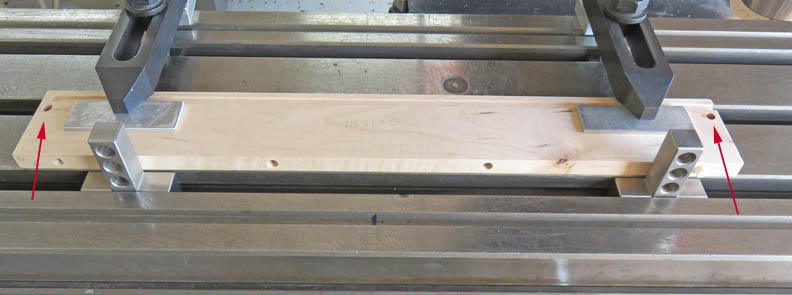
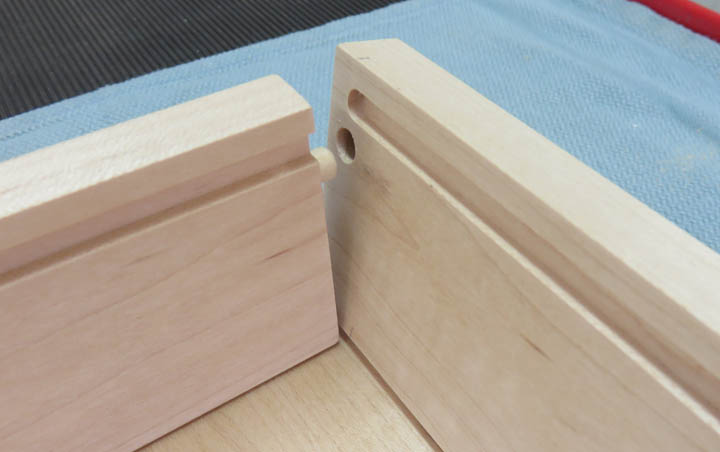
BTW, the shorter piece has the channel travel from
end-to-end, but the longer ones don't exit on other side. I stayed away
on the opposite side by about 1/4" so it looks nice on the outside.
|
|
 |
|
Machining
Now that the outside pieces fit, I'm machining the dividers to
length and adding the dowel holes for them.
|
|
 |
|
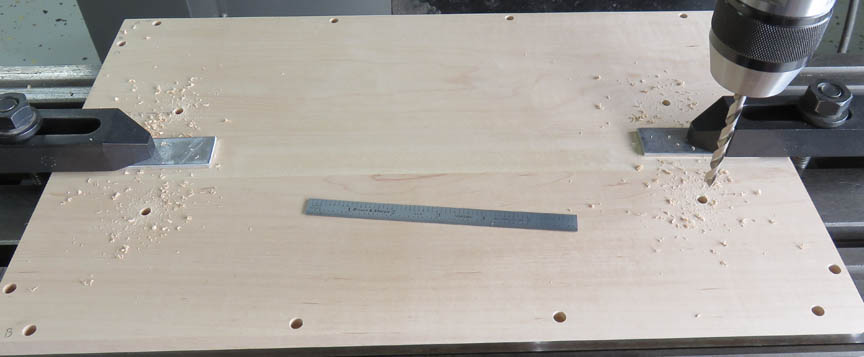
I've found out while working on Tracey's project that by
putting a dowel in each corner, near the top of each side piece, helps
keep things in alignment while gluing. It's a little more of a challenge
getting things together while doing so but it's worth it in the end.
|
|
 |
|
In the above picture, those were the easy holes to do. But the
ones that mate up to them are more of a challenge. I have to hang the work piece over
the edge of the mill table while it's clamped to something flat. In this case
I'm using a large piece of aluminum that I've squared on all sides. I've
also used an angle plate for this before to.
|
|
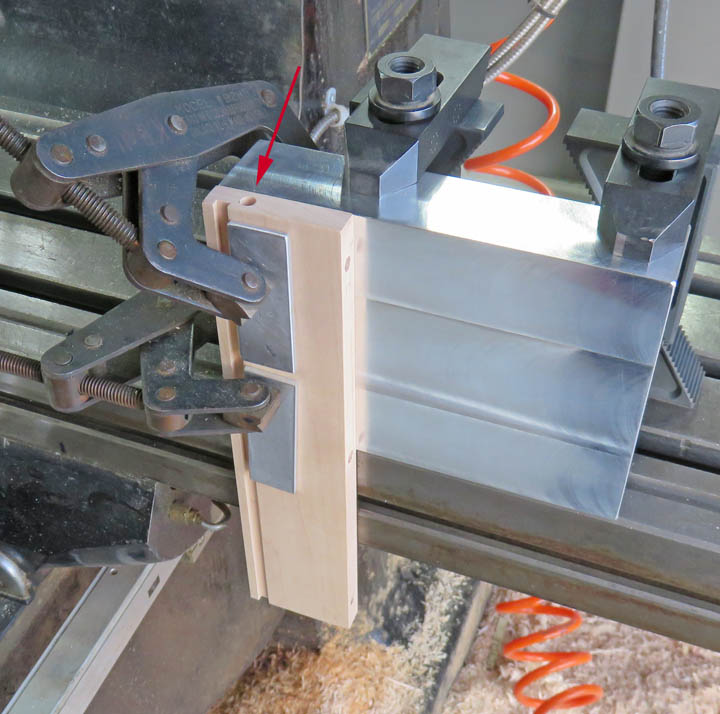 |
Here is what it looks like while working on it. I have the ram almost
all the way out (towards me) along with the head rotated about 15
degrees.
|
|
 |
Here is what it looks like with both dowel holes. And you can see the
channel stopping short of the end to.
|
|
 |
I did the same trick on the divider pieces to get them to the right
length. I left them long and then trimmed them to the right length.
|
|
 |
|
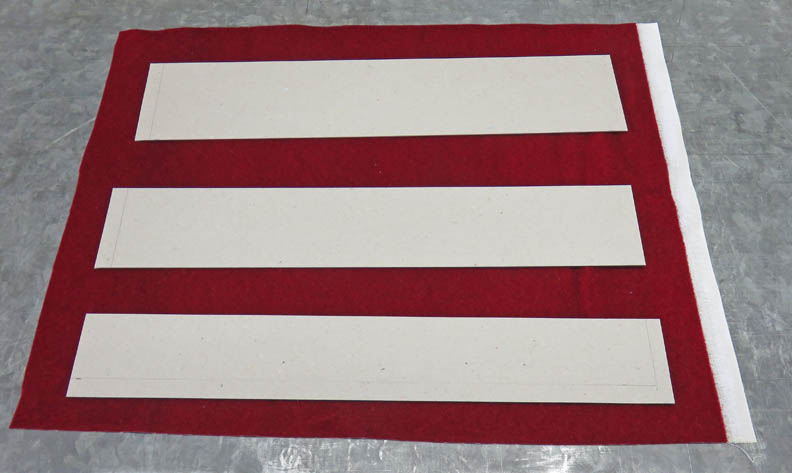
Interior
I'm going to use some red velvet to rest the knives on.
This should look nice once everything is together. The cardboard pieces
(sitting on the velvet) are going to get wrapped with the velvet but I need to glue some thin
foam to them first.
|
|
 |
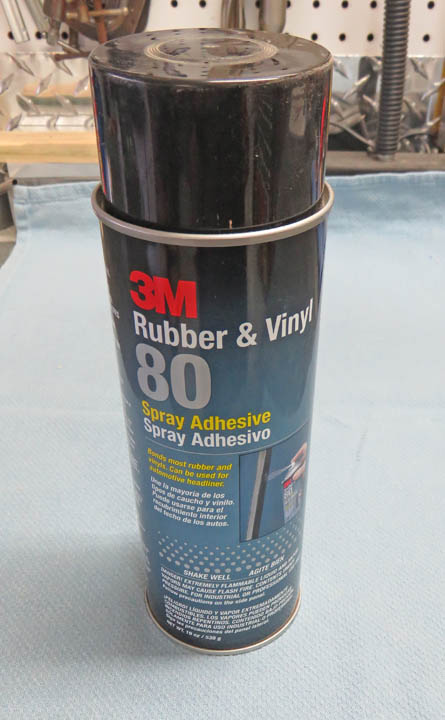
Here is the glue I'll be using. I've used this stuff many times and it
works great.
|
|
 |
|
1
2
3
4
5
6
7 |