|
Latch and Hasp Continued
I put two countersunk holes for some #6 flathead screws.
I also used a 1/4" corner rounding end mill and put a full radius on it.
Oh, and I drilled a 1/4" hole for the paddle lock. Were getting
closer...
|
|
 |
Next I thinned the center down to .200"
thick.
|
|
 |
Almost finished...
|
|
 |
The last step was to put a full radius on the corners. This was
necessary because I'll be using an end mill to recess this piece into
the wood.
|
|
 |
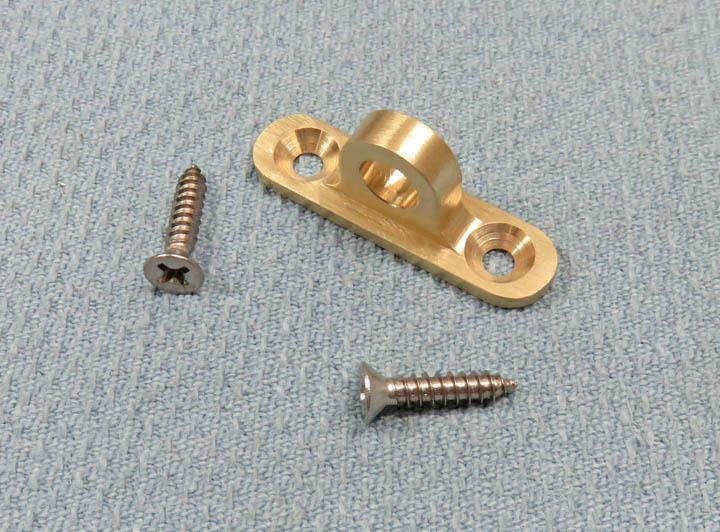
And there we go, I'm ready to work on the recess notch for this to set
in. And I'll be using some stainless hardware for wood screws and
the machine screws.
|
|
 |
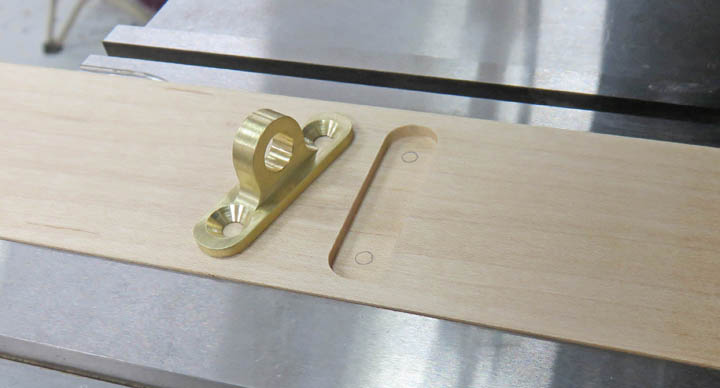
Here is the pocket for the latch. It's .090" deep by 1 1/2" long. Now
it's time to drill some holes for the screws.
|
|
 |
|
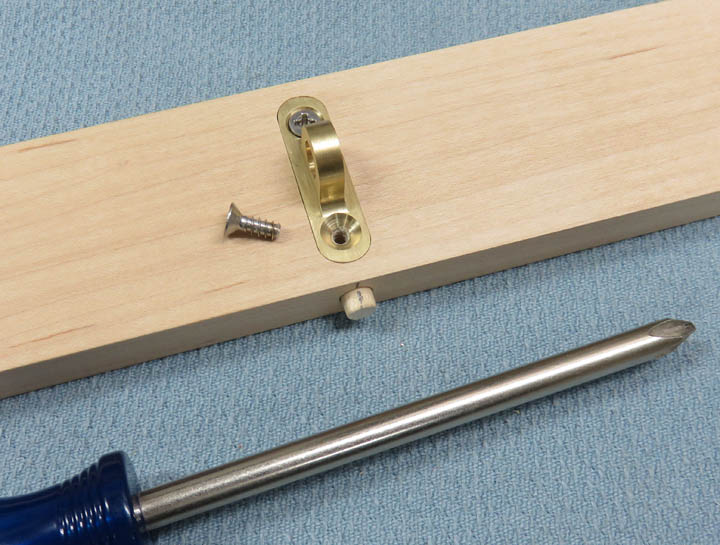
I had to shorten the screws from 3/4" long to about
.400". Also notice I placed a dowel in the hole and then threaded it.
This was also necessary because there wasn't enough material (wood) for the
screw threads as the dowel hole and screw hole ran into each other. In
case I needed to remove the dowel, I put a small pencil line on it and
the wood piece. This way it would go back to the exact same spot if it needed
to be removed before gluing.
|
|
 |
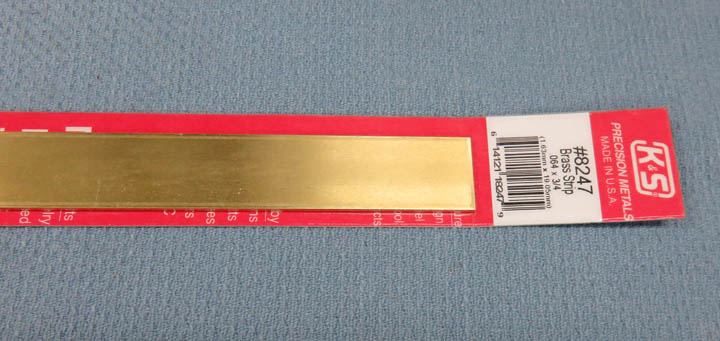
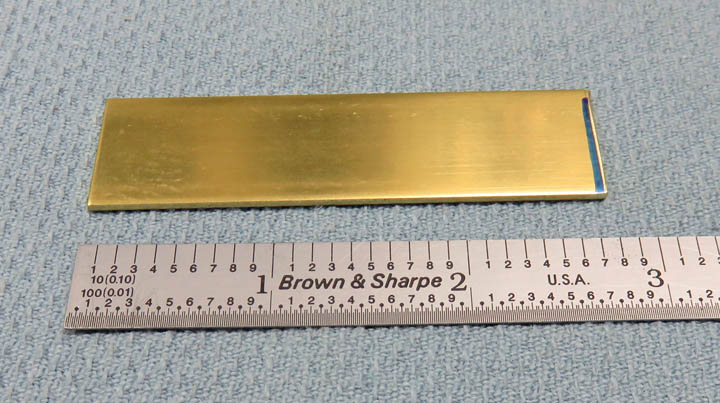
I didn't have the right material for the latch so I bought this piece of
brass at our
local hardware store. As you can see it's 1/16" thick X 3/4" wide. I'll
need less than three inches of this.
|
|
 |
I'm going to bend this piece so I left it long. This way I can machine
it on either end after bending to the exact length I need.
|
|
 |
|
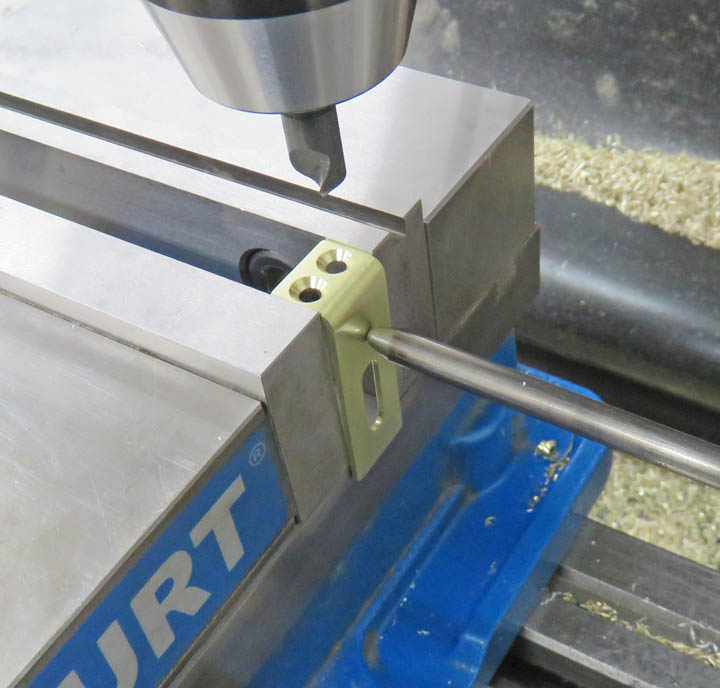
I got into high gear and forget to take more pictures so
let me explain what I've done. I bent the
brass to 90 degrees, machined a slot for the latch to pass through and
I'm going to mount the hasp to the plastic lid using 6-32 flathead
screws. Here I've drilled and countersunk for the screws.
|
|
 |
|
1
2
3
4
5
6
7 |