|
Main Rotor Nut Clock
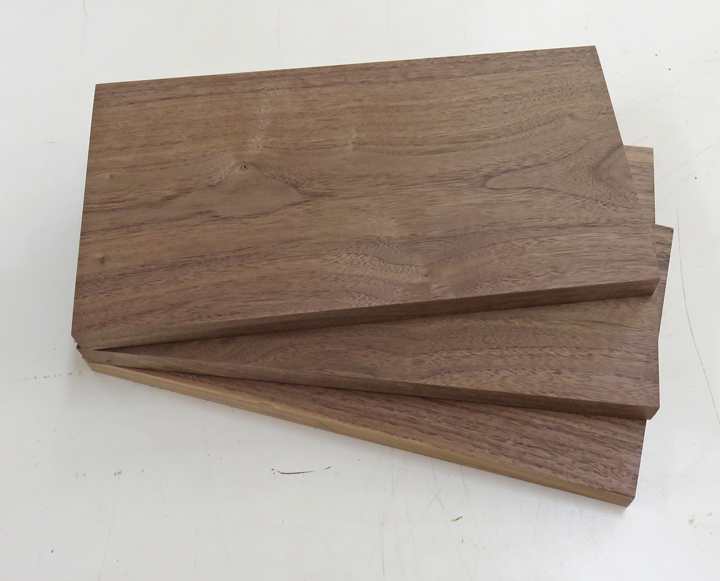
I'm going to use some black walnut for this project and I'll
mount the rotor nut to this material.
|
|
 |
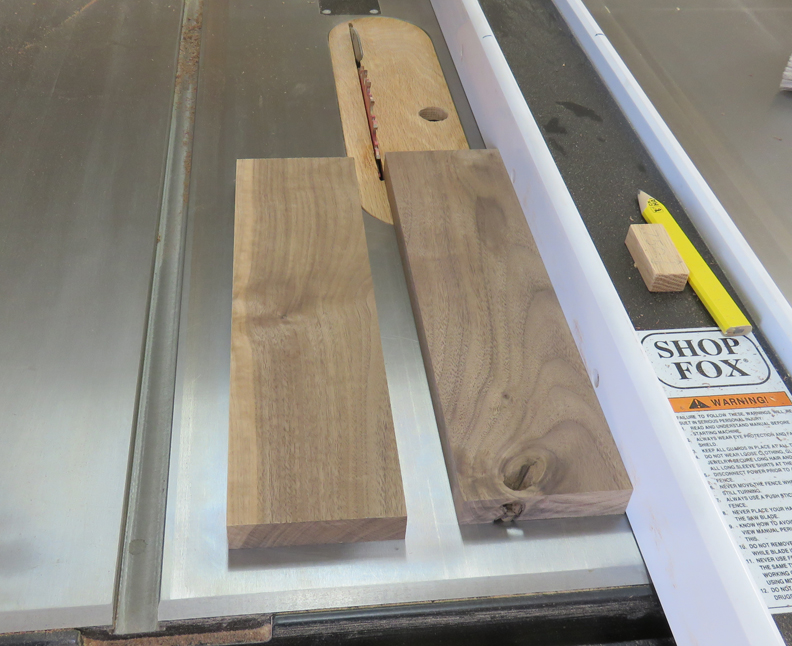
The other pieces weren't wide enough so
I'm getting ready to add to them.
|
|
 |
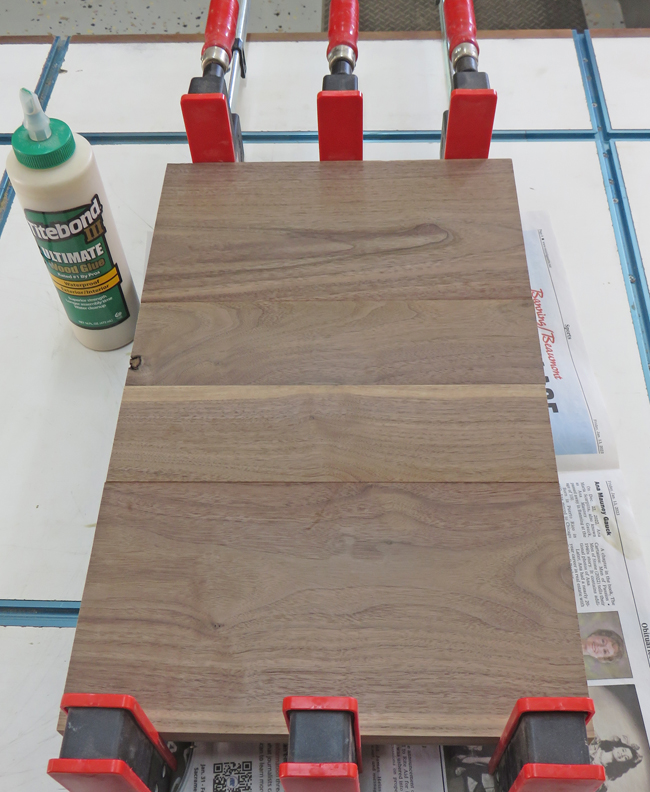
Then I glued them together making two separate pieces.
|
|
 |
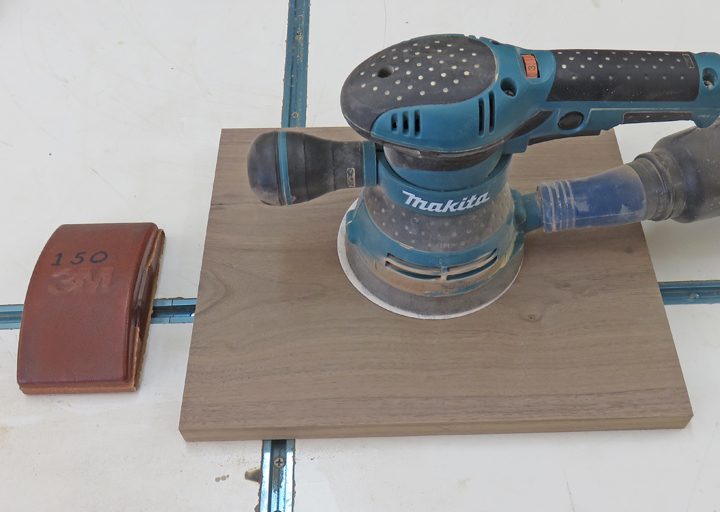
The next day I sanded both pieces and now I'm ready to start cutting it.
|
|
 |
First I ran two sides through my table saw making them parallel, and then
I used my crosscut
sled to square the ends.
|
|
 |
|
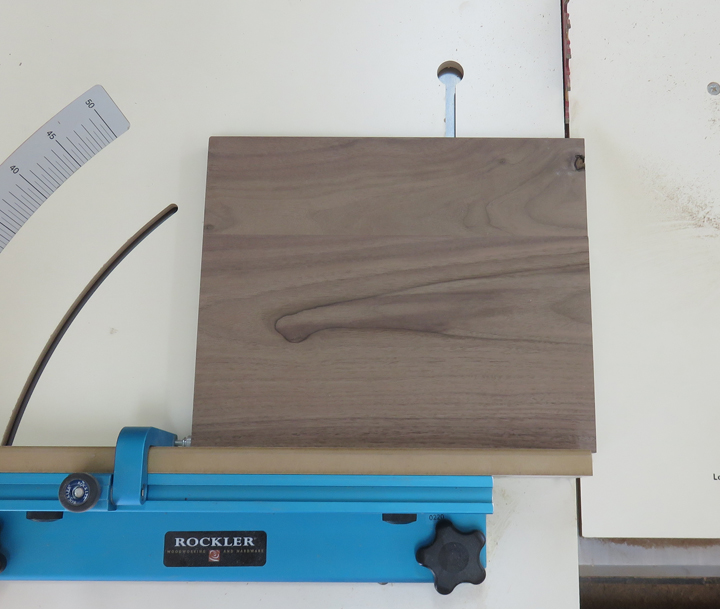
I drew out several different shapes to mount the rotor
nuts on, but in the end I decide to make the wooden pieces a
hexagon. I set my crosscut sled to 30 degrees and cut one end using my
adjustable work-stop to bank against.
|
|
 |
|
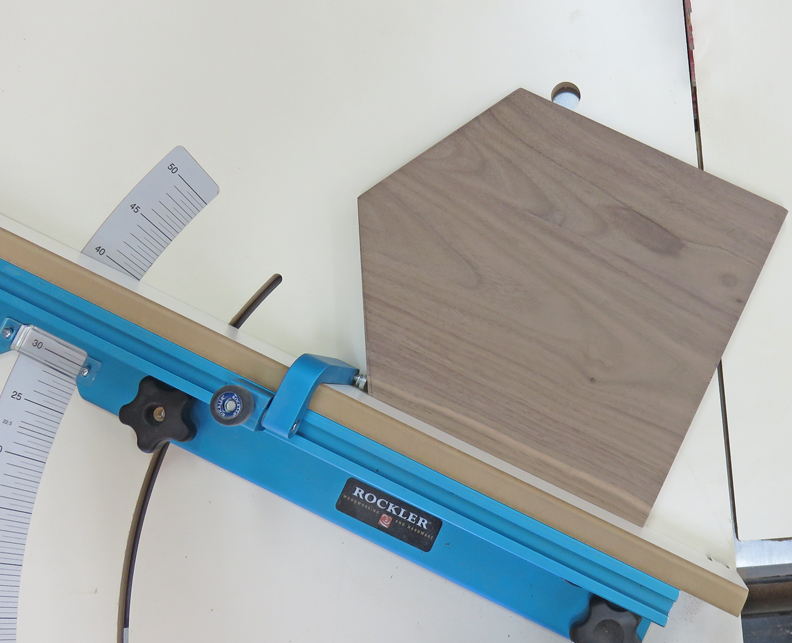
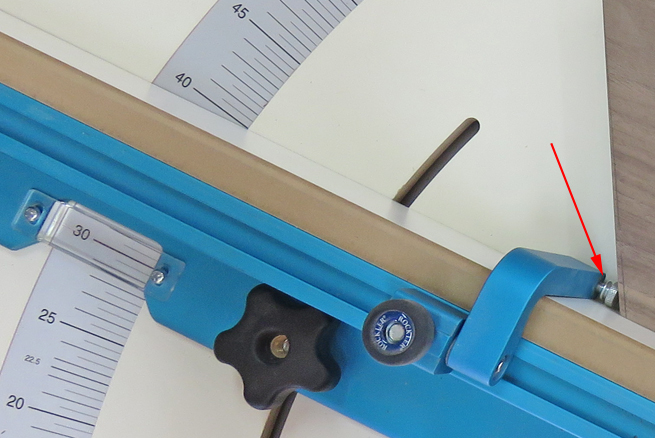
I had to readjust my work stop for the opposite side but
once I had it set, my saw made quick work of those angles. Side Note: I
added the thumb-screw (arrow) to my adjustable work stop which makes
fine adjustments a breeze now.
|
|
 |
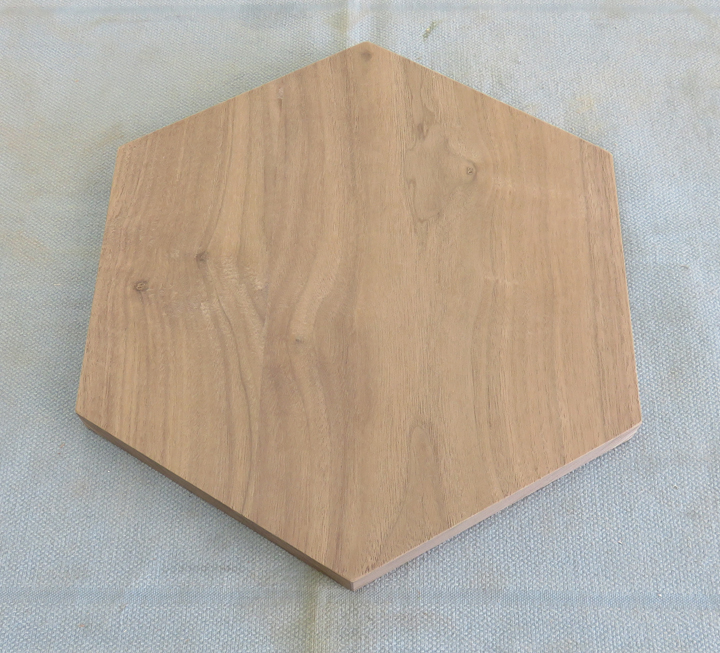
Here is what it looks like once I gave it a light sanding. Now it's time
to look at the clock movements.
|
|
 |
|
I bought these clock movements at a place called
Clock Parts.
I've used them before on another project because they have a bunch of
choices. In the end, I chose a movement with a silent second hand in
place of one that goes, tic, tic, tic. You also have your choice
of hands that come with your movement: long ones, short ones, different
colors, you name it. And you also have your choice of shaft lengths too.
I went with brass hands so they will match one other item I have in
mind for this clock.
|
|
 |
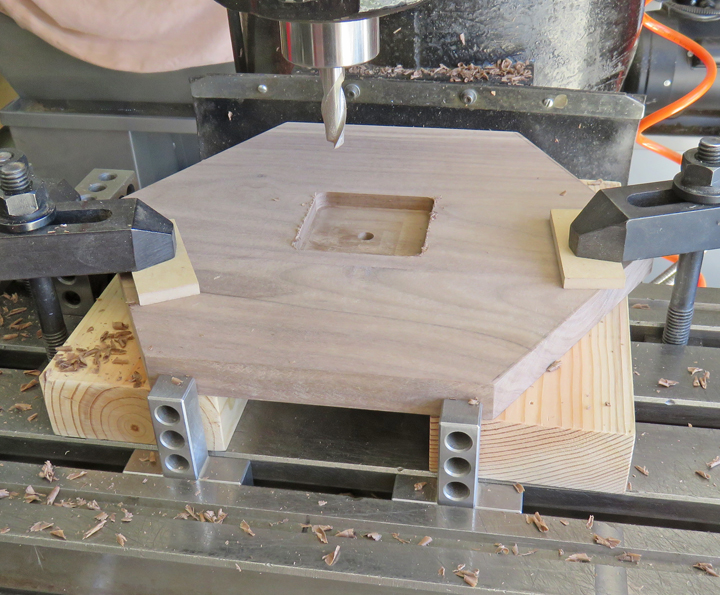
I milled a pocket that was about 5/16" deep along with a hole in the
middle for the shaft. This pocket was necessary because I wanted the
hands to be placed in a certain position within the nuts thickness.
|
|
 |
|
1
2
3
4
5 |