|
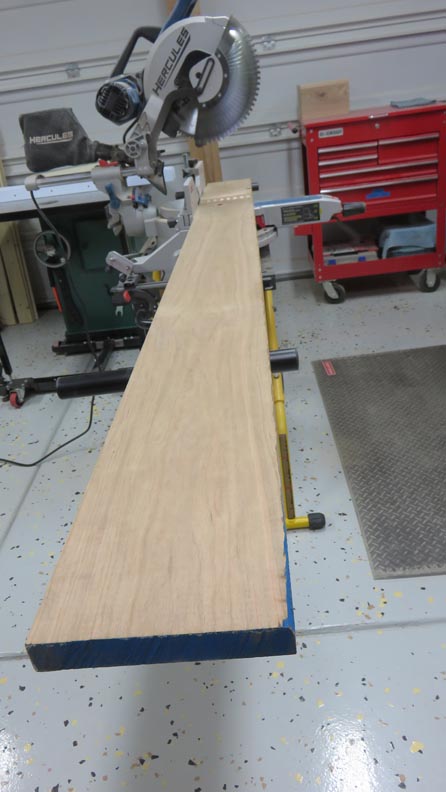
My wife and I bought a new bed and I thought a headboard
might look nice with it, so I decided to make one. We use to have a
queen size bed but upgraded to a Cal King so this headboard will be 72"
wide. What you see below is a piece of cherry that is eight feet long by
one inch thick. I plan on making the frame out this material and it will
be three inches wide. Here I'm cutting the two horizontal pieces that
will be 72" long and the two vertical pieces will be 66" long.
Let's Cut Some Wood
|
|
 |
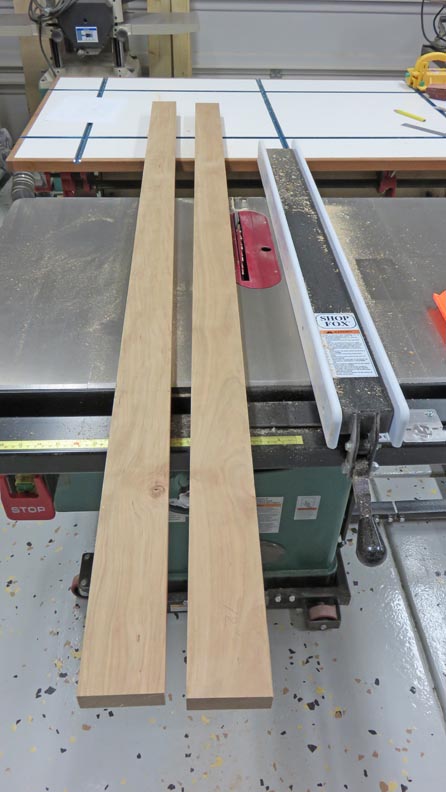
After cutting them to length, I ripped
them all down to three inches wide.
|
|
 |
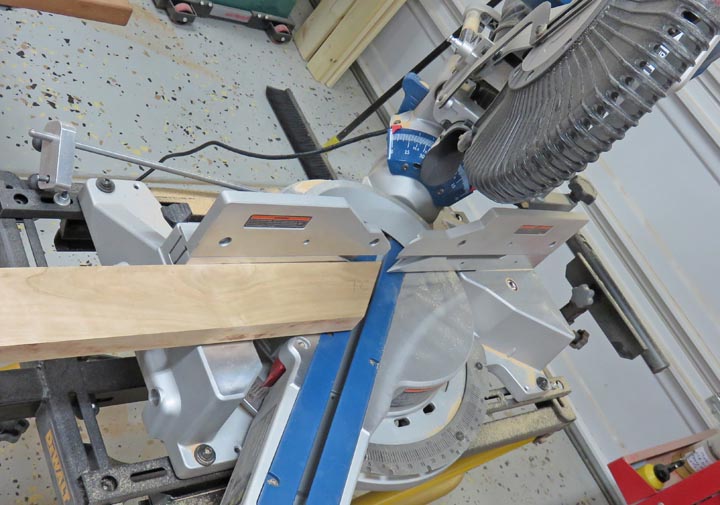
The corners will be mitered so I set my sliding compound miter saw to 45
degrees and cut the ends of three pieces.
|
|
 |
|
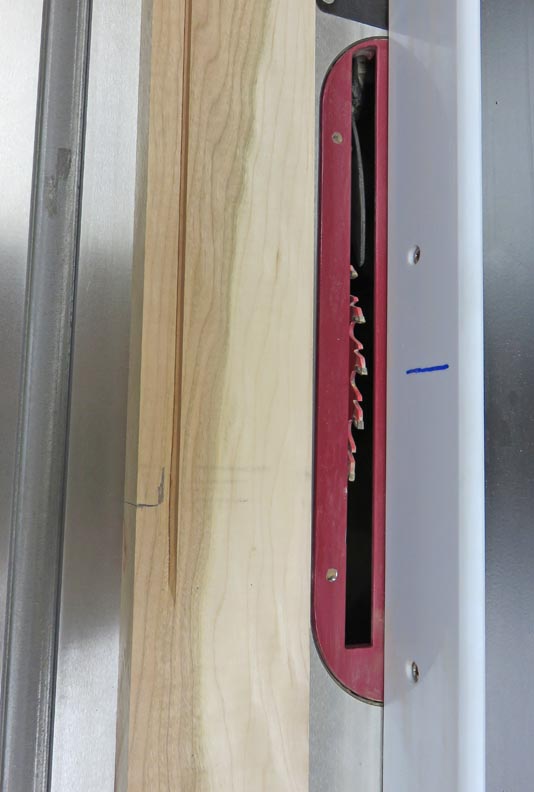
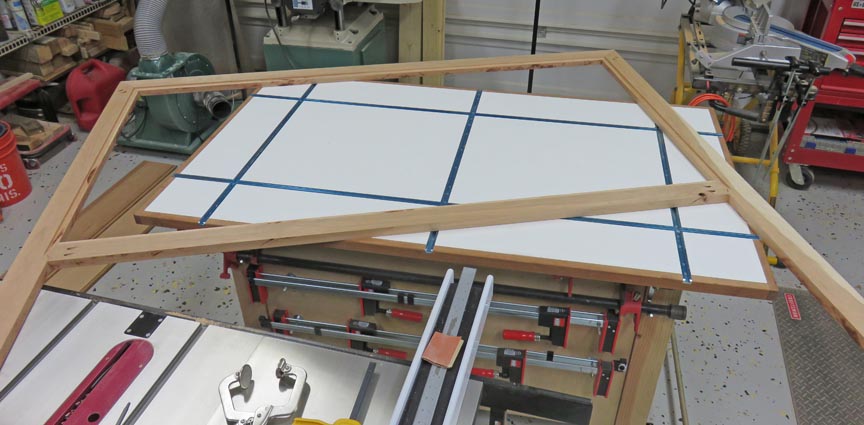
The frame for this headboard is going to be a
rectangle at the top, with the legs going to the floor. And inside the
rectangle I'm going to make a Chevron pattern with two species of wood,
cherry and alder. To hold all the pieces that make up the Chevron
pattern I'll be using some 1/4" MDF that will sit in a rabbit, which I'm
cutting the first of two cuts on my table saw below.
|
|
 |
|
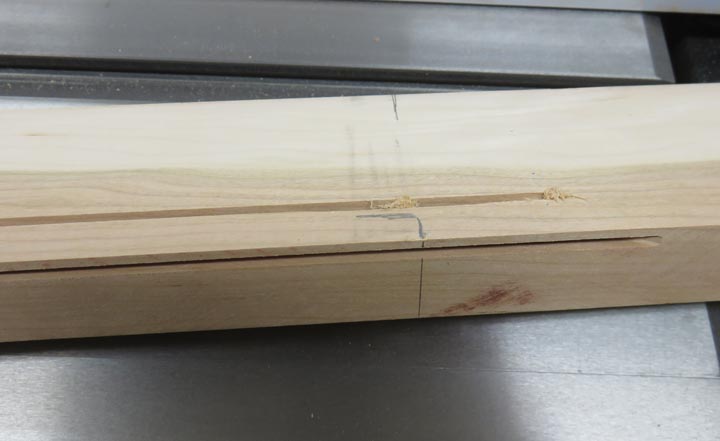
Here is the second cut for my rabbit, but I'm not going
all the way to end on the vertical pieces. The pencil mark is where I
stopped my cut and now I need to remove the scrap piece that you see.
|
|
 |
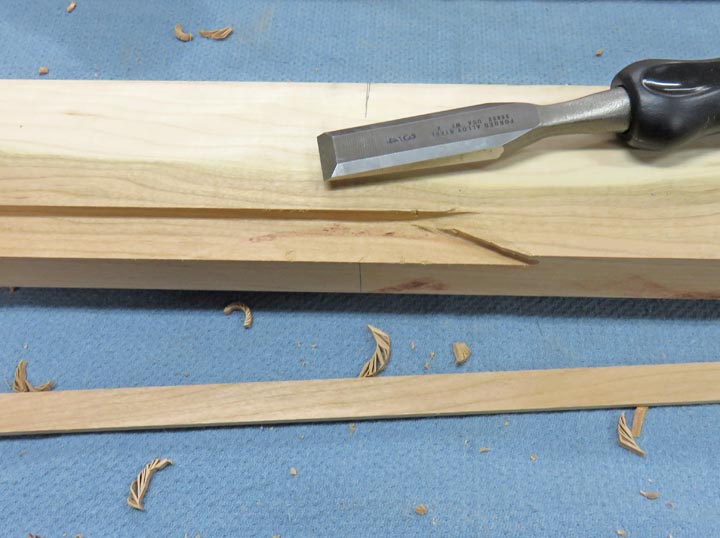
A couple of taps with my wood chisel and it's out. Now this rabbit is on
the back so it doesn't have to be pretty, it just has to work. The size
of the rabbit is 1/4" X 3/4".
|
|
 |
|
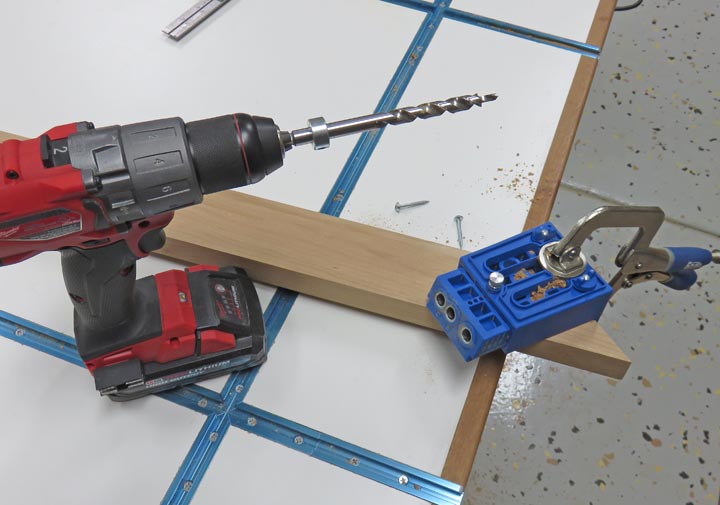
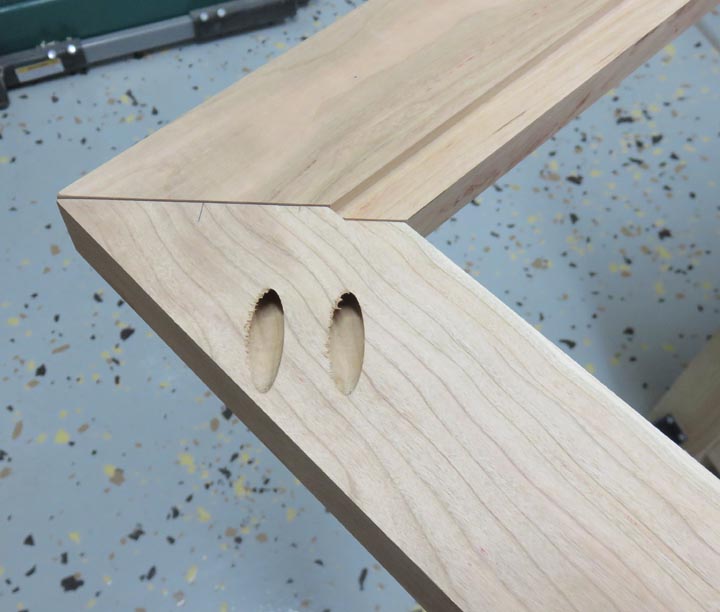
Now it's time to fasten the frame together and I'm using my
Kreg pocket hole jig for
that. Notice I'm locating on the
45 degree angle and I'm only using two of the three holes.
|
|
 |
This jig works great and it's fast and easy to use.
|
|
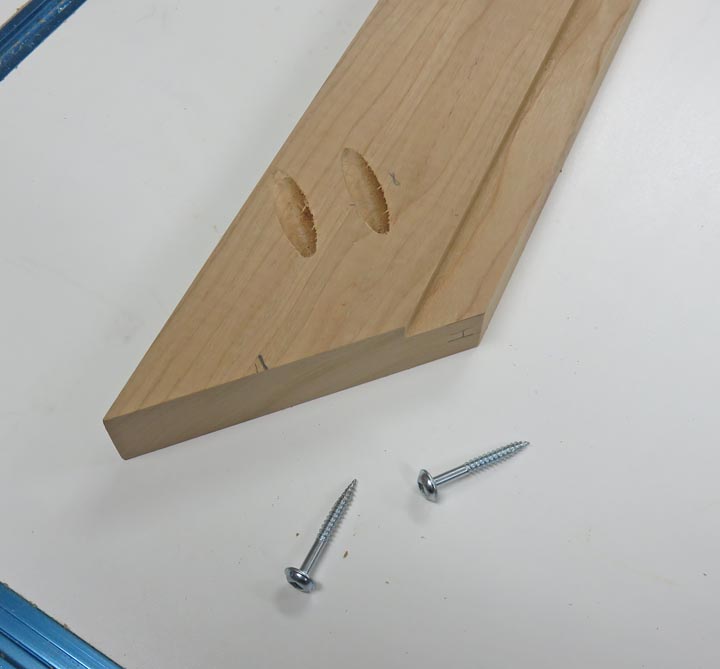 |
The screws for these pocket holes are special, have a square drive and
are self-tapping.
|
|
 |
Here you can see the frame all put together. Now it's time to
round over some edges.
|
|
 |
|
1
2
3
4
5 |