|
Cutting Wood Continued
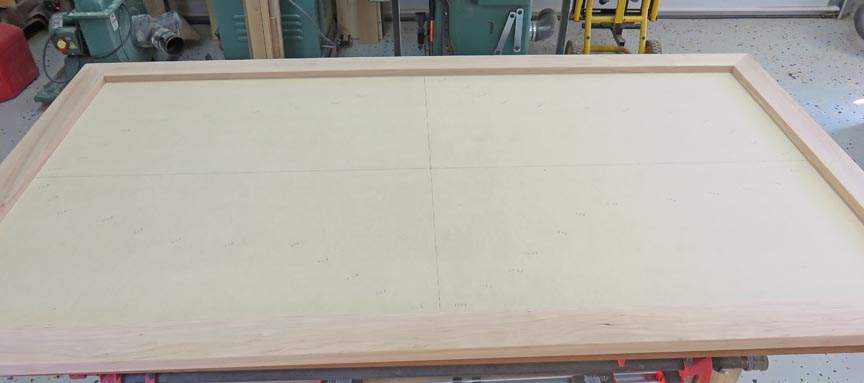
Here is a shot from the other end to give you an idea of what I'll be
doing.
|
|
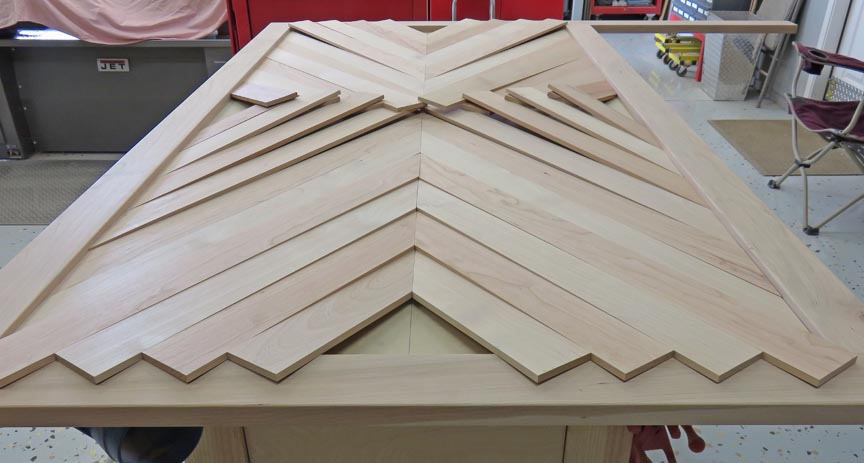 |
I set my saw to 35 degrees and started
fitting each piece. As you can see I'm working my way across the top and
bottom, now it's time to work side to side.
|
|
 |
|
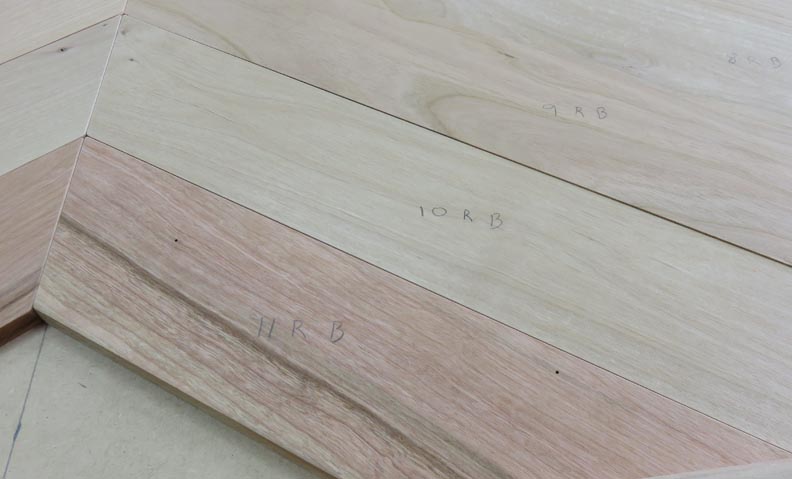
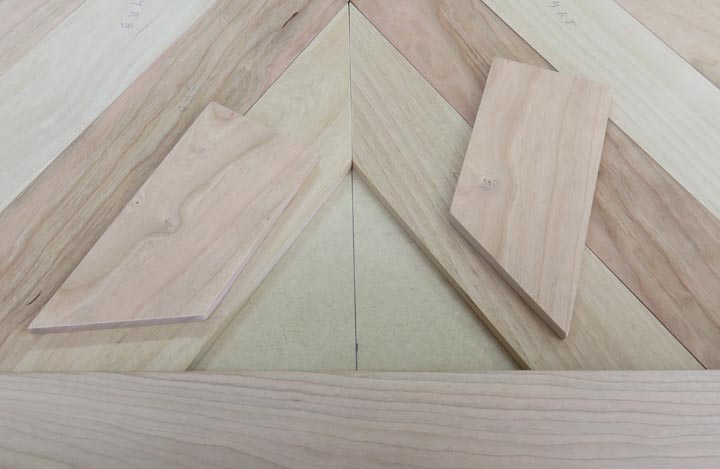
I'll need to remove each piece later and to keep track
I'm marking each one. There are 12 pieces in each quadrant (48 total
pieces for
the project) and what you see below is a number along with two letters.
The two letters that you see here; RB mean 'Right Bottom' and the others
(that you can't see) are Right Top, Left Top and Left Bottom.
|
|
 |
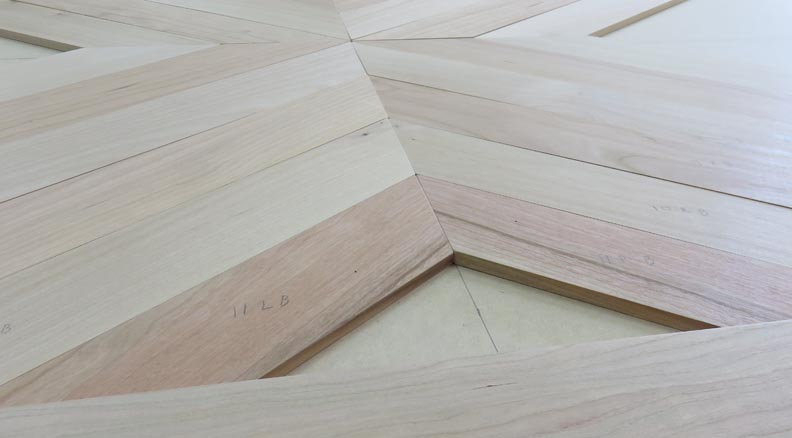
The smallest pieces at each end, the top and at the bottom will be last.
|
|
 |
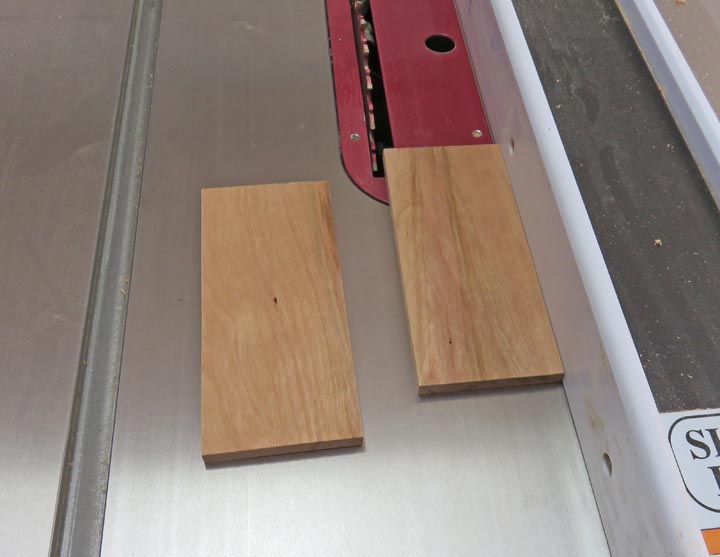
These two end pieces will be cherry, and once I took a measurement, I
cut the width on my table saw.
|
|
 |
The first angle cut was 55 degrees. Now it's time to take the most
crucial measurement of all, the one that will keep all the other pieces
from moving.
|
|
 |
|
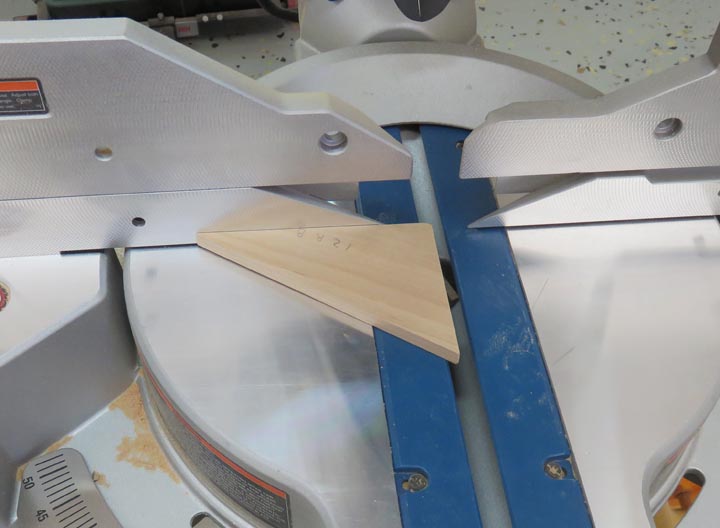
The last cut will be 90 degrees. Now you might wonder
why I'm not cutting this angle at 35 like I did the all the others? If
you look at the piece below, notice it now has a 55 and 35 degree angle
now. This is just how this last piece worked out for me.
|
|
 |
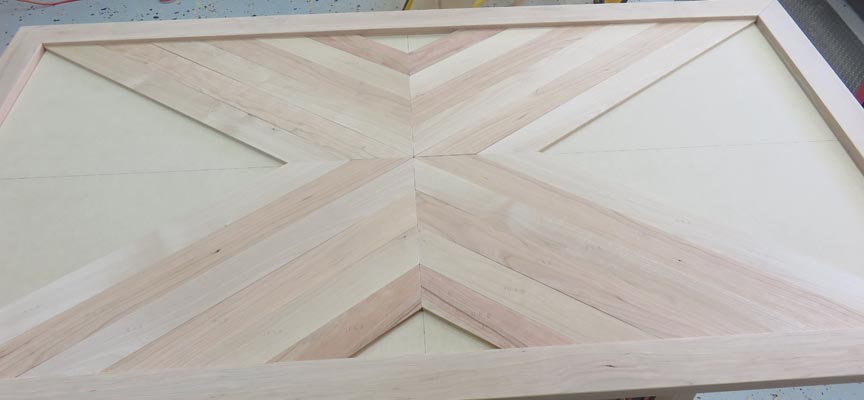
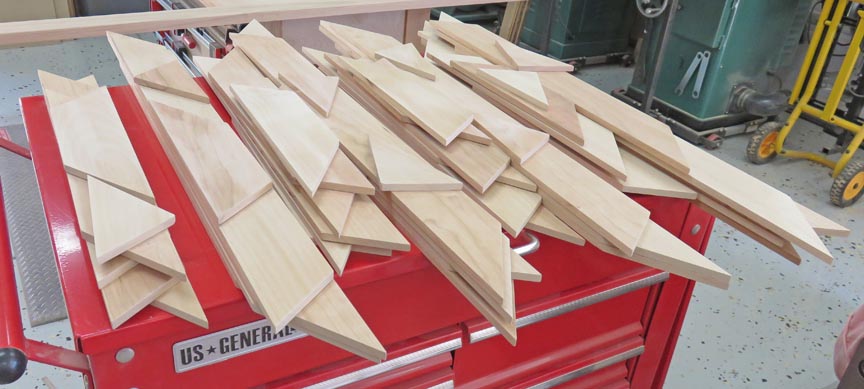
There we have it!! I took my time and cut a little at a time until I had
the fit that I was after. Now it's time to remove them all.
|
|
 |
This is why I marked each one because I'm still not finished with them.
|
|
 |
I marked each location on the back as well.
|
|
 |
|
1
2
3
4
5 |