|
More Tooling Continued
After drilling my screw holes and center clearance hole, I'm ready to
start removing some material.
|
|
 |
| Back to Making Some Bowls
Continued
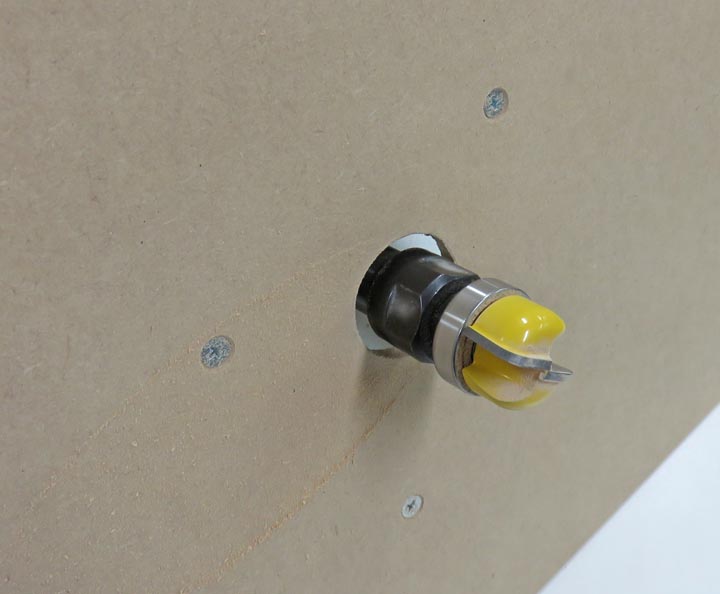
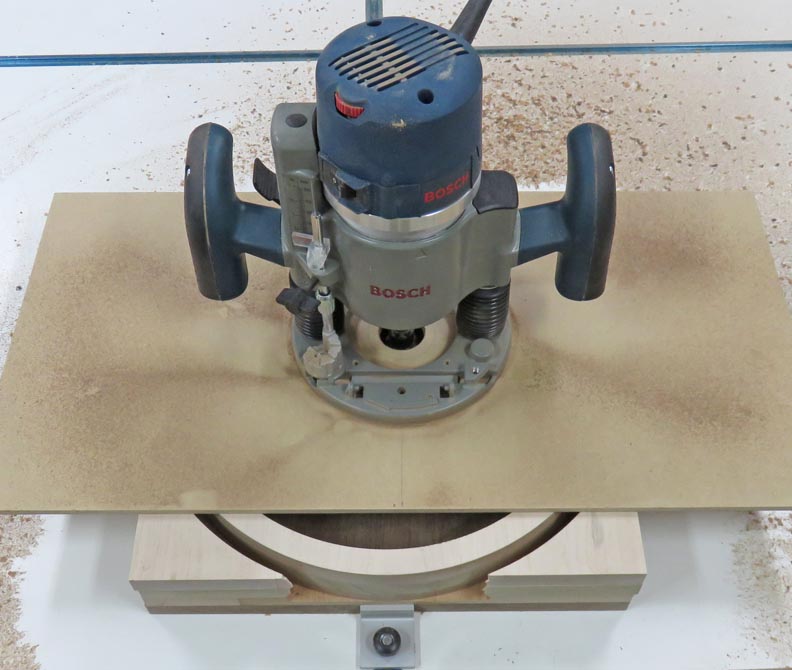
Here you can see how this tooling works. I
rest it on the top surface of my bowl, lower the cutter about 1/16"
and start moving back-and-forth until the entire surface is cleaned up.
|
|
 |
The only drawback using a solid piece of wood for my tooling is that I can't
see very well. If I did this on a larger run of parts I'd use some clear
plastic like plexiglass.
|
|
 |
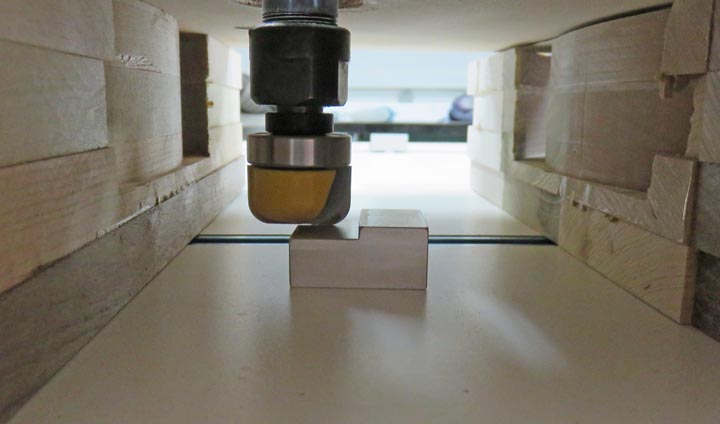
I used one of my clamp blocks that I made years ago to set my depth. I
used the .500 step, or 1/2".
|
|
 |
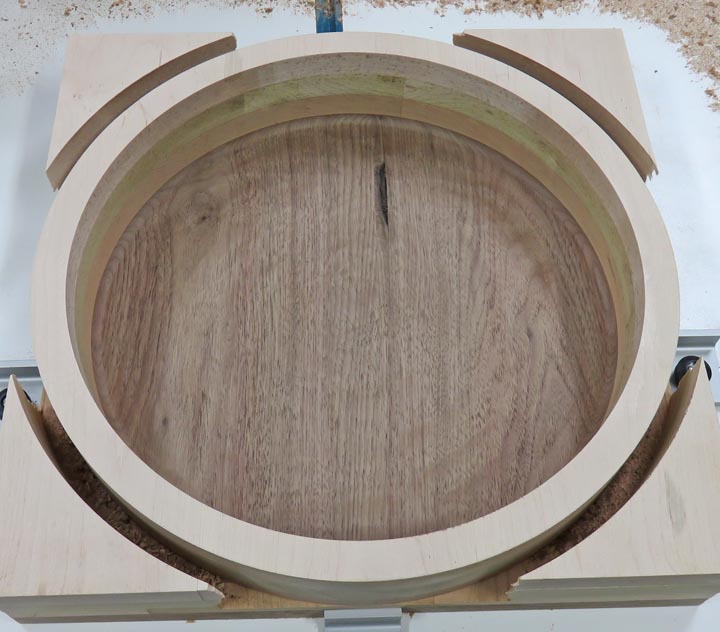
Here you can see the two bowls on either side and my cutter resting on
my block that I've set my depth to. Now it's time to make some wood
chips.
|
|
 |
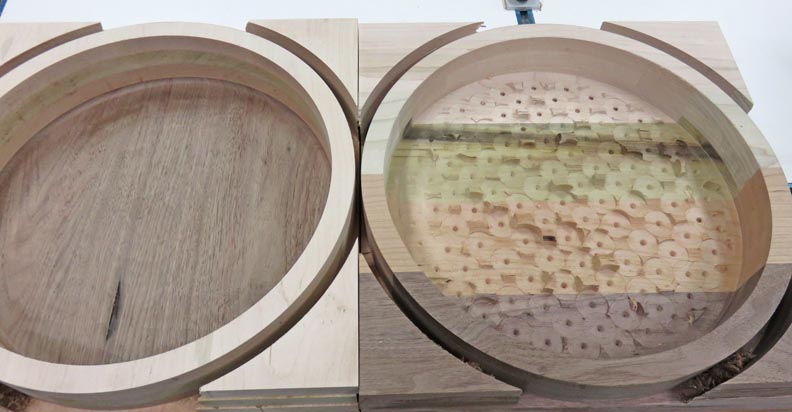
A before and after shot.
|
|
 |
|
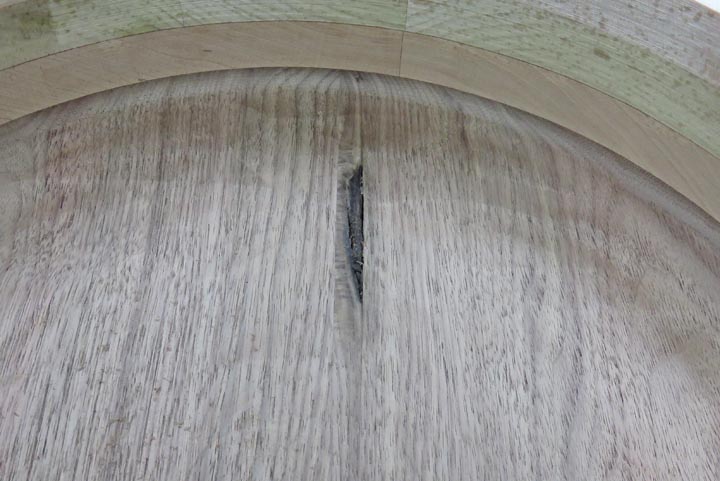
Problems
I have some good news and bad news. The good news is this bowl bit
works great and produced the 1/4" radius just fine. The bad news... there was
a flaw in the middle of my the black walnut.
|
 |
There was no way I could have known this would happen but now it's time
to fix it.
|
|
 |
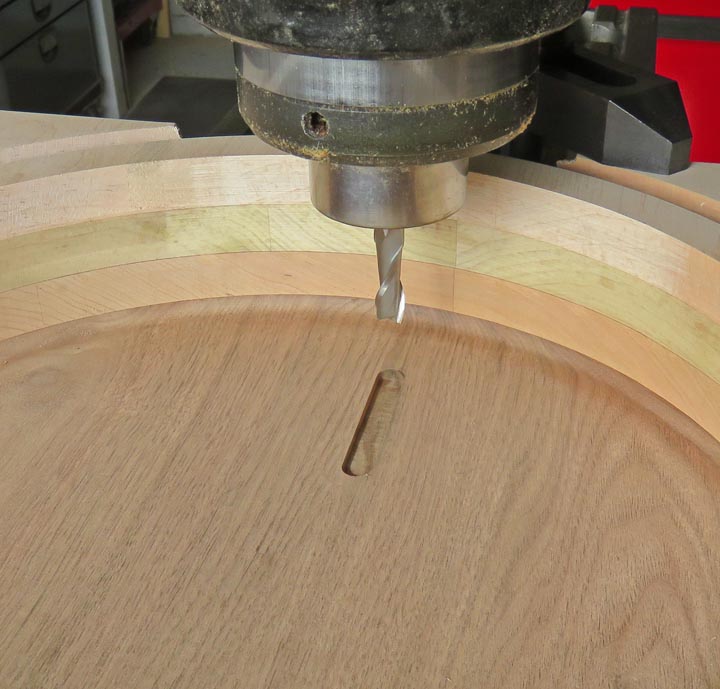
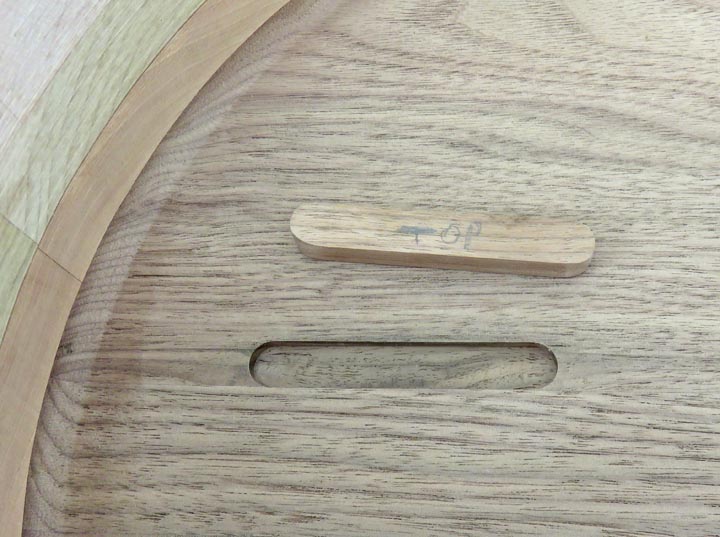
Back over to the milling machine, I used a 3/8" diameter end mill and
cut a 1/8" deep slot. I plan on making an insert and then gluing it in.
|
|
 |
I'm bringing in the final dimension on this piece of black walnut and then
I'll do a test fit.
|
|
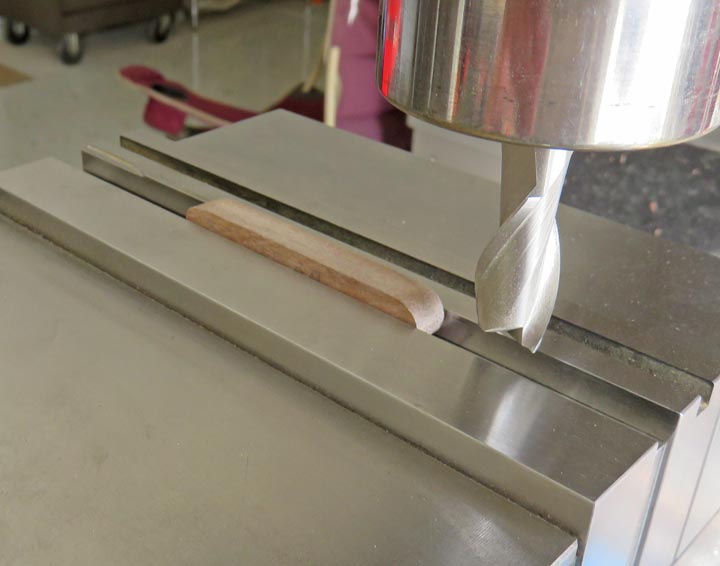 |
It fits pretty good so now it's time to slap some glue on both pieces
and clamp it.
|
|
 |
|
1
2
3
4
5
6
7 |