|
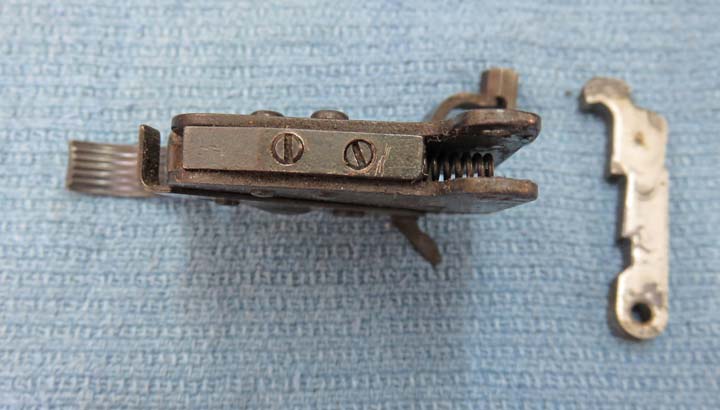
This is my old trigger and as you can see it's dirty.
Very dirty! Now I know that grease and oil can turn hard over the years
so I'm pretty sure that would be the case here. Plus being under water
more than once, I don't think all the parts inside would look that good
anymore.
The two screws (facing upward} that you see on my old trigger is what I
messed with many years ago. They allowed me to adjust the sear
engagement along with trigger pull...I think? I remember turning them
until I had a reduced pull weight on the trigger, but not too much
that it
was unsafe. However, I've had this on my mind ever since I've played
with them, thinking that someday it might not work right....or
worse...have it go off when I didn't want it to.
|
|
 |
|
To install the new trigger you just reverse the
procedure from before. But one little adjustment needed to be done once
in place and
that was for the 'bolt removal button'. Triggertech lets you know that
this adjustment might have to be done so it was no surprise and it was
very easy to do. By the way, Triggertech sells this trigger with or
without a bolt release button.
|
|
 |
|
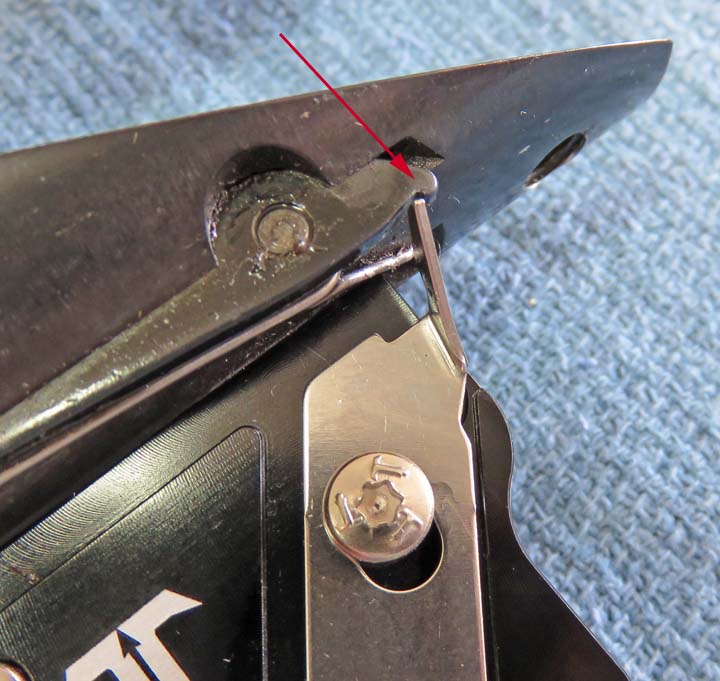
All you do is make sure the tab on the trigger lines up with the notch
and you're good. If not you bend the tab a small amount till it works
right and that's it. And mine needed a small adjustment like they said
it might. It only took a few tries bending it and everything works great
now.
|
|
 |
|
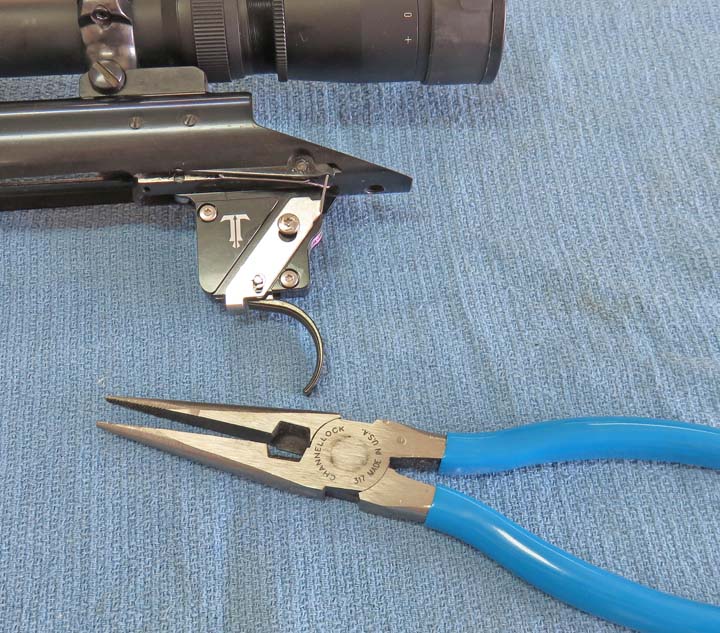
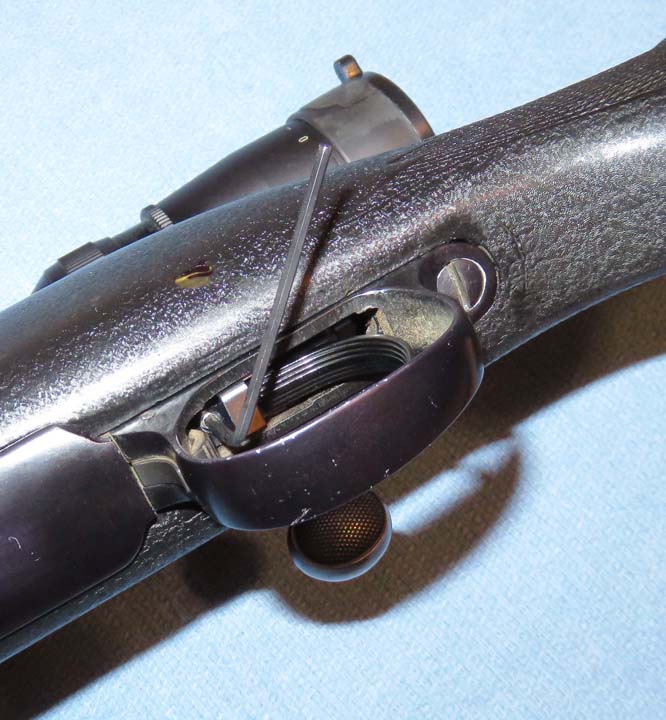
Speaking of adjustments, to change the pull weight of
the new trigger, all you have to do is turn a screw. This screw is
accessible with the gun assembled with the use of a 2mm hex key. This is
very easy to do and while the screw is being turned, you can feel and
hear it 'click'.
|
|
|
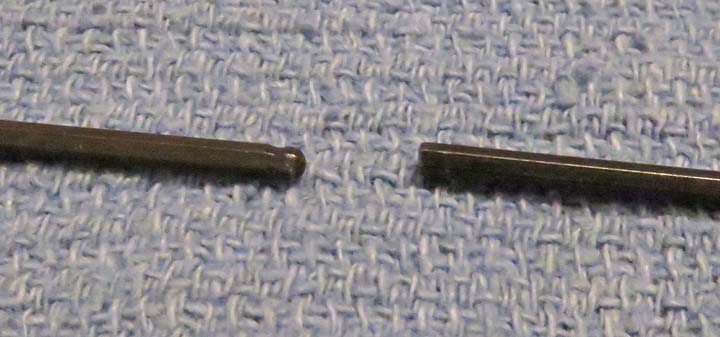
The hex key on the right is what came with the trigger.
This wrench works fine when adjusting with the rifle stock removed from
the action. However, if the rifle is assembled, the use of a 'ball hex
wrench' (left) makes life much easier to adjust the pull weight. The
reason is because the ball hex wrench can stay inserted in the screw
while you turn it compared to the standard one that is limited because
of the trigger guard being in the way (see the above picture).
With that being said, I adjusted my new trigger close to
2lbs and took it to the rifle range. This made it much easier to shoot
compared to heavier pull weight. And once I was finished at the range, I
readjusted it back to just over three pounds for hunting. What a great
product!!!
|
|
|
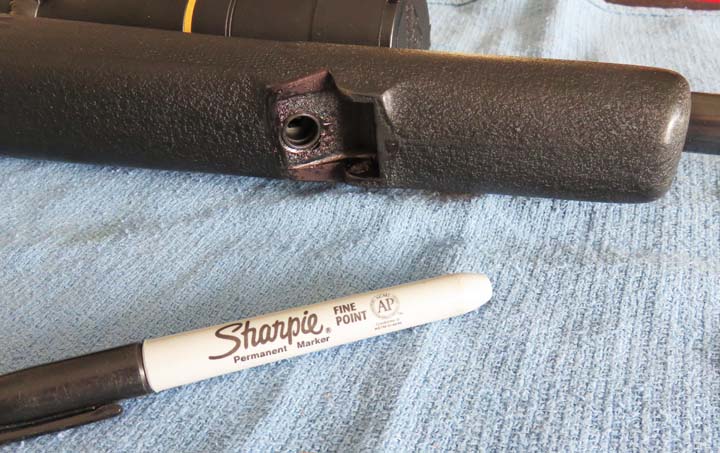
I've been using a Sharpie marker to touchup my stock
from day one because it's a close match and it's quick and easy. This
isn't a show piece by any means because I use it every year rain or
shine during deer season. And if you're a hunter, then you know things
happen while you're in the woods, so this works out great for me.
|
|
 |
|
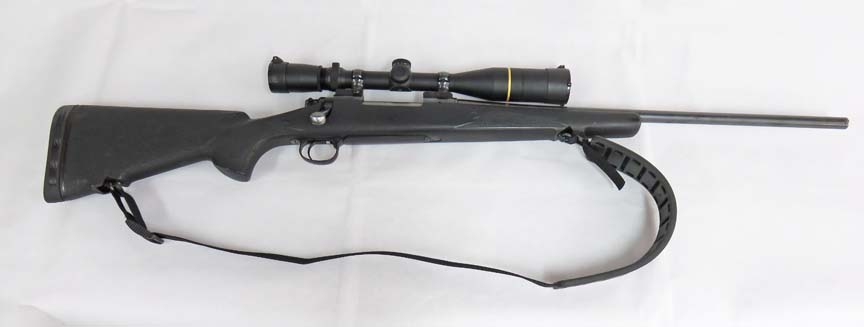
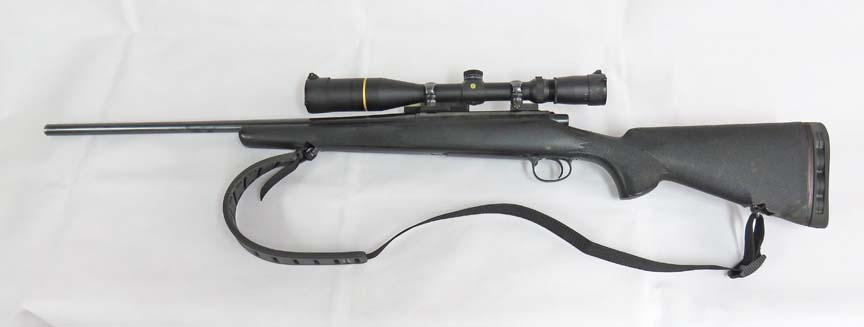
It's Finished
The one thing that stands out the most now is the sling.
But something that you can't see is how well it shoots now. That recoil
pad works so good, I highly recommend Limbsaver. And that new trigger
makes all the difference as well, I should have done this many years
ago.
|
|
|
I'm looking forward to using it this year (and many years to come) and
not having my rifle fall off my shoulder anymore. So far I'm very happy
with all of the upgrades and best of all, they didn't break the bank.
|
|
 |
|
1
2
3
4
5 |