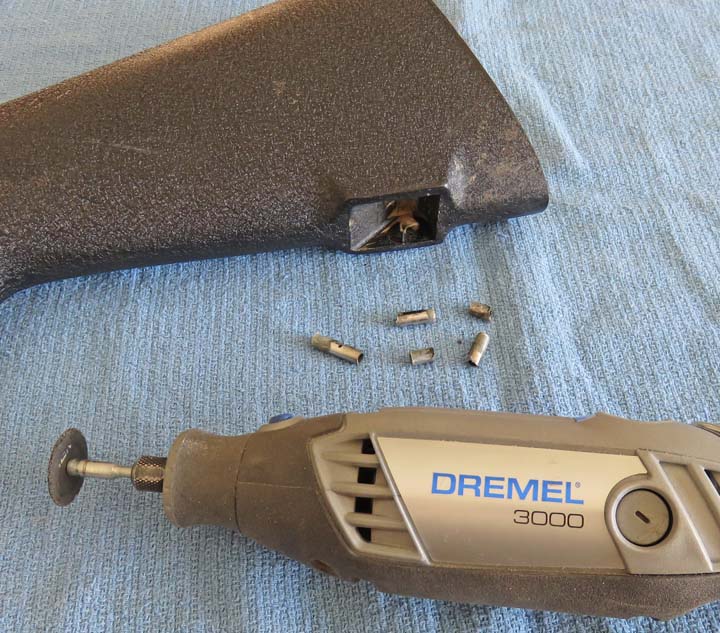
I cut the tubing in two spots, used some needle-nose pliers and they
came right out.
|
|
 |
|
New Hardware
I'm going to use "Flush Cups" to hold my sling
on,
which will serve two purposes. First, with the hardware being flush with
the rifle stocks surface (hence the name flush), nothing will be in the way while
shooting at the rifle range. With my old sling, it was always getting in
the way of my front and rear rests and I had to get creative while
shooting. Now I'll be able to remove the new sling completely and
nothing will be protruding any longer. And second, nothing will be in
the way while I'm cleaning my rifle either so this should work out
nicely.
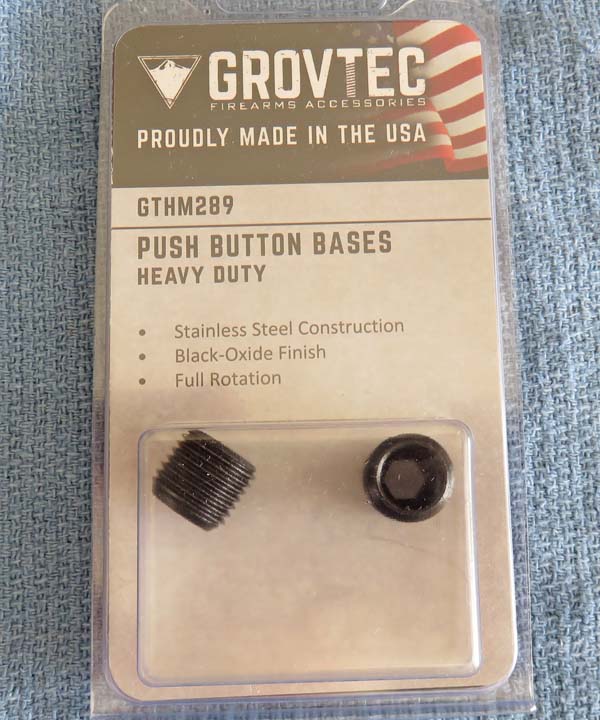
The new parts are made by
Grovtec and this company
makes more than one style of sling mounting hardware. As the box says,
they are made from stainless steel with a black oxide coating to help
them stay nice in the great outdoors. Notice these have threads on the
outside diameter. I like this because this will help with the bonding
process that I'll show you later. Grovtec also makes these without
threads but I thought this would hold better in my application.
|
|
 |
|
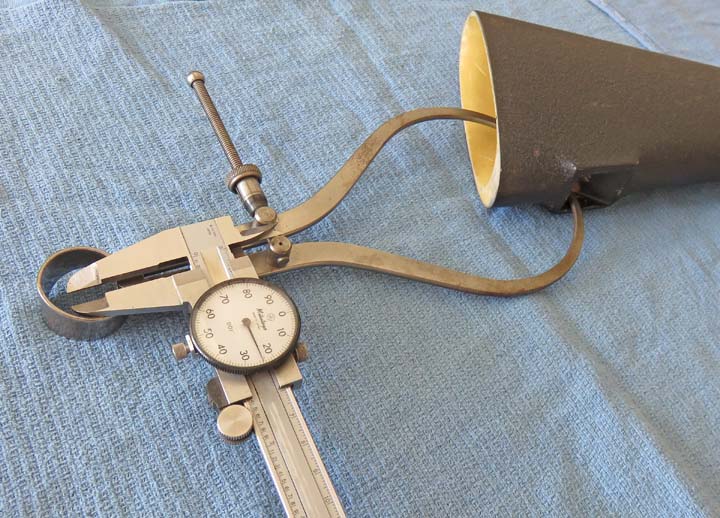
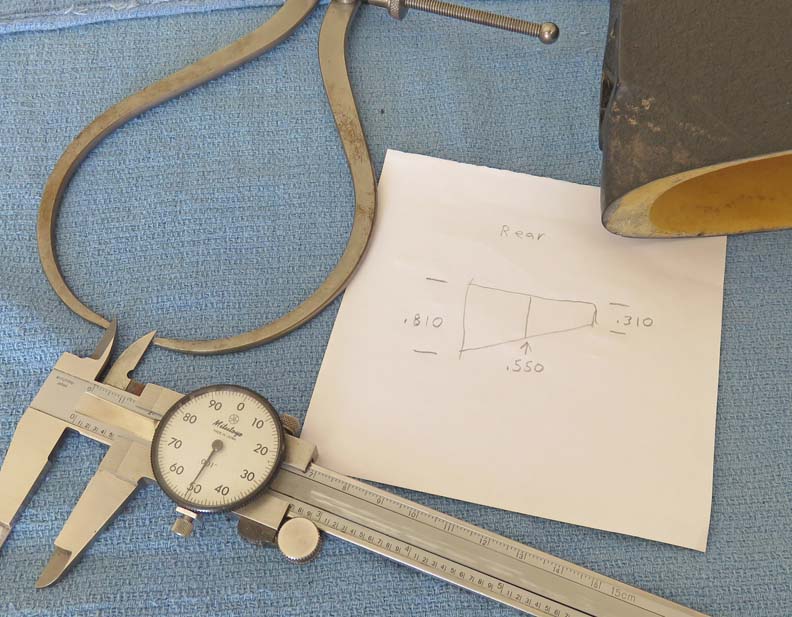
Improvising Now I've been wondering how I'm going to measure my rifle stocks wall
thickness and I found a way. Yes it's unconventional... but it worked.
I'm going to use some 'spring calipers' to find my wall thickness. So
what's the unconventional part I mentioned?
|
|
 |
|
Once I had my calipers in the location I wanted, I
couldn't remove them because of the two apposing angles. Now what? Well
after thinking about it, I came up with a work around to my problem.
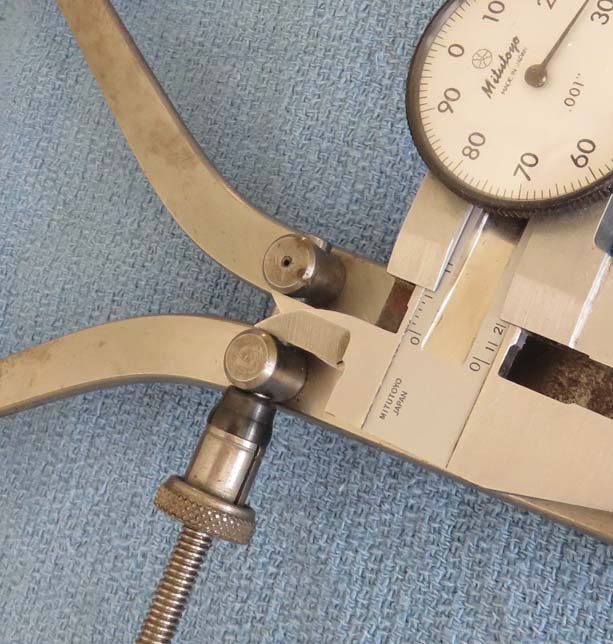
Notice where I have my dial calipers located. I measured the distance
between to pins that the adjusting screw passes through.
|
|
 |
Once I had this dimension, I unscrewed the spring calipers, removed them
from my rifle stock and reset the spring calipers to the same dimension
that I
had before.
|
|
 |
|
At this point I could measure the business end of the
spring calipers, which would end up being my wall thickness dimension. I
also measured at
more than one location so I would end up with the thickest part of the
stock for my hardware. I did the same thing with the front of the stock
as well.
|
|
 |
|
Installing New Hardware
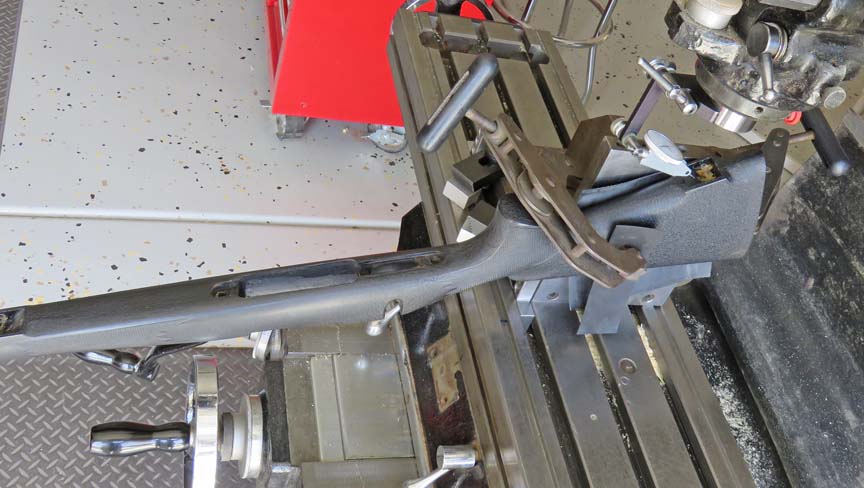
I didn't want to use a hand drill for putting my hole in because I
thought it might not go as planned, so I'm using my milling machine.
|
|
 |
|
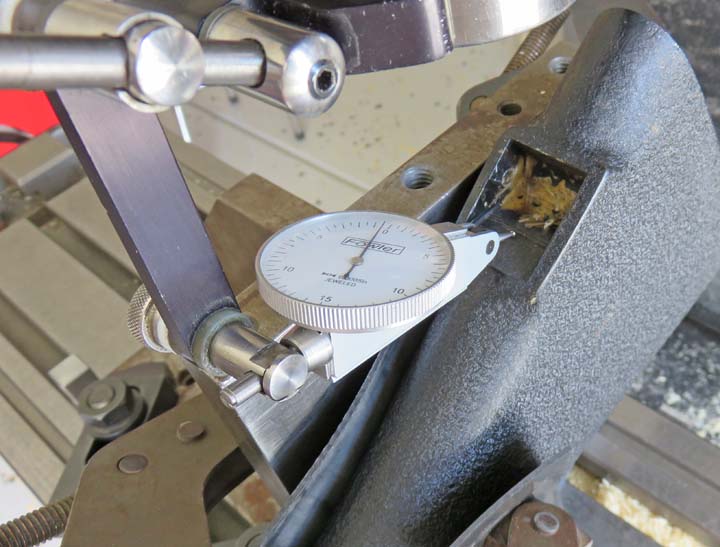
I'm going to use the flat area in the sling pocket to
mount the flush cups on both ends of the stock. What I'm doing here is
just making sure the flat area is sitting somewhat parallel before I put
my hole in. I figured if this was within .005", that would be close
enough. Also note the piece of rubber between the stock and angle plate.
This helps keep the stock in place while it's clamped.
|
|
 |
|
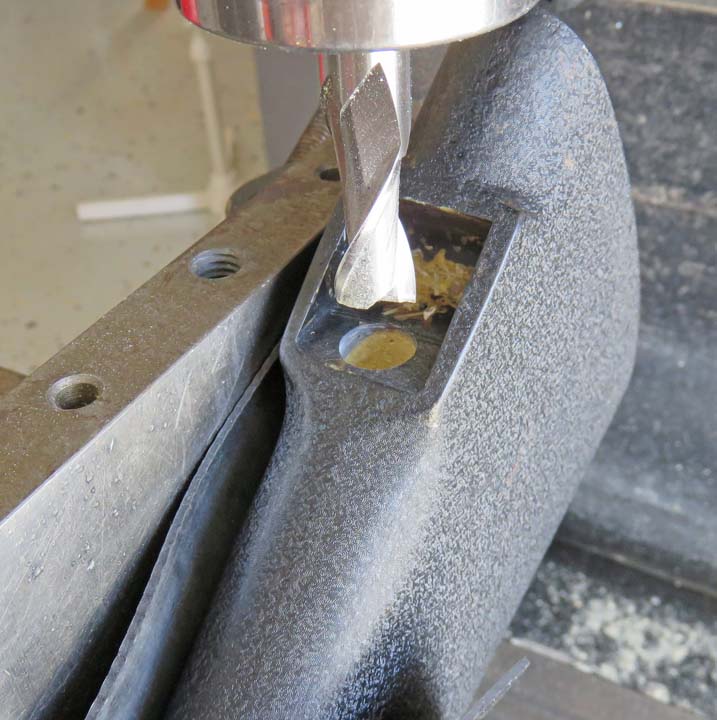
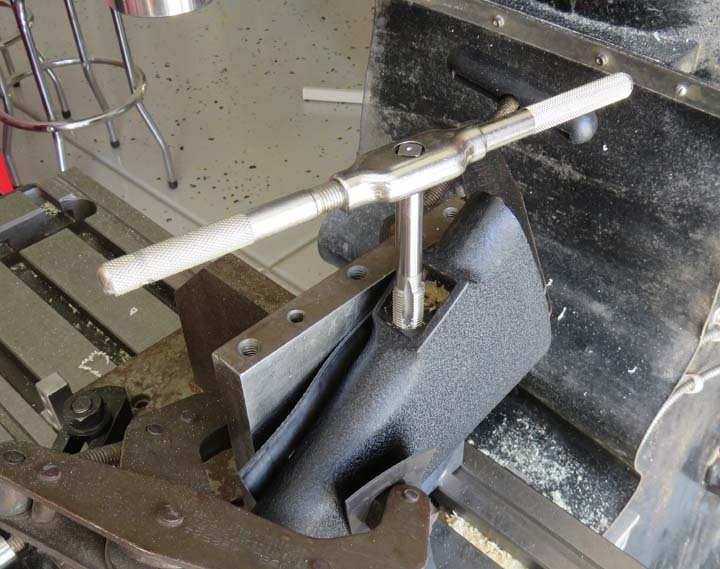
The thread size of the flush cups are 9/16-18 which
calls for a hole size just over 1/2". However, I'm putting in a 1/2"
diameter hole because the rifle stock material is much softer than metal
and therefore much more forgiving. This went quick and easy.
|
|
 |
|
Normally you wouldn't leave the extra material in steel or aluminum, but
with the porosity that my rifle stock has, this worked out great and the
threads cut really well. Side note: you always want to use some kind of
oil while cutting threads if you're cutting any kind of metal. But I
didn't use any in my case and it worked out fine.
|
|
 |
|
1
2
3
4
5 |