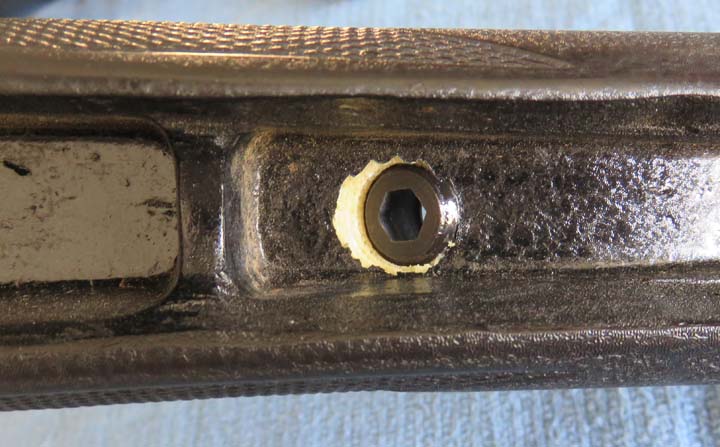
This is looking at the bottom of the flush cup at the front part of the
stock. The shiny area on the threads is the epoxy. This should hold
great and last for years.
|
|
 |
|
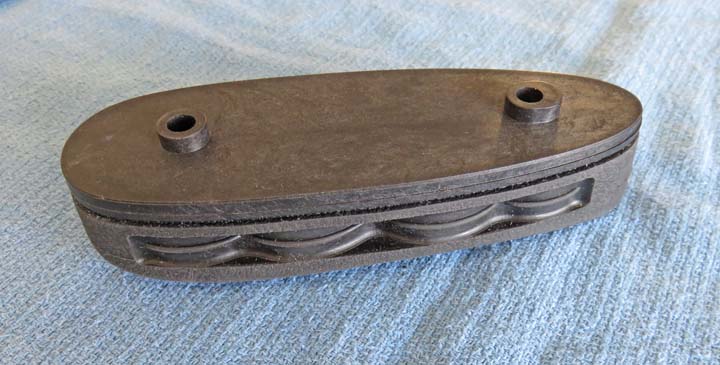
New Recoil Pad The next item I'm going to change is the recoil pad. The
pad I chose is made by
Limbsaver and they claim
it will reduce felt recoil by up to 70%. Now I don't know how they make
this claim but they do. All I know is just about anything would be
better than what I had.
|
|
 |
|
If you notice in the picture above, this pad is made for
a different gun that I own but on Limbsaver's website, they have a chart
with all their different size pads listed along with all the dimensions and this one was very close to what I
needed. It's a little small in one area and a little large in
another but that doesn't bother me at all. I removed those two tabs
sticking out so they would clear one area that was in the way.
|
|
 |
|
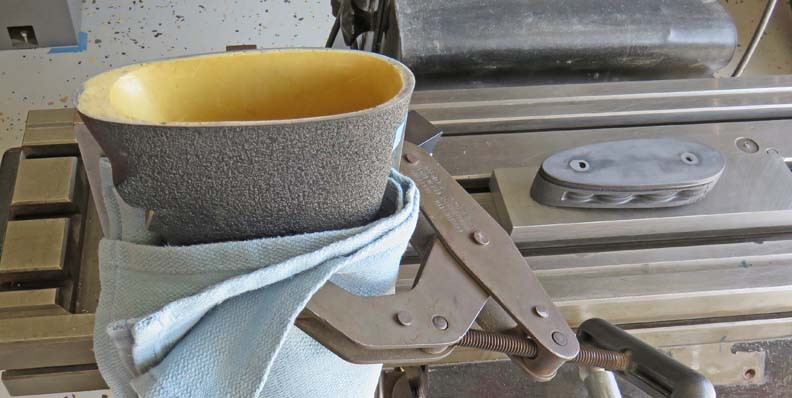
Here I'm getting ready to glue on my new pad with the
same epoxy I used earlier. I used some rough sandpaper on the pad and on my rifle stock to make sure they
bonded well. Notice the
steel plate under the recoil pad. I used this as a weight to apply
pressure on top of the pad while things were drying.
|
|
 |
|
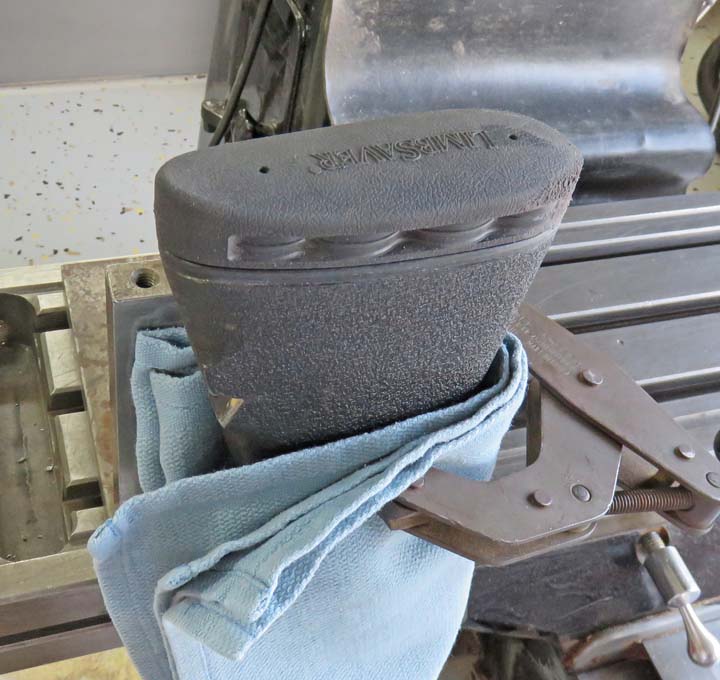
I let the pad dry overnight and so far everything looks
great. Notice the rough area on the right side of the pad. I tried
sanding this area to make the fit better but I quickly found out I
wasn't doing something right because it stated to tear the rubber
instead of cutting it. At that point, I left it alone and called it a
day.
|
|
 |
|
New Trigger
The last thing I'm upgrading is my trigger. My original
is over 40 years old and has seen better days. The one I'm going to use
is made by
Triggertech and they have
a very different design internally. If you get a chance, be sure to take
a look at
how these triggers work
because they're very unique.
Triggertech makes three models for my Remington 700
depending on your needs. And all three models are adjustable for pull
weight. The one I chose is adjustable from 1.5 to 4.0 pounds, which is perfect for
a hunting rifle. I'll probably set mine to three pounds but not any
lighter so it's safe while in the field.
|
|
 |
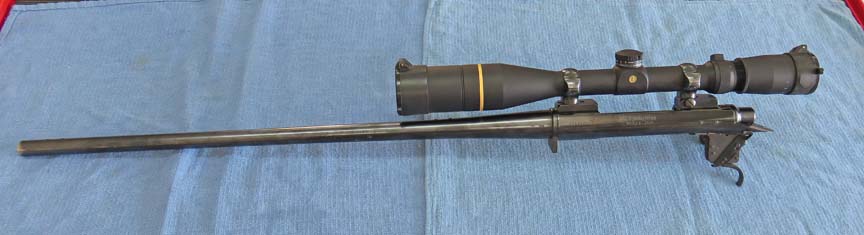
This is my rifles action all naked without a stock. And I haven't seen it like
this for a very long time. Anyways, it's time to replace the trigger.
|
|
 |
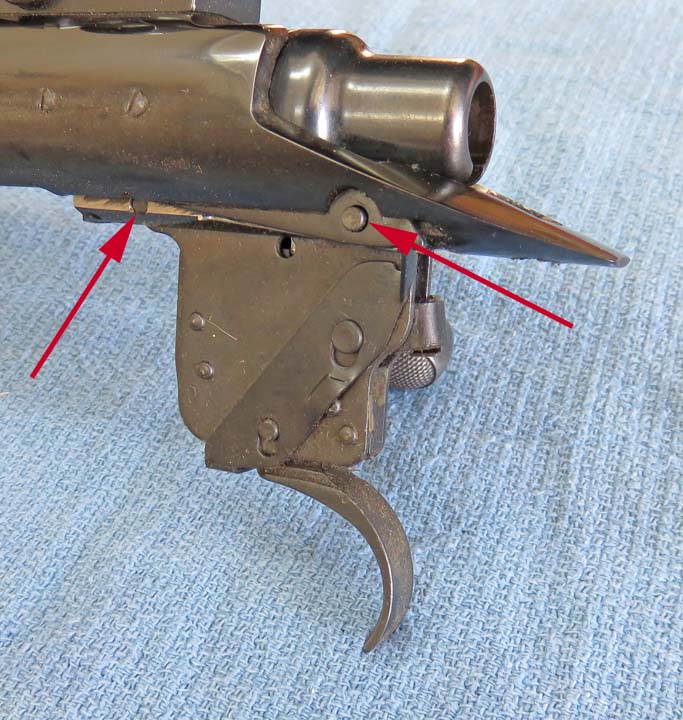
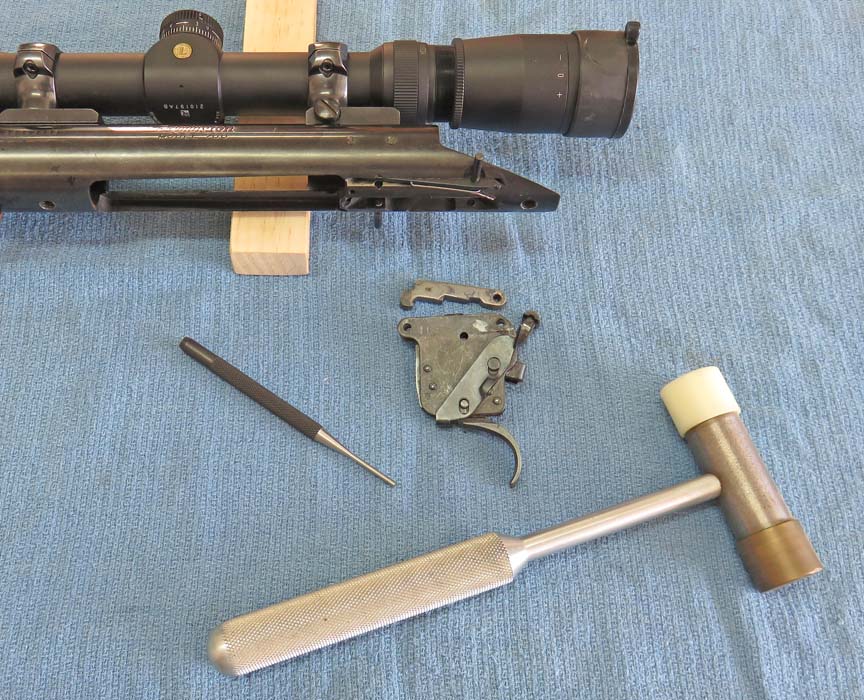
To remove the trigger you have to tap out those two pins. The one on the
left goes out the opposite side while the one on the right goes to this
side. Once you do that the trigger assembly comes right out.
|
|
 |
|
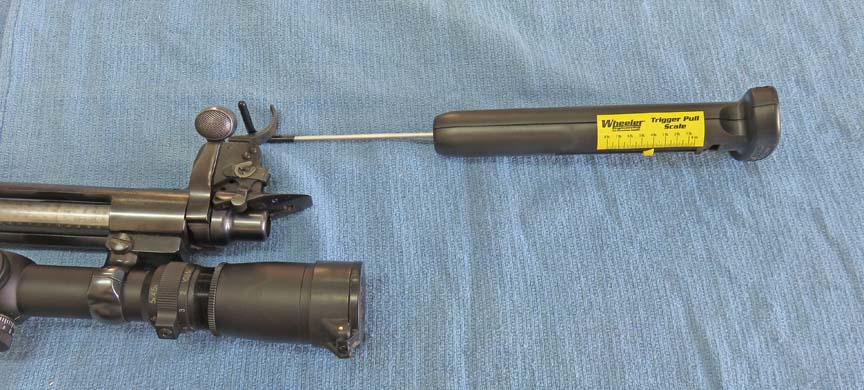
Before I removed anything I checked the pull weight of
the original trigger. It was right at four pounds with my low dollar
trigger pull gage. This was no surprise because I messed with this
trigger many years ago and reduced the pull weight of it. However, I
didn't know what I was doing back then and I'll show you what I'm talking about
soon.
|
|
 |
|
If you look close you can see I didn't completely remove the two pins from the
action. And note the pins are sitting in two different directions like I
mentioned earlier. The reason for this is
because the front pin hole is partially blocked by a small area near the top
of it. But the rear pin could be removed from either side. However, if you do it
this way, it holds another part in place while you swap things out. By
the way, the hammer that you see below I made in High School and worked
great for this.
|
|
 |
|
1
2
3
4
5 |