|
Shelves Continued
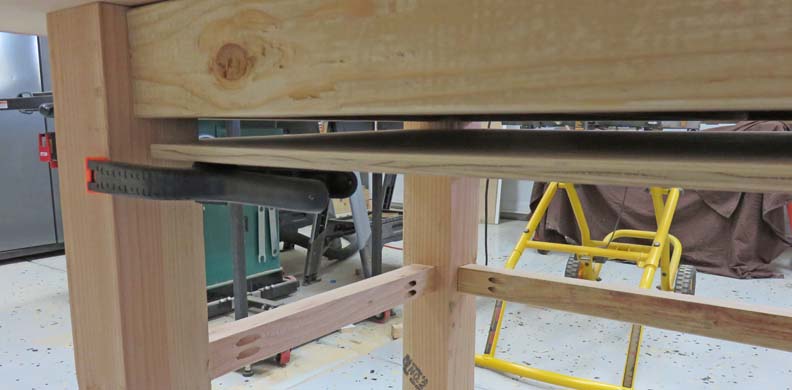
Earlier when I was installing the bottom shelf I had
just enough clearance to get it in place. Remembering this, and wanting
a middle shelf for my work bench, I used some spring clamps to hold my
shelf in place before installing the middle rails, which you can see
below. Once the rails were in place, I removed the clamps and the shelf
fell in place.
|
|
 |
| Doors, Sides and Back
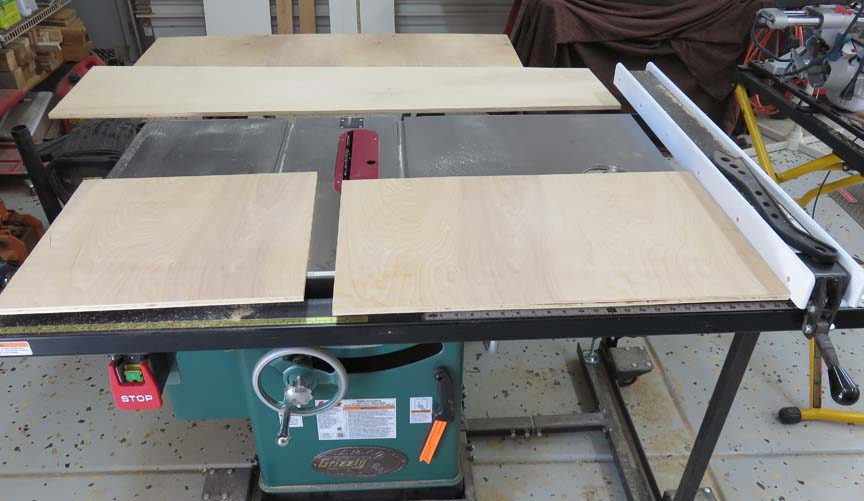
Here I'm cutting some 1/2" plywood that I'll be using for the doors.
However, look what happened after I cut my first piece...
|
|
 |
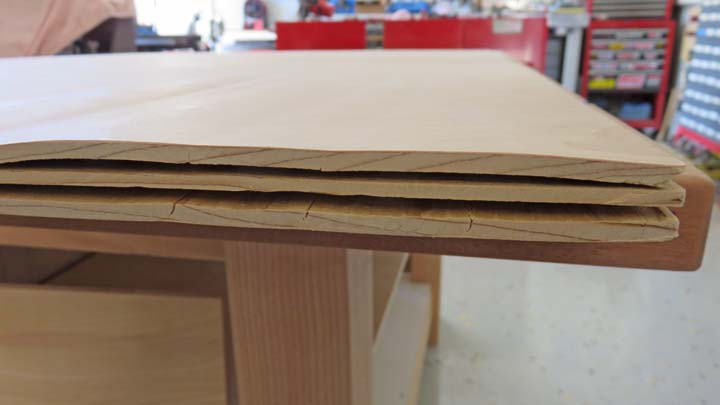
I don't know where this plywood was made but they did a terrible job.
Now I did notice a wavy surface here and there before cutting it but I had
no idea this would happen.
|
|
 |
|
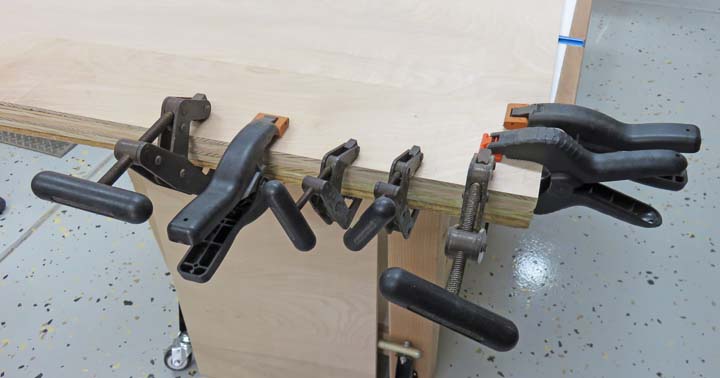
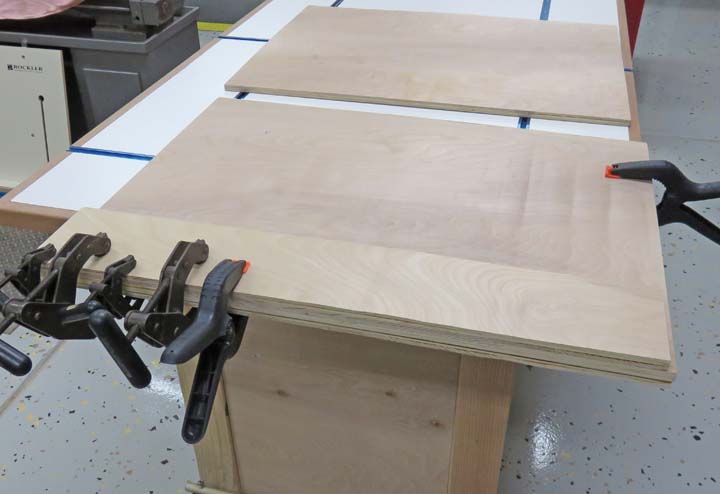
Here I'm gluing the plywood back together using a bunch
of clamps and my new work bench. This is exactly why I wanted the
top surface to stick out from the base, so I could
use clamps if I needed. It's hard to see here but I have a scrap piece
of wood on top of the plywood.
|
|
 |
While the glue was drying on the doors, I used this time to cut the
sides and back. And to fasten it, I used #8 screws.
|
|
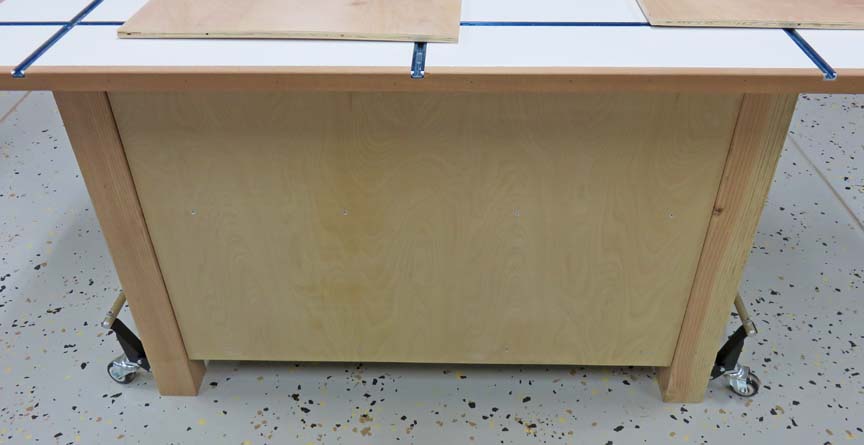 |
Now wouldn't you know it, the sides opened up just like the doors
did....swell....
|
|
 |
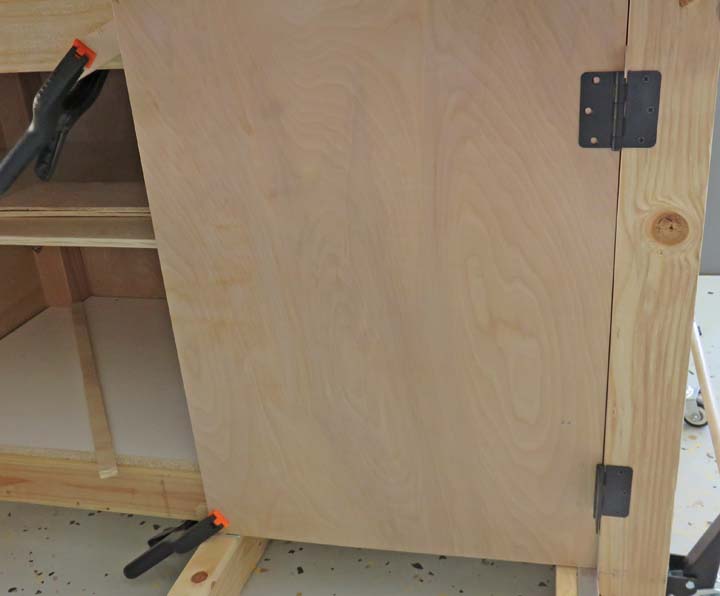
Here I'm laying out for the hinges.
|
|
 |
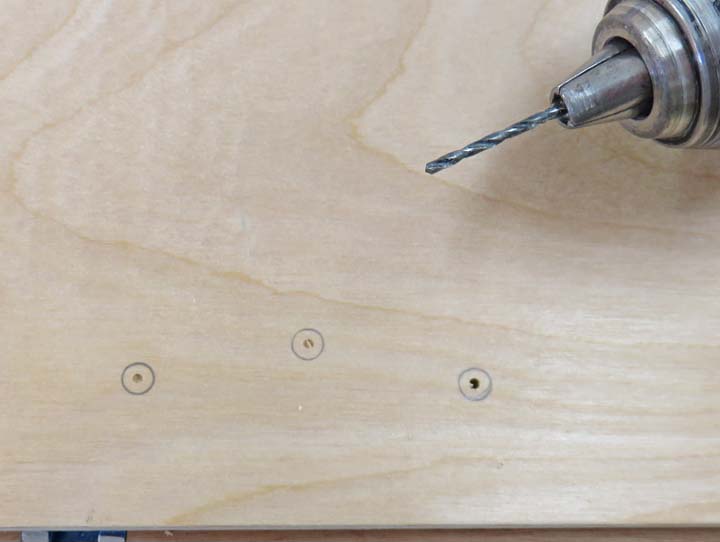
I like using a center punch to make a spot for the drill to start when
using a hand drill.
Otherwise, the drill can walk and miss the mark.
|
|
 |
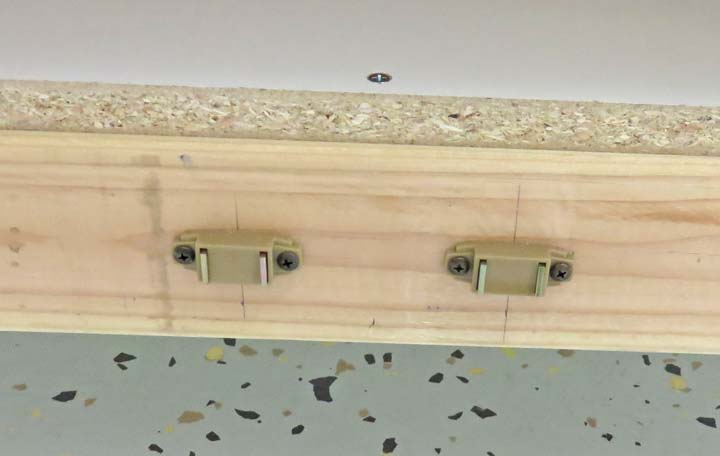
To keep the doors shut I'm using some magnetic catches. I mounted them
at the bottom because one of the doors was warped pretty bad so this was
the lesser of two evils.
|
|
 |
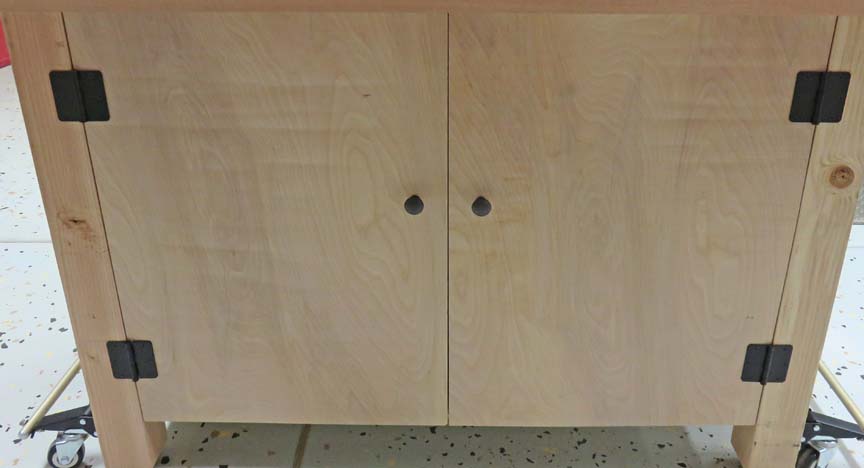
I had to use a shim at the top of the right door so it would line up
correctly, other than that I'm happy with them.
|
|
 |
|
1
2
3
4
5
6
7 |