|
The project I'll be making this time is a mobile
workbench. Now this project will be used as a combination workbench,
storage cabinet, out feed table for my table saw, sanding station and
assembly bench. I'll be incorporating a few things that should make
working in the garage a little easier for me. Plus, it should be fun to
make.
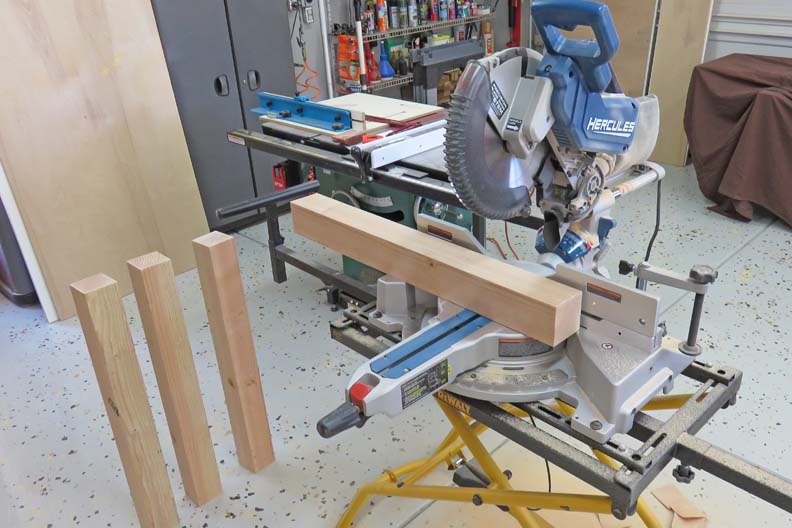
Sometimes you make things out of necessity because you
need it. Well, this one has been on my mind for awhile now so you might
say it's 'a necessity'. I'll be using common lumber for most of it and
as you can see I'll be using 4 X 4's for the legs. The stringers will be
2 X 4's along with a plywood/melamine top. I'll also be using plywood to
enclose it with. And the size will be 60" X 36" X 34" tall. With that being said lets get started.
Cutting, Drilling and Assembly |
|
 |
|
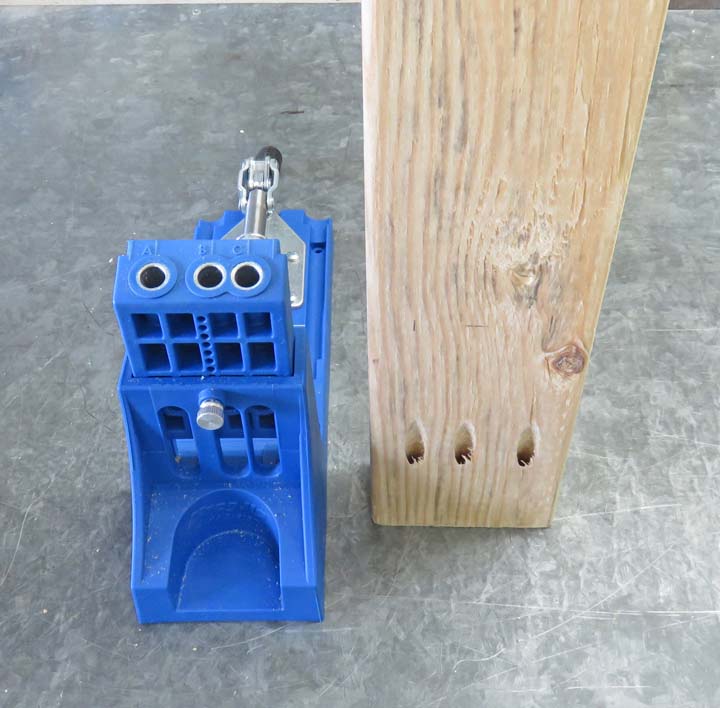
This is a gift that I received for father's day
(2020) from my daughter Angela. This is a
'pocket hole jig' made by
Kreg that makes joining
two pieces of wood together very easy and very strong. Depending on what
size your lumber is, this will dictate how many screws you'll use. In my
case I'll be using three screws per 2 X 4 that are 2 1/2" long.
|
|
 |
|
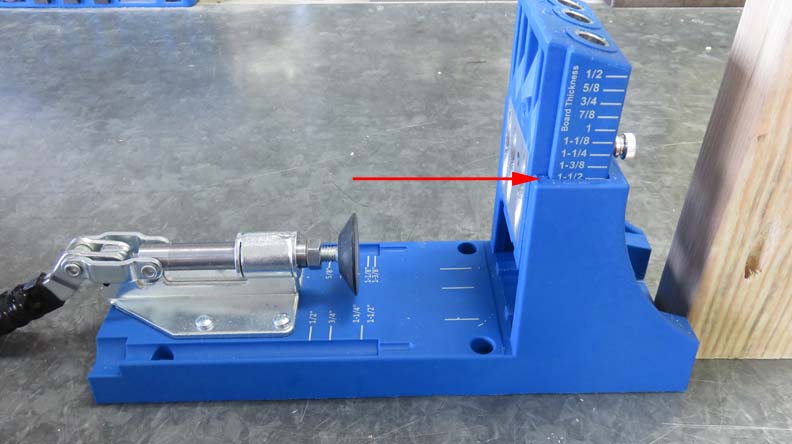
Here you can see I have my Kreg jig set to the thickness
of the wood that I'll be using, which is 1 1/2". This is a very simple system,
easy to use and it works really well. All you do is clamp your work
piece in the jig, set the drill depth and drill your holes.
|
|
 |
|
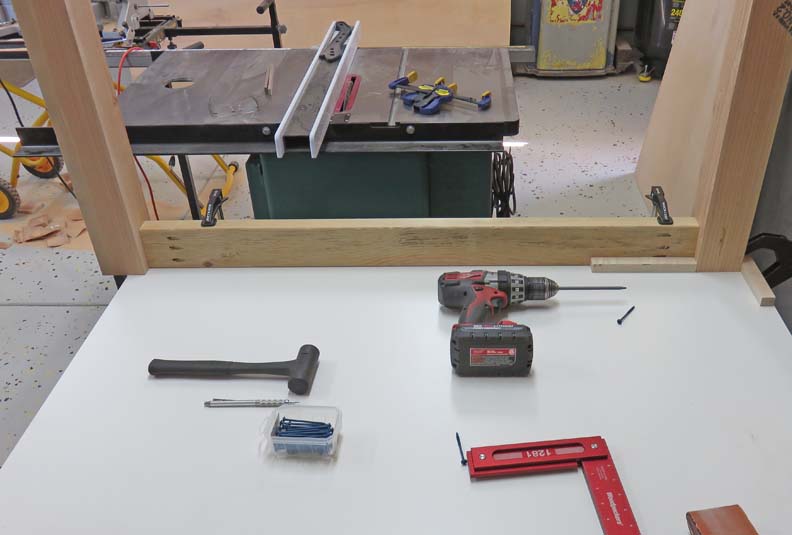
After your holes are drilled, you're ready for assembly.
I clamped my work piece to this leftover piece of melamine setting on
some
saw horses. Once you have things placed where you want them, you insert
a screw into the hole and drive it into your mating piece. The Kreg screws
are special and use a square pocket
in place of a Phillips head screw. Phillips head screws tend to cam-out while you're
tightening them but the Kreg screws don't. This system works great as long as you keep pressure on
the screw while it's being threaded in.
|
|
 |
|
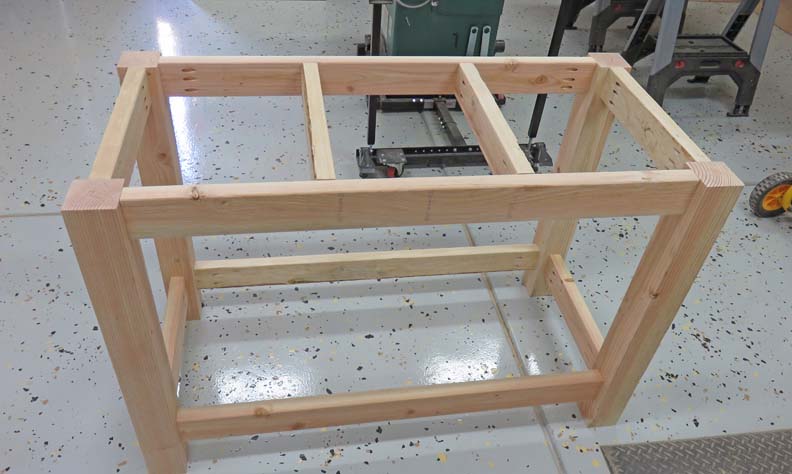
Here you can see my finished base, which didn't take
long to put together. The top that will attach later is 10" larger than
the base on both length and width. The reason for that is so I'll have five
inches of overhang all over, meaning I can clamp something near the edges if I
need to. Also notice that you won't see any of the fasteners because
they are all on the inside.
|
|
 |
|
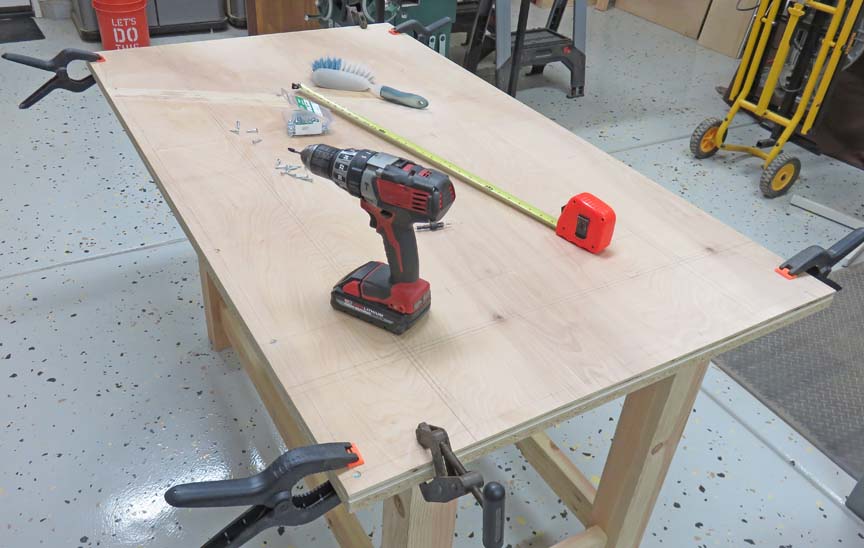
The following day I started on the top. What you see
here is a piece of 1/2" plywood that I fastening to some 3/4" melamine.
If you look close you can see some layout lines along with many screws
holding the two pieces together. The layout lines represent where I'll
be installing some T-Track so I placed all my screws around them.
|
|
 |
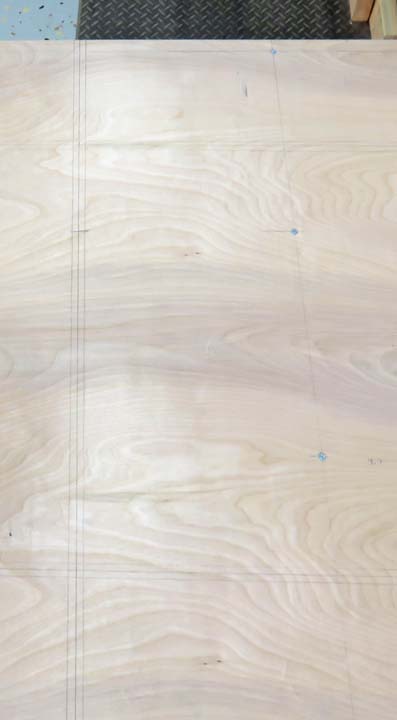
A close-up of the layout lines for the screws and T-Track.
|
|
|
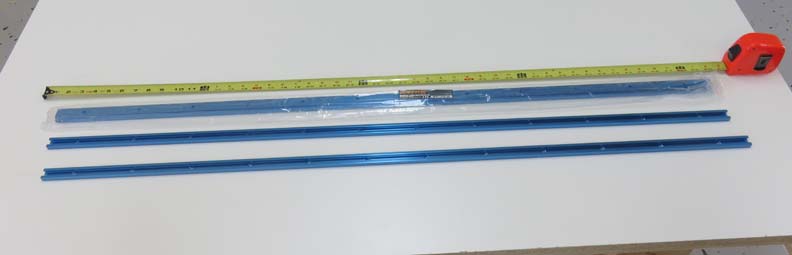
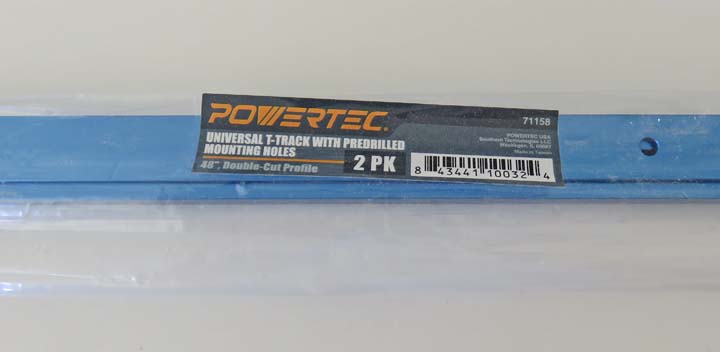
T-Track
Most of the T-track I'll be using is 48" long. It comes with pre-drilled
countersunk holes for # 6 screws, which are placed every four inches apart.
The T-Track is made out of extruded aluminum and they have been anodized blue.
|
|
 |
As you can see, these are made by Powertec but a lot of other
manufactures make these as well. However, if you want to save some
money, don't buy the Rockler brand, they cost much more but are just a
different color.
|
|
|
|
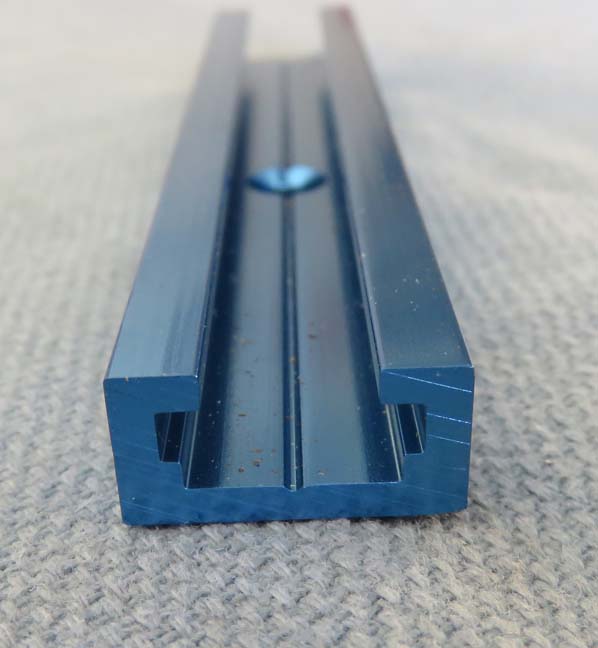
This is what the T-track looks like up close. The slot
width will except a 1/4" bolt head which can slide along the inside of
the track with the head of the bolt captured by the smaller/wider groove
so it doesn't spin.
|
|
|
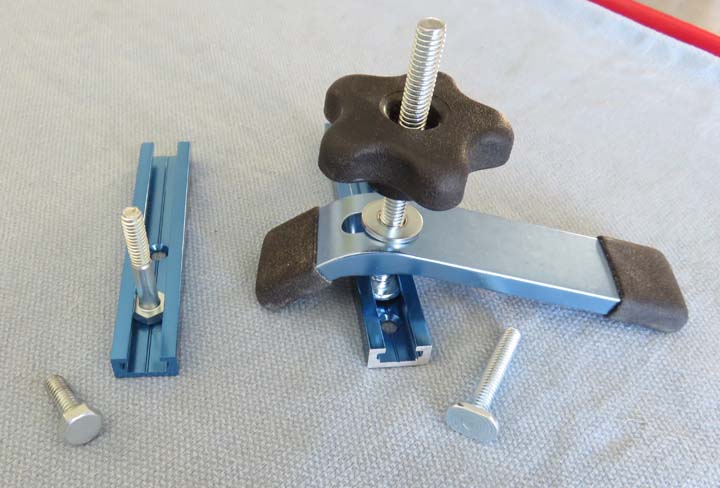
This should give you a good idea of what I was talking
about (left side). The clamp on the right has a different style bolt
head that are specifically made for T-Tracks. And there are all kinds of
T-Track accessories that you can buy, or you can make your own using
1/4" bolts.
|
 |
|
1
2
3
4
5
6
7 |