|
Edge Molding
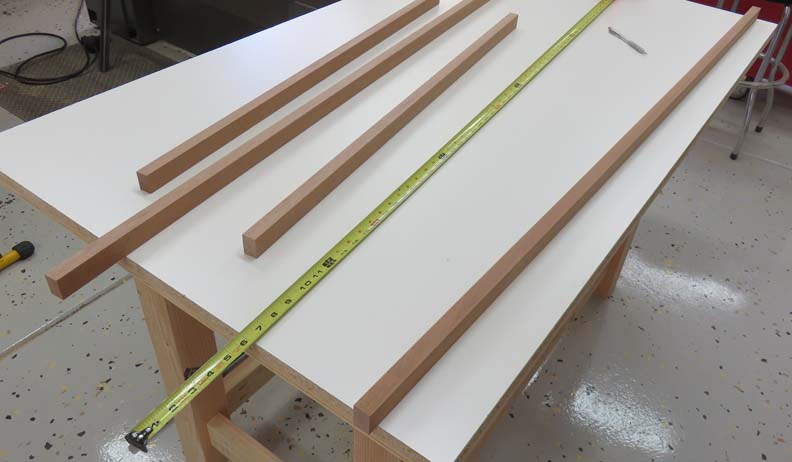
I'm using some leftover wood called sapele for some edge molding. I
ripped it on my table saw but made it slightly smaller than the
thickness of the table. The reason for this: so it won't end up higher
than the table surface when installed. In other words, if I were assembling something,
like two pieces that I wanted to be flush with each other, but one of
the pieces were laying across a high spot of the edge molding, this
would cause a problem. But with the edge molding below the surface I
don't have to worry about that.
|
|
 |
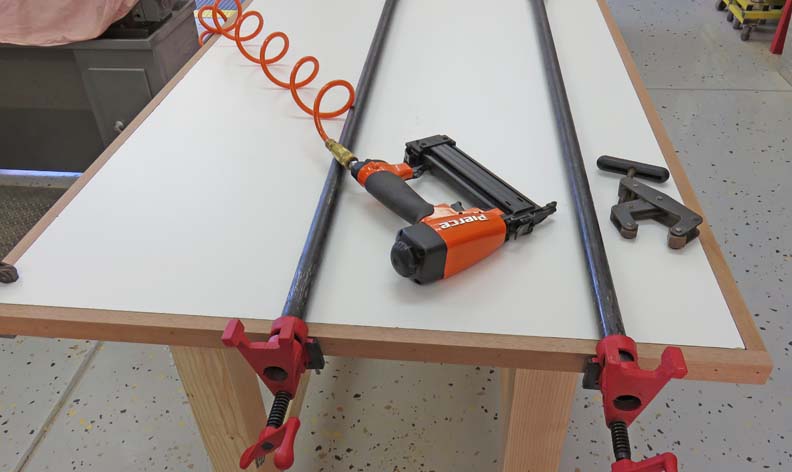
I used glue on both surfaces and then
clamped them in place. Then I placed some brad nails every few inches to
finalize it.
|
|
 |
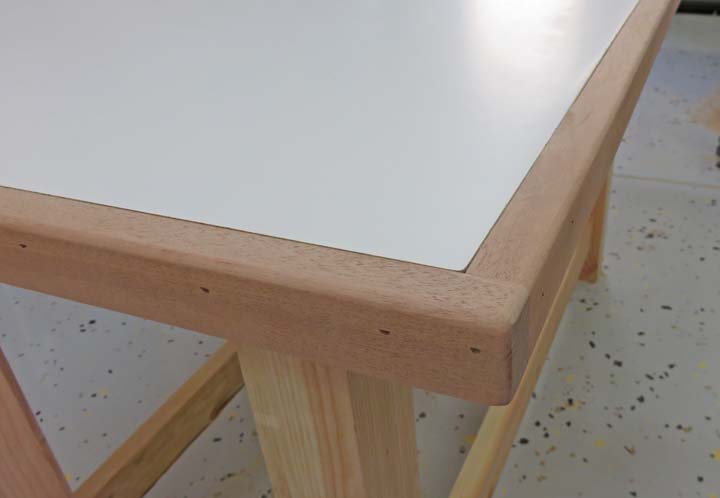
Later on I used a 3/16" roundover bit on the top edge. Now I'm ready to
cut the slots for the T-track.
|
|
 |
|
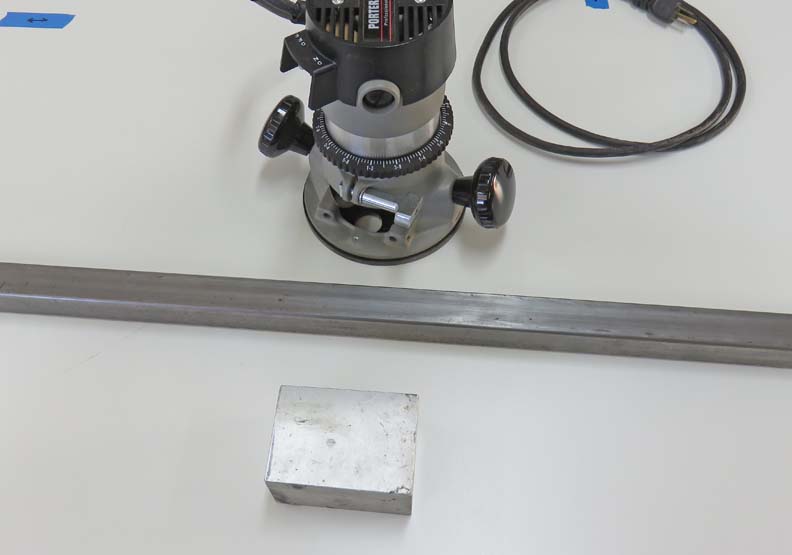
Cutting T-Track Slots
I have two bases for my router. The one you see below
has a ring with numbers on it for depth and the other is a plunge
type setup. This Porter Cable router was given to me by my father-in-law
many years ago but I really hadn't used it much. While I was looking
at both bases and getting more familiar with them, I noticed two holes near
the bottom on both of them. I have no idea what they're used for but
they gave me an idea that might help me with the slots I needed to cut.
What I plan on doing is using that piece of 1 1/4"
square tubing along with that block of aluminum to help me with those
slots. I figured if I make a slot for the square tubing to ride in and
attach the block to my router somehow, this could help guide the
router nice and straight.
|
|
 |
|
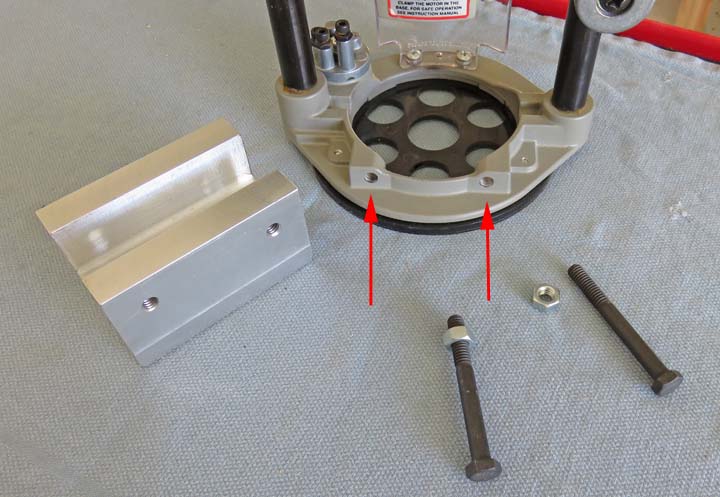
Here is the plunge router base with the same two holes
as the one above (arrows). And you can see I've milled a slot in the
aluminum for the square tubing. Now I need to attach the block to the
router base and to do that I'll be using those two bolts. However, the
holes in the router base don't have threads, they are reamed to a weird
size of .290". But I have a plan...
|
|
 |
|
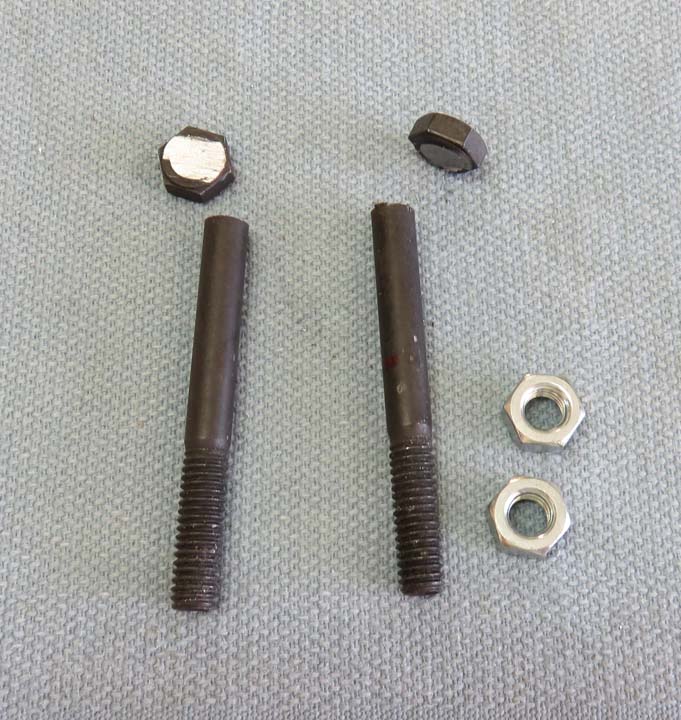
These are 5/16-18 X 3" long hex bolts. As you can see
I've cut off the heads and plan on turning the non-threaded area down so
they fit into the holes in the router base. And the 5/16-18 threads on
the other end will go into my aluminum block.
|
|
 |
|
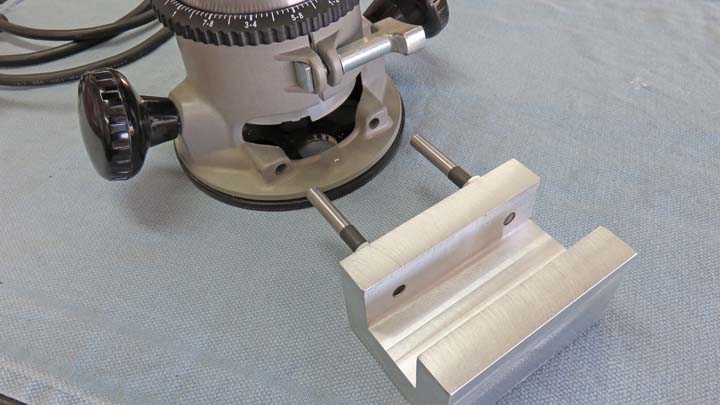
Here are the bolts that are now .002" smaller than the
holes in the router base. Now to keep the bolts from coming loose from the
aluminum block I've used jam-nuts. This will ensure they stay tight. Notice
the ends of the bolts don't protrude into the slot in the block. This
has to be so the block slides along the square tubing. And to keep the
smooth end of the bolts from moving in the router base, there were some
#12 holes already threaded in the base. I'll show you
more once I get the table top attached.
|
|
 |
|
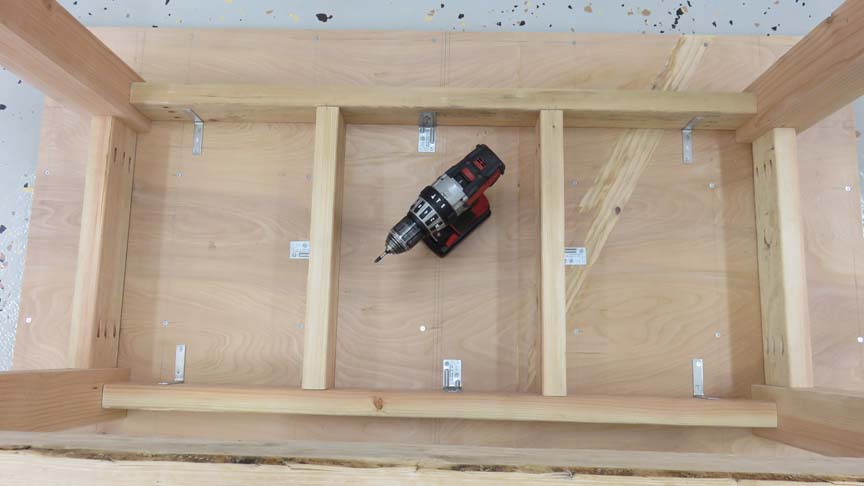
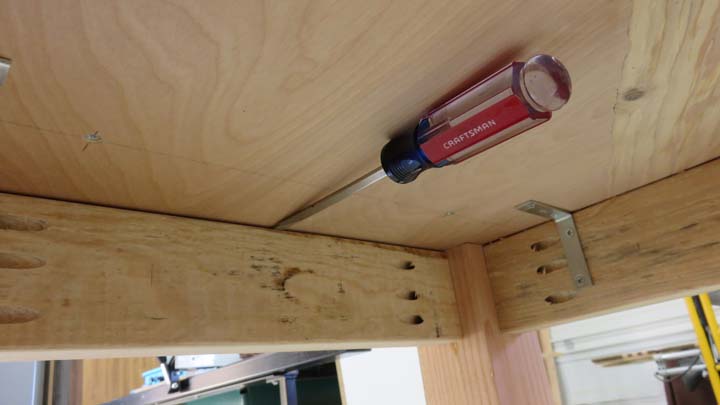
Table Top
I'm using some L brackets to attach the table top to my
base. However, after looking at how flat the top sat I wasn't very
happy. This meant I had to adjust the top here and there so it would sit
flat. Notice the two different types of L brackets I'm using.
|
|
 |
I had a low spot towards the middle of the table so I'm raising it
slightly with a wedge.
|
|
 |
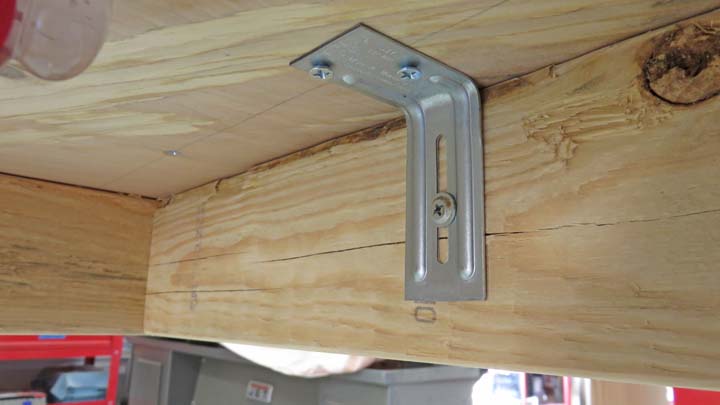
Once I was happy with the flatness, I tightened the screw in the slot.
This type of L bracket made it easier to adjust my flatness issue.
|
|
 |
|
1
2
3
4
5
6
7 |