Lock Display Rack  1                                                4-2023


I was helping my daughter Angela at her business, Open Door Escape Games and she mentioned that she could use something to display a few locks that they use in their games, which they show to their customers before they start playing. What Open Door likes to do is orient the people that play the game what the locks look like and how to use them, because there is more than one kind of combination lock.

She didn't like having a cluster of locks hooked together sitting on the counter, so she said, a rack would look so much better and much easier to use. Well I took note of this and decided to 
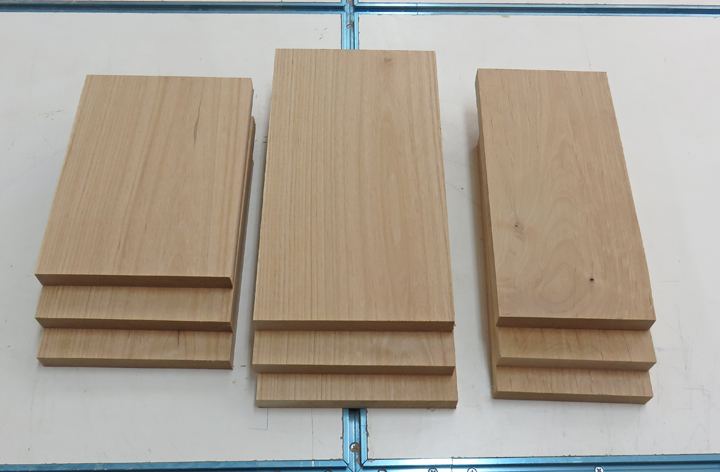
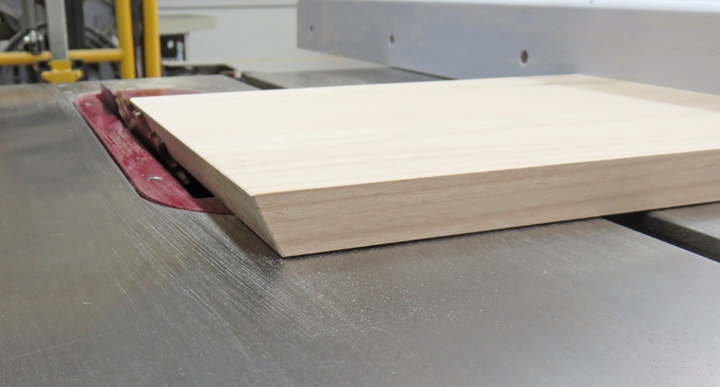
make two of them for her as a surprise. The material I'm using is alder, which I'm liking more and more every time I use it.


Working With Wood

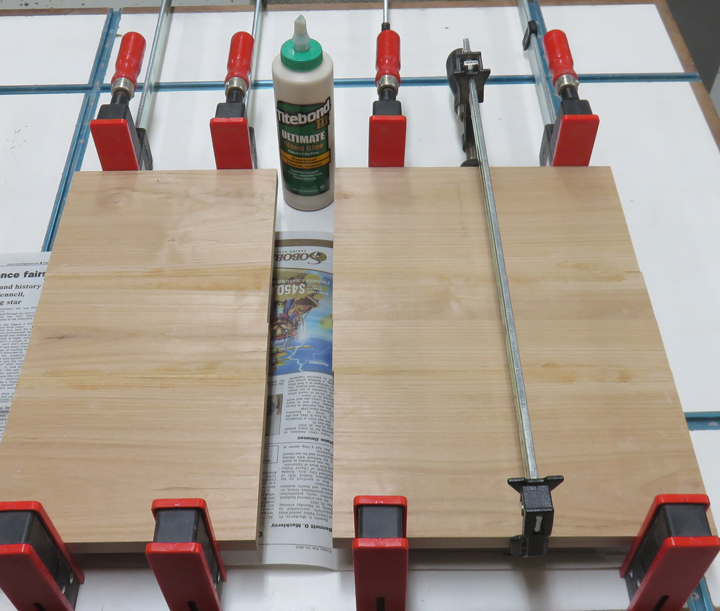
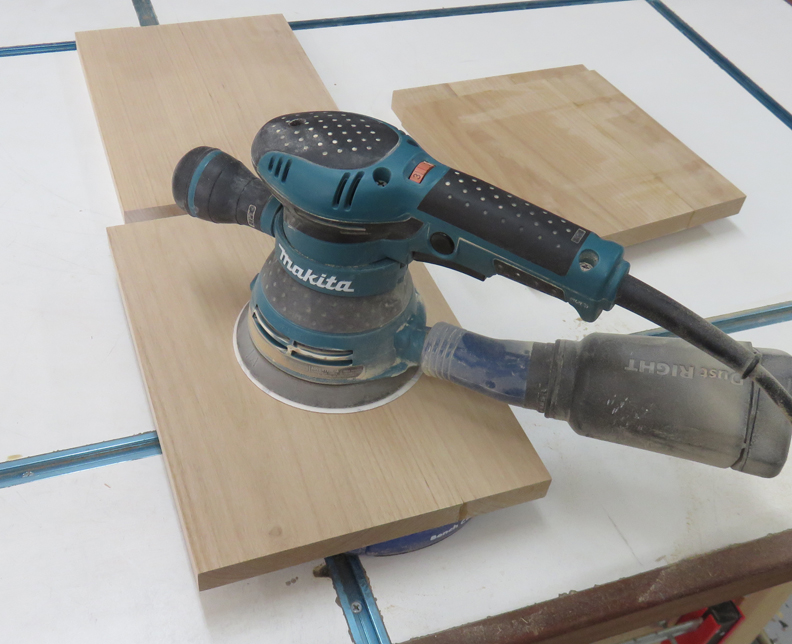
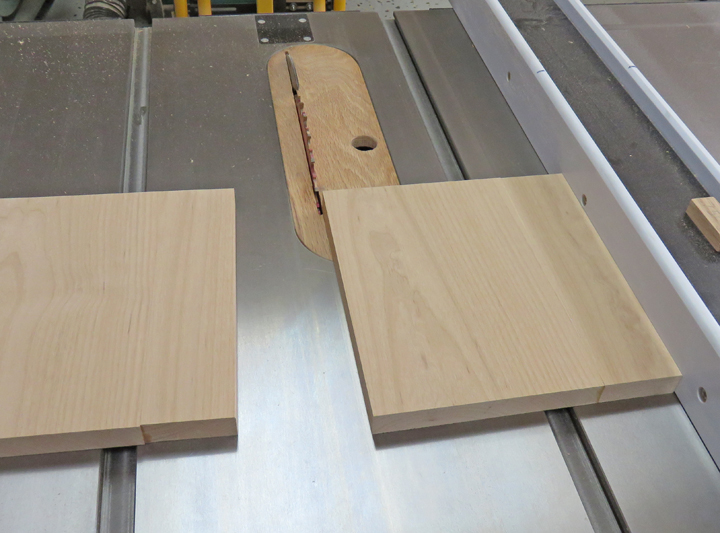
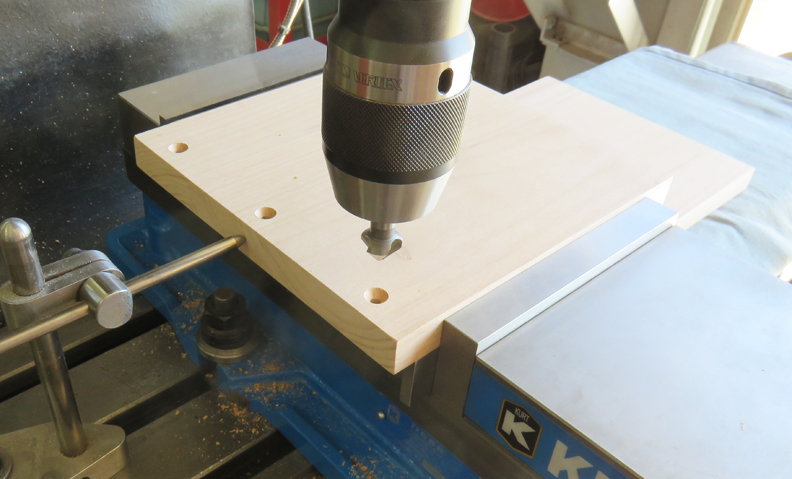
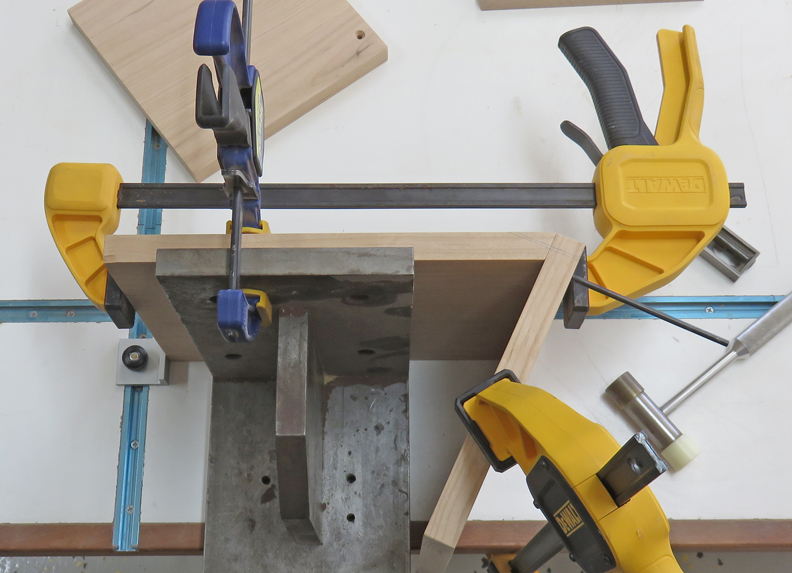
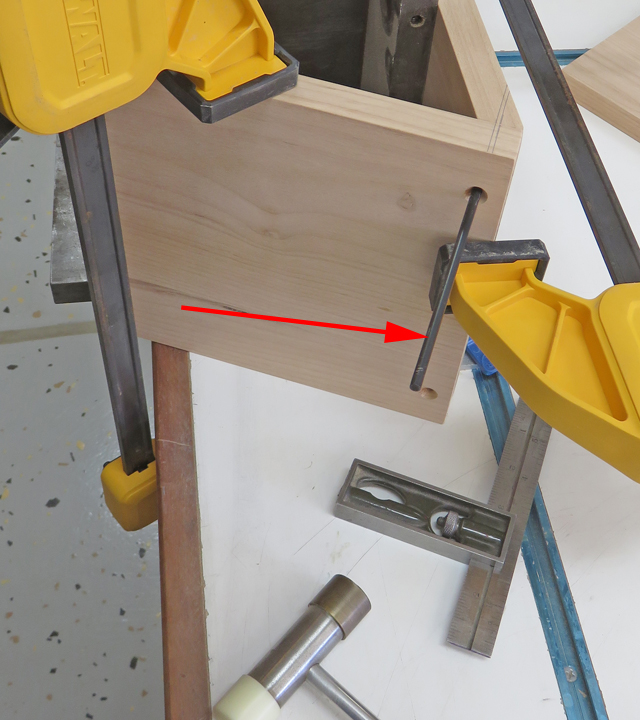
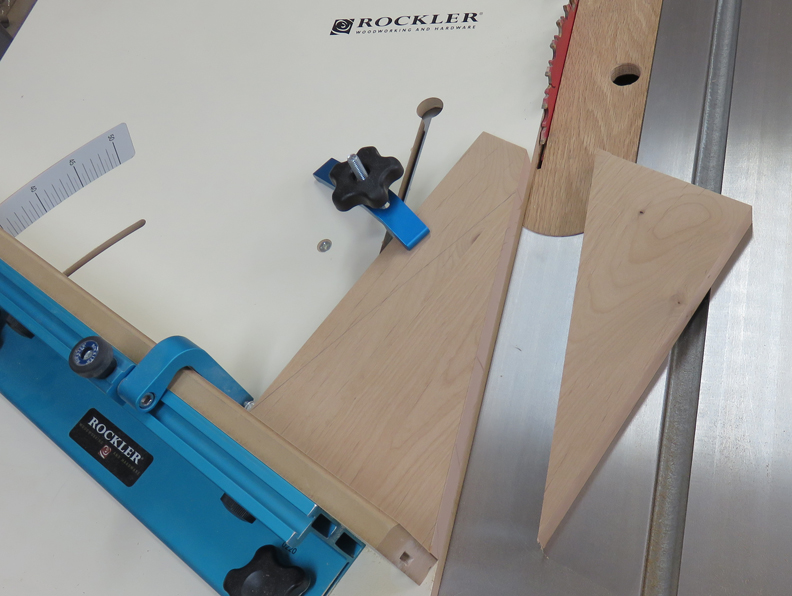
There will be three pieces of wood for each display rack but the pieces that you see below are not wide enough so I'll have to glue some boards together. The size of the racks will be 11" tall x 8" wide x 8" deep, with a triangular support piece in the back.


I've got four sets being glued here, which are wider than my target size of 8".


The next step was to sand them which didn't take long.


I'm cutting these bottom pieces, or bases, to 8" square.


I want the front piece that will hold the locks to sit back slightly so it doesn't fall over once all the locks are hanging from it. What I'm going to do is lean this front piece back to a 25 degree angle which should work pretty good and it should be stable. Here I'm using my digital angle gage to set my blade with. This Wixey gage is very easy to use, works great and is made by the same company that makes the digital readout for my tablesaw and planer.


This is the longer front piece with a 25 degree cut on it. This piece will sit up-right on the base making it lean towards the rear, which will help offset the weight of the locks.


Next I drilled and countersunk for some # 8 screws that will hold the front to the base.


Here I'm using my angle plate as a third hand while I transfer my screw holes.


The arrow is pointing to my transfer punch that I used to put three small dents in the front piece. Once I had my holes laid out, I drilled a pilot hole for each one using my hand drill.


Here I'm cutting a triangular support that will go between the front and the base. The piece I'm keeping is still clamped to my crosscut sled and is the first of two cuts.


1     2     3