|
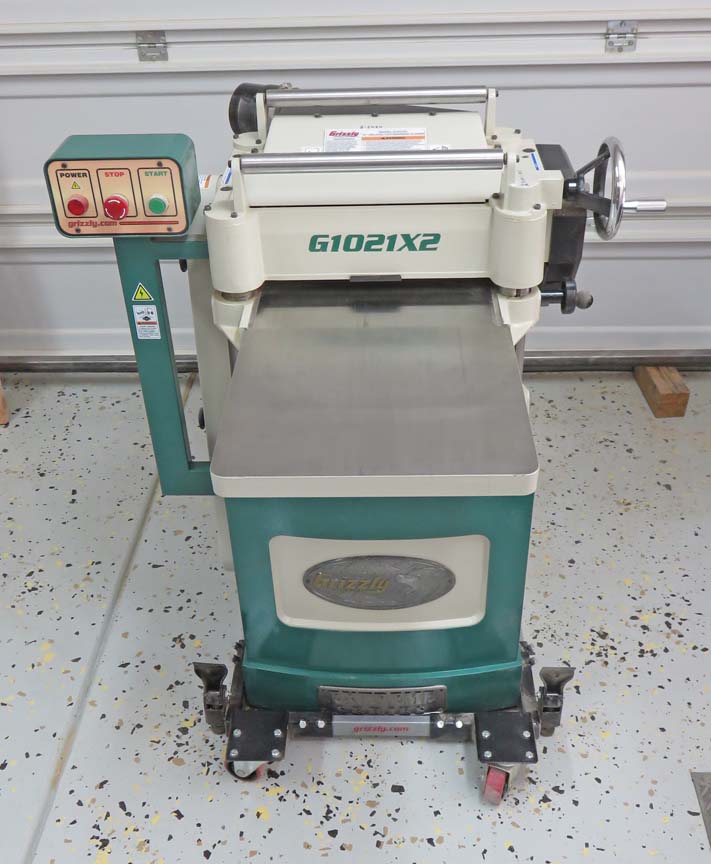
I bought this 15" Grizzly planer in August of 2020, and it's
been working great so far. But you know how it goes, most tools could
work better if it only had _____ (fill in the blank). In my case, I've
needed to make a project a second or third time, and when this happens,
it would be nice to have my work pieces end up all the same sizes as before. Well
all that is going to change because I'm getting ready to install a
Wixey DRO
or Digital Read Out on my planer.
|
|
 |
| Installing the Digital Read
Out
If you remember a few months ago, I added a Wixey
DRO to my tablesaw and so
far that's been working fantastic and I'm very happy with it. So I
looked into what that same company had for a planer, and sure enough they
had something. This unit is very similar to that of my tablesaw, as it uses all the same electronics, just a
shorter scale.
To mount the digital read out, I'm going to
drill and tap some threads which is no big deal. However, it did come with
self-tapping screws but I won't be using them because I don't like the
reduced thread engagement of those kinds of fasteners. I'll also
have to find the best place to mount it and then I'll be calibrating it
at the end.
Anyways, let's get started installing this unit.
|
|
 |
|
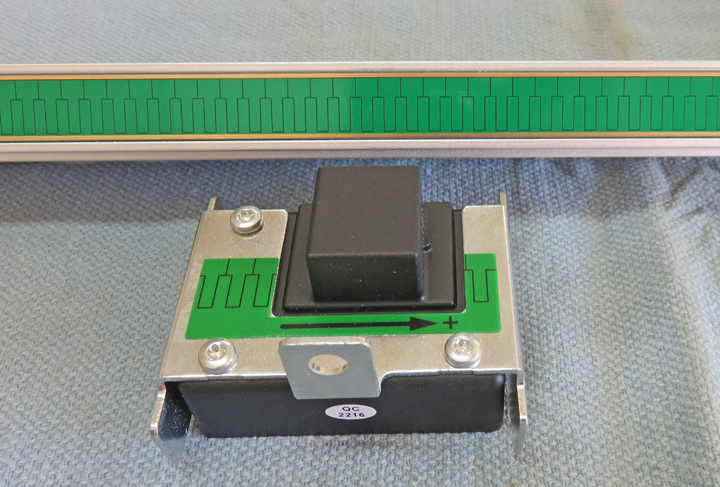
The scale on this Wixey DRO is just like the one on my
tablesaw. Notice the arrangement of lines in the long green area (scale).
And notice the lines on the DRO below it. Those lines need to match when
you install the DRO onto the scale so it will work correctly.
|
|
 |
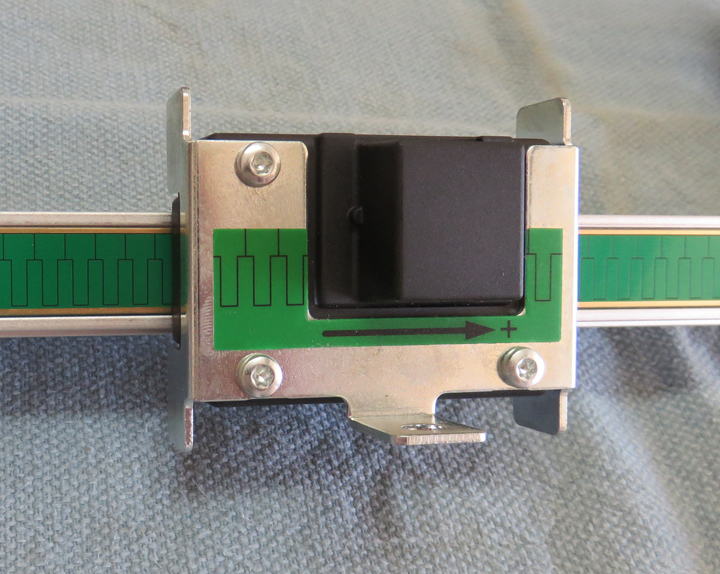
Here you can see all the lines are all facing in the same direction,
which is what you want.
|
|
 |
|
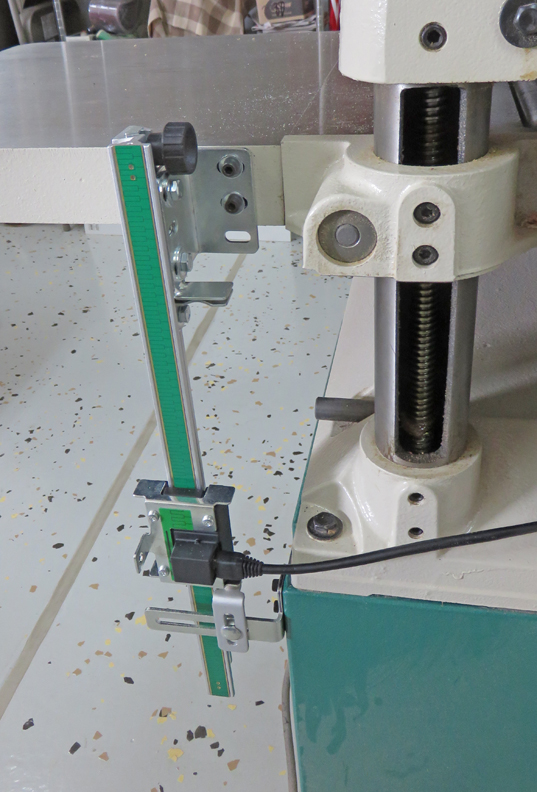
Next you have to install some brackets, which is the
hardest part of this project. Now every planer is different, but I
needed to find a place that the scale would not interfere with anything
while I was adjusting the thickness. After looking at a few different
spots, I settled on this location, which is on the exit side of the
machine.
|
|
 |
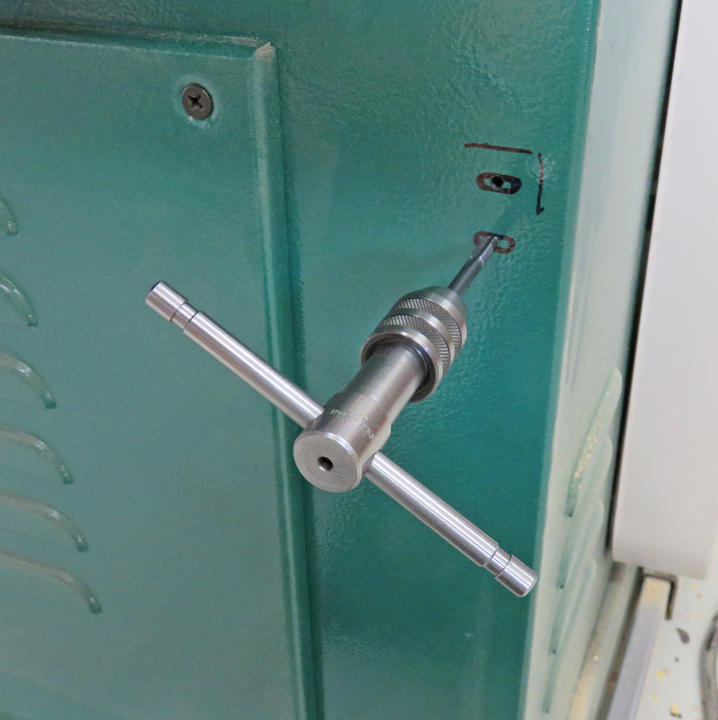
I drilled and tapped some 10-32 threads in the cabinet, which is 1/8"
thick. This is where the bottom bracket will be placed.
|
|
 |
|
The top bracket is fastened to the movable cast iron table
so I drilled and
tapped the same size screws here as well. Side note: drilling and
tapping cast iron is easy because it's very soft. I like to drill a
smaller pilot hole first and then follow up with the correct size tap
drill.
|
|
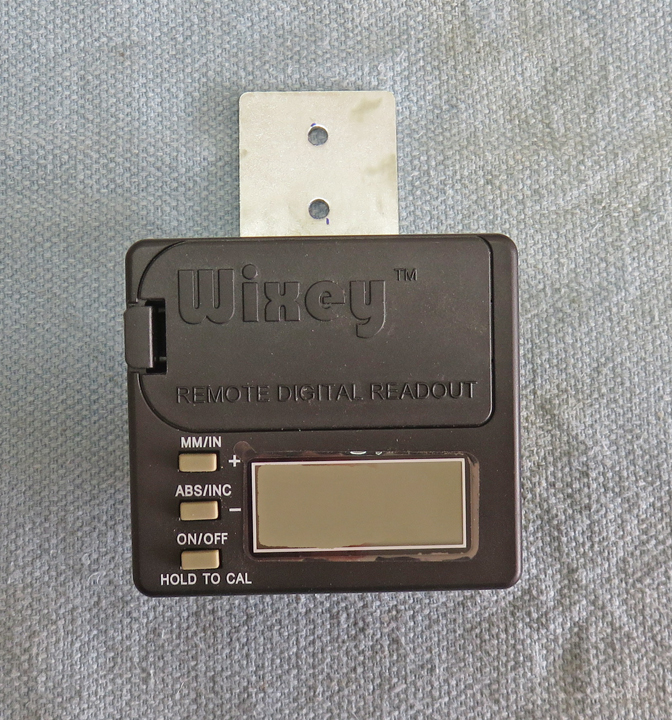
Now it's time to mount the digital read out. The unit came with a
universal bracket that you can see below.
|
|
 |
|
Here is a better look at the bracket. This bracket can
pivot and has lock-nuts to adjust the amount of tension you have. After
looking for a good location to mount this unit, I decided to flip the
bracket around because it gave me the best mounting option for my
application. But I'll still need one more piece before I can mount it in
place.
|
|
 |
|
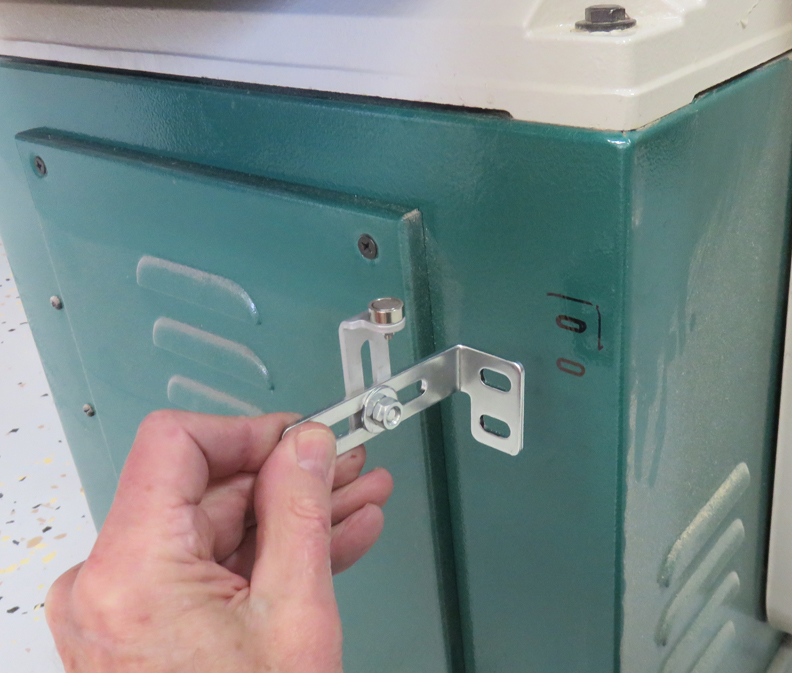
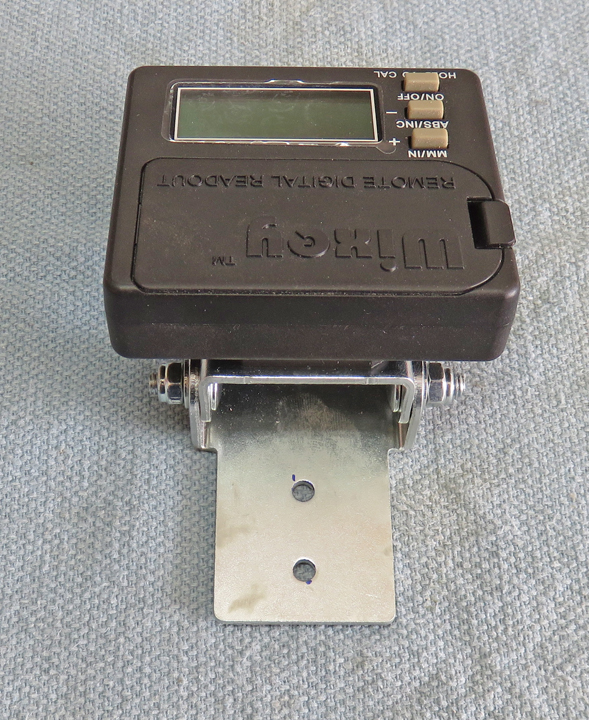
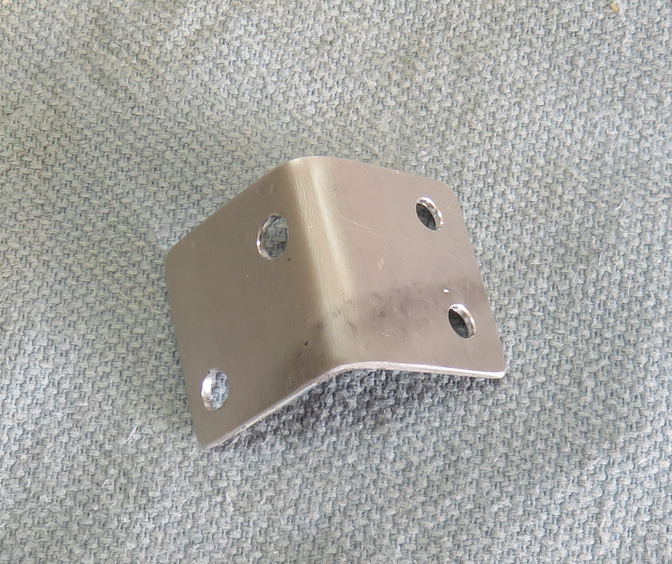
I made a second bracket out of aluminum to hold my DRO
above. The two holes on the right will be used
for the bracket on the DRO and the other two will be used to mount this
bracket to the machine.
|
|
 |
|
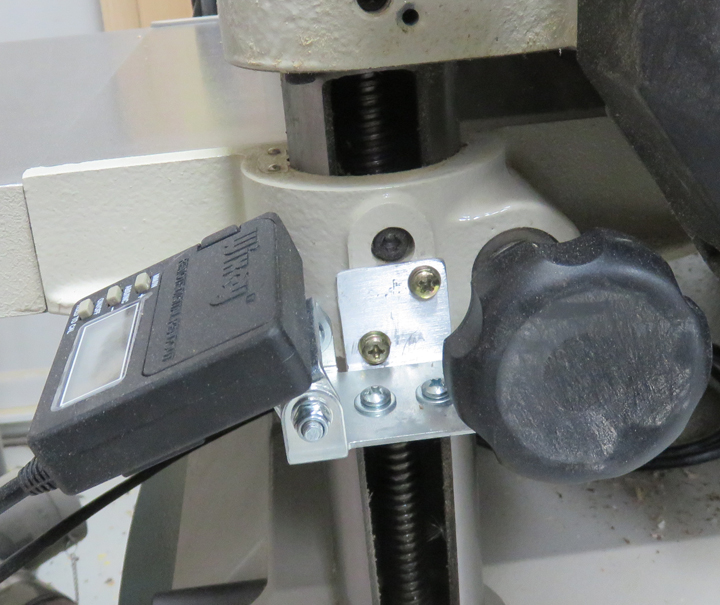
I found two holes already drilled and tapped on my
machine and decided to use them. However, they were metric. This meant I
had to dig through my small supply of metric fasteners but I found some
that worked (gold color).
|
|
 |
|
1
2 |