|
Working With Wood Continued
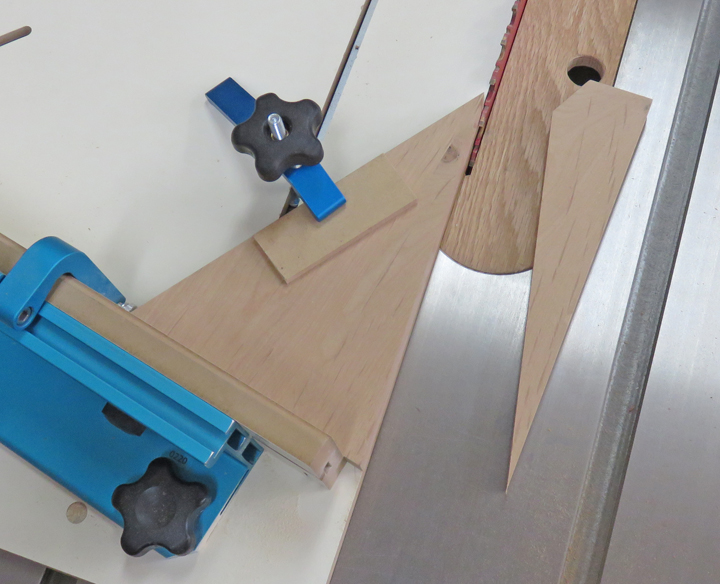
Here is the second cut with my finished piece still clamped to my
sled. The shim under the clamp is so I don't end up with a dent from
clamping pressure.
|
|
 |
|
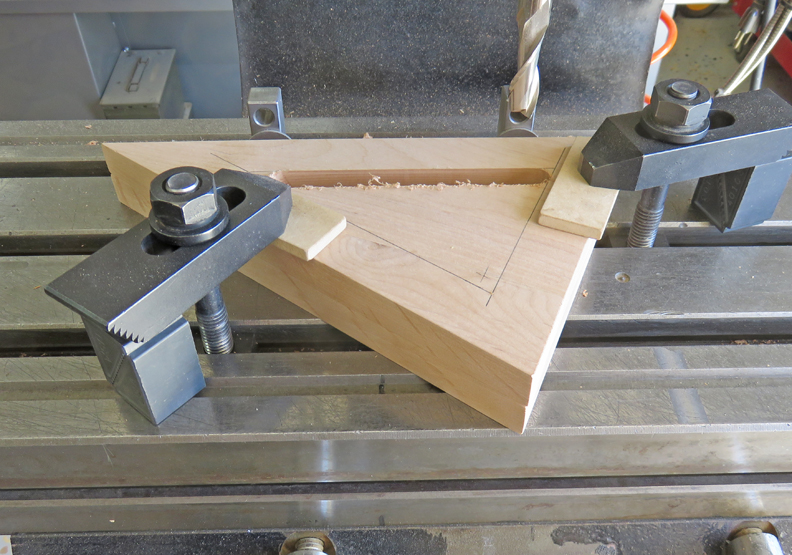
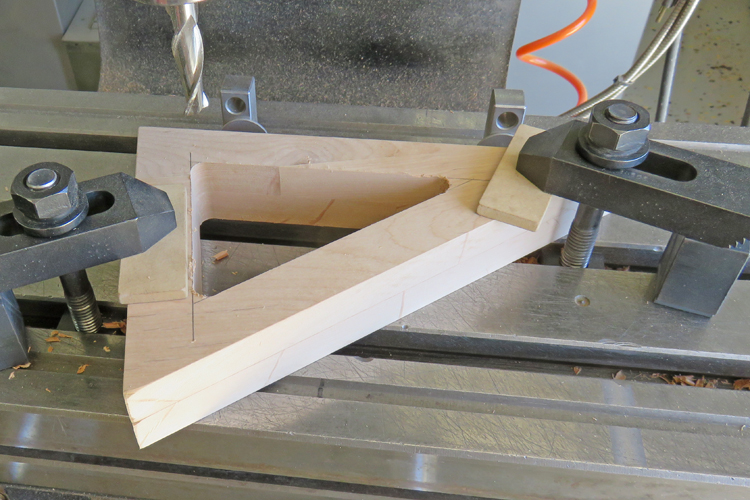
Next I wanted to machine out the center of the supports, leaving a one
inch wall thickness all the way around, and using my milling machine was the
easiest way for me to do this. Now I could have used a jigsaw for this
along with drilling three holes to start and end at but this method
works much better, for me anyways. I've got two pieces clamped together
here and my cutter is going all the way through and into the T slot in
the table.
|
|
 |
|
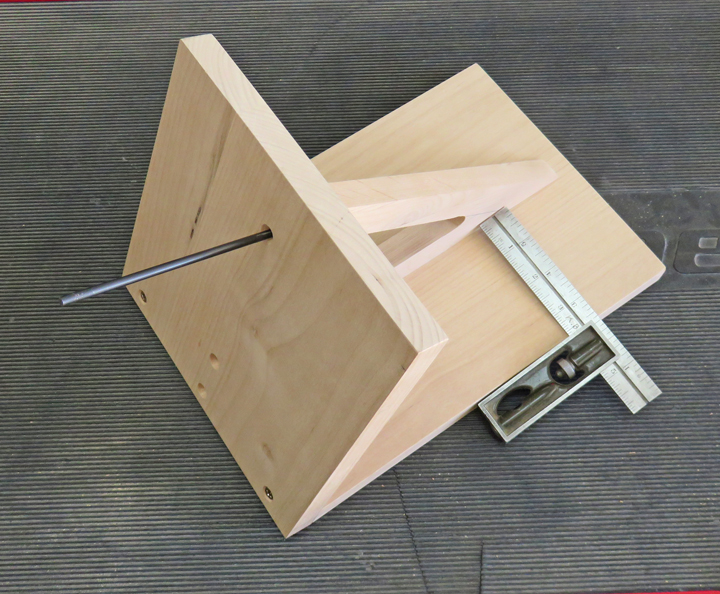
I placed all three sides against my work stops, which is
a quick and accurate setup.
Once the support is in place, this will make a nice handle to hold on to or
to move the rack with.
|
|
 |
Here I'm using my transfer punch again, but this time on the support.
I used my combination square to help me with centering the support
before transferring my screw locations.
|
|
 |
|
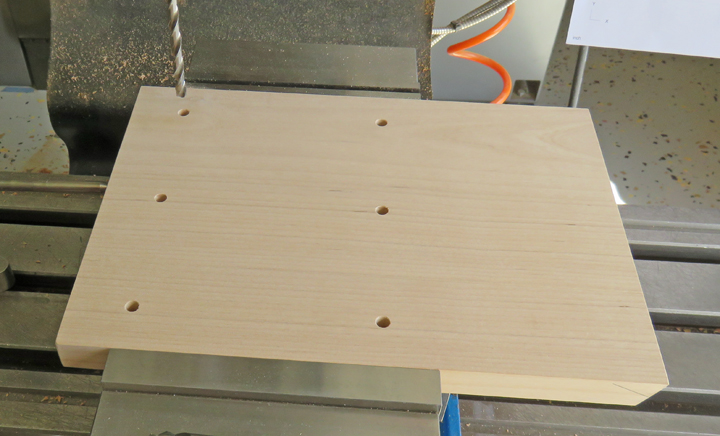
I'm drilling six holes to hold some eye hooks, which in turn will hold
the locks. I'll use washers and nuts on the back side to hold the eye
hooks in place along with a larger washer behind the eye hooks.
|
|
 |
|
Two of the holes are in the center, which is where my
triangular support will end up. The support will be in the way of the
nuts and washers so I came up with a solution. I'm countersinking these
two holes so I can still use a washer and nut, but now they will sit below the
surface. Then I cut the length of the eye hooks so the ends sit below the
surface as well.
|
|
 |
The eye hooks have 1/4-20 threads and were easy to cut. On the front
I'll be using some fender washers and then a normal size on the back.
|
|
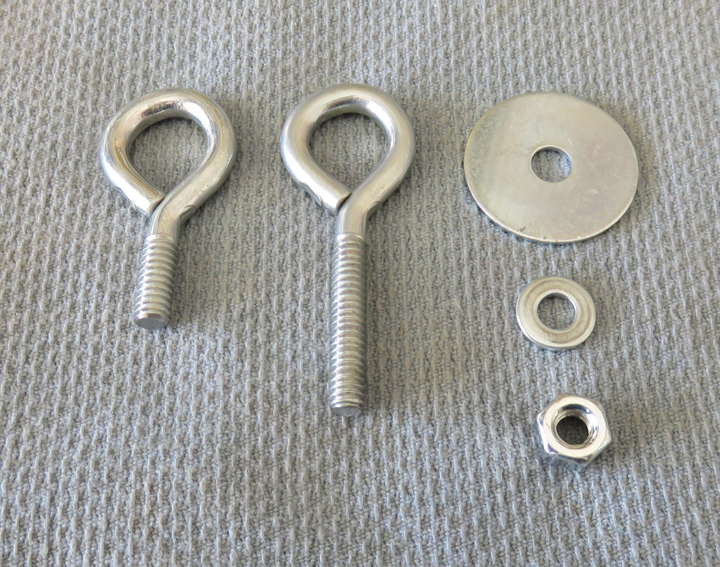 |
Here is what the nuts and washers look like on the back. The single hole is for a
screw that fastens the support to the front piece. Two more screws will
hold the support to the base.
|
|
 |
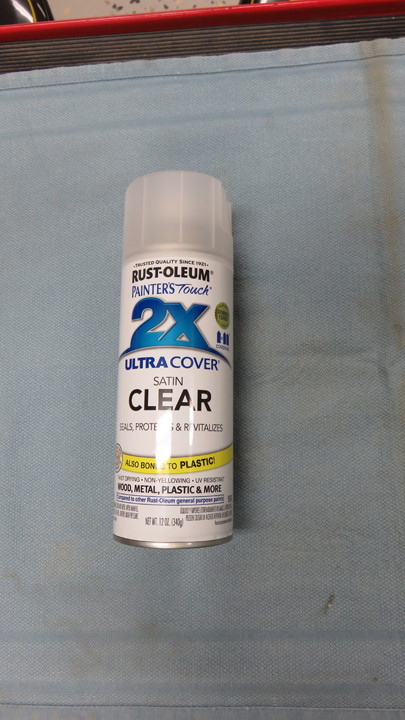
I'm going to use a clear satin finish on this project. This rust-Oleum
2X clear works great for projects like this.
|
|
 |
|
1
2
3 |